Google keeps on adding new features to its Photos app, and now, there are two new editing tools to use: Sharpen and Denoise. These tools help you enhance the quality of your photos in the Google Photos app on your mobile device
In this guide, you'll find out what these tools are and how you can use them in the Photos app.
What Are the Sharpen and Denoise Tools?
If you use Google Photos on your smartphone, you probably already know that the app already has some editing tools in it. These new Sharpen and Denoise tools are just an extra addition to the existing tools you may already be using.
With the Sharpen tool, you can make your images look clearer. Basically, this tool helps you improve the sharpness of your photos. There's a range from 0 to 100 that you can use to define your photo's sharpness.
The other tool is called Denoise. As the name suggests, this tool helps you remove the noise (grain) from your photos. Again, there's a 0 to 100 range that you can use to define how much you want to denoise the picture.
Regardless of what tool you use, you're going to have to experiment with various levels to get the best results. Simply keep moving the slider until you get the results you want.
How to Sharpen Photos in Google Photos
With Sharpen now built into Google Photos, you no longer need to rely on third-party apps to make your photos sharper. Just make sure the photo you want to edit is available in Google Photos and you're ready to edit it.
Here's how you go about using the Sharpen tool in Photos:
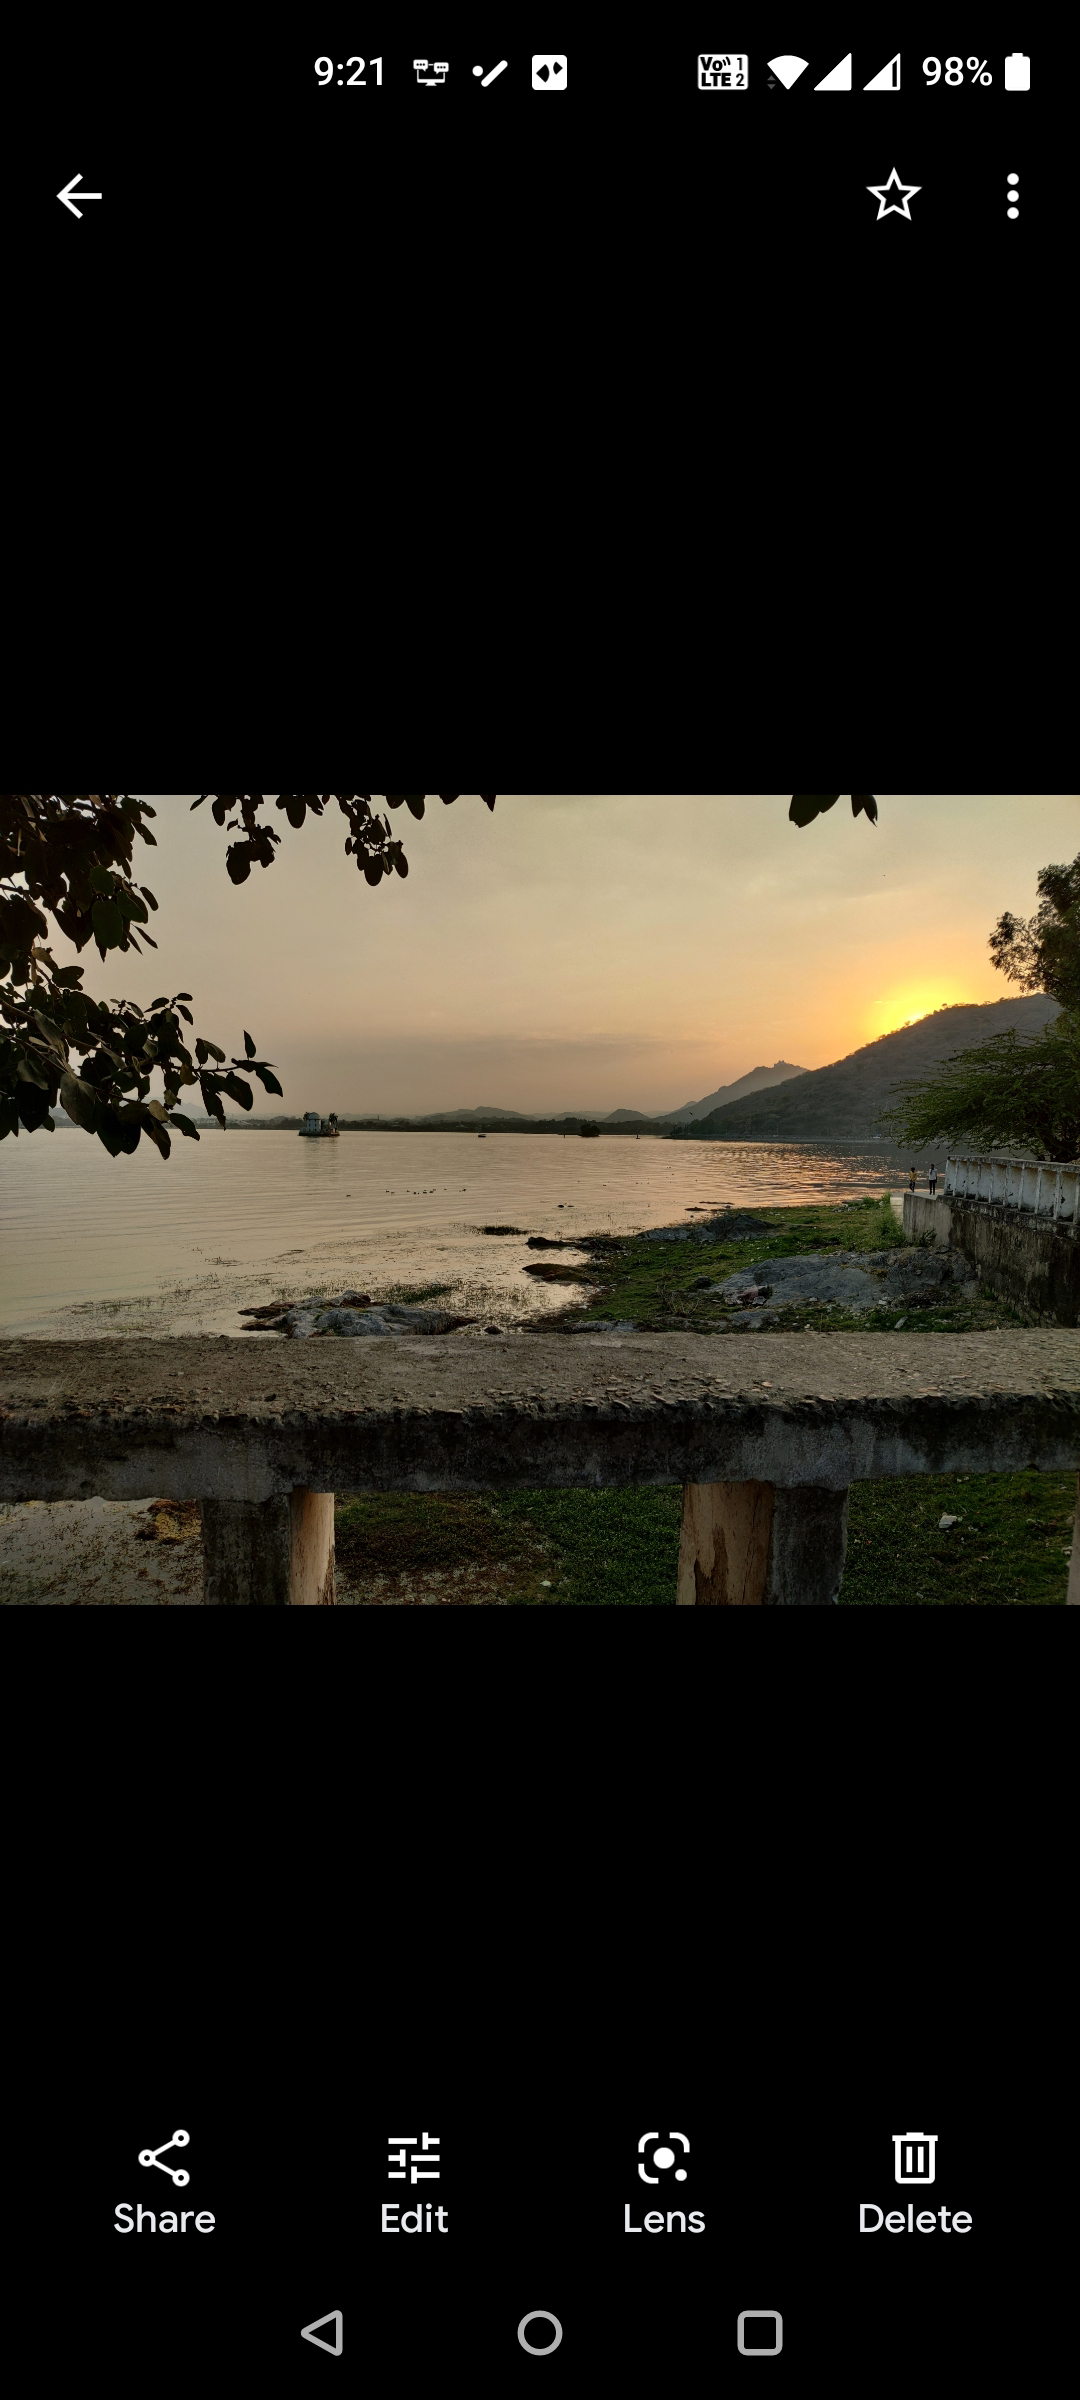
- Launch the Google Photos app on your device.
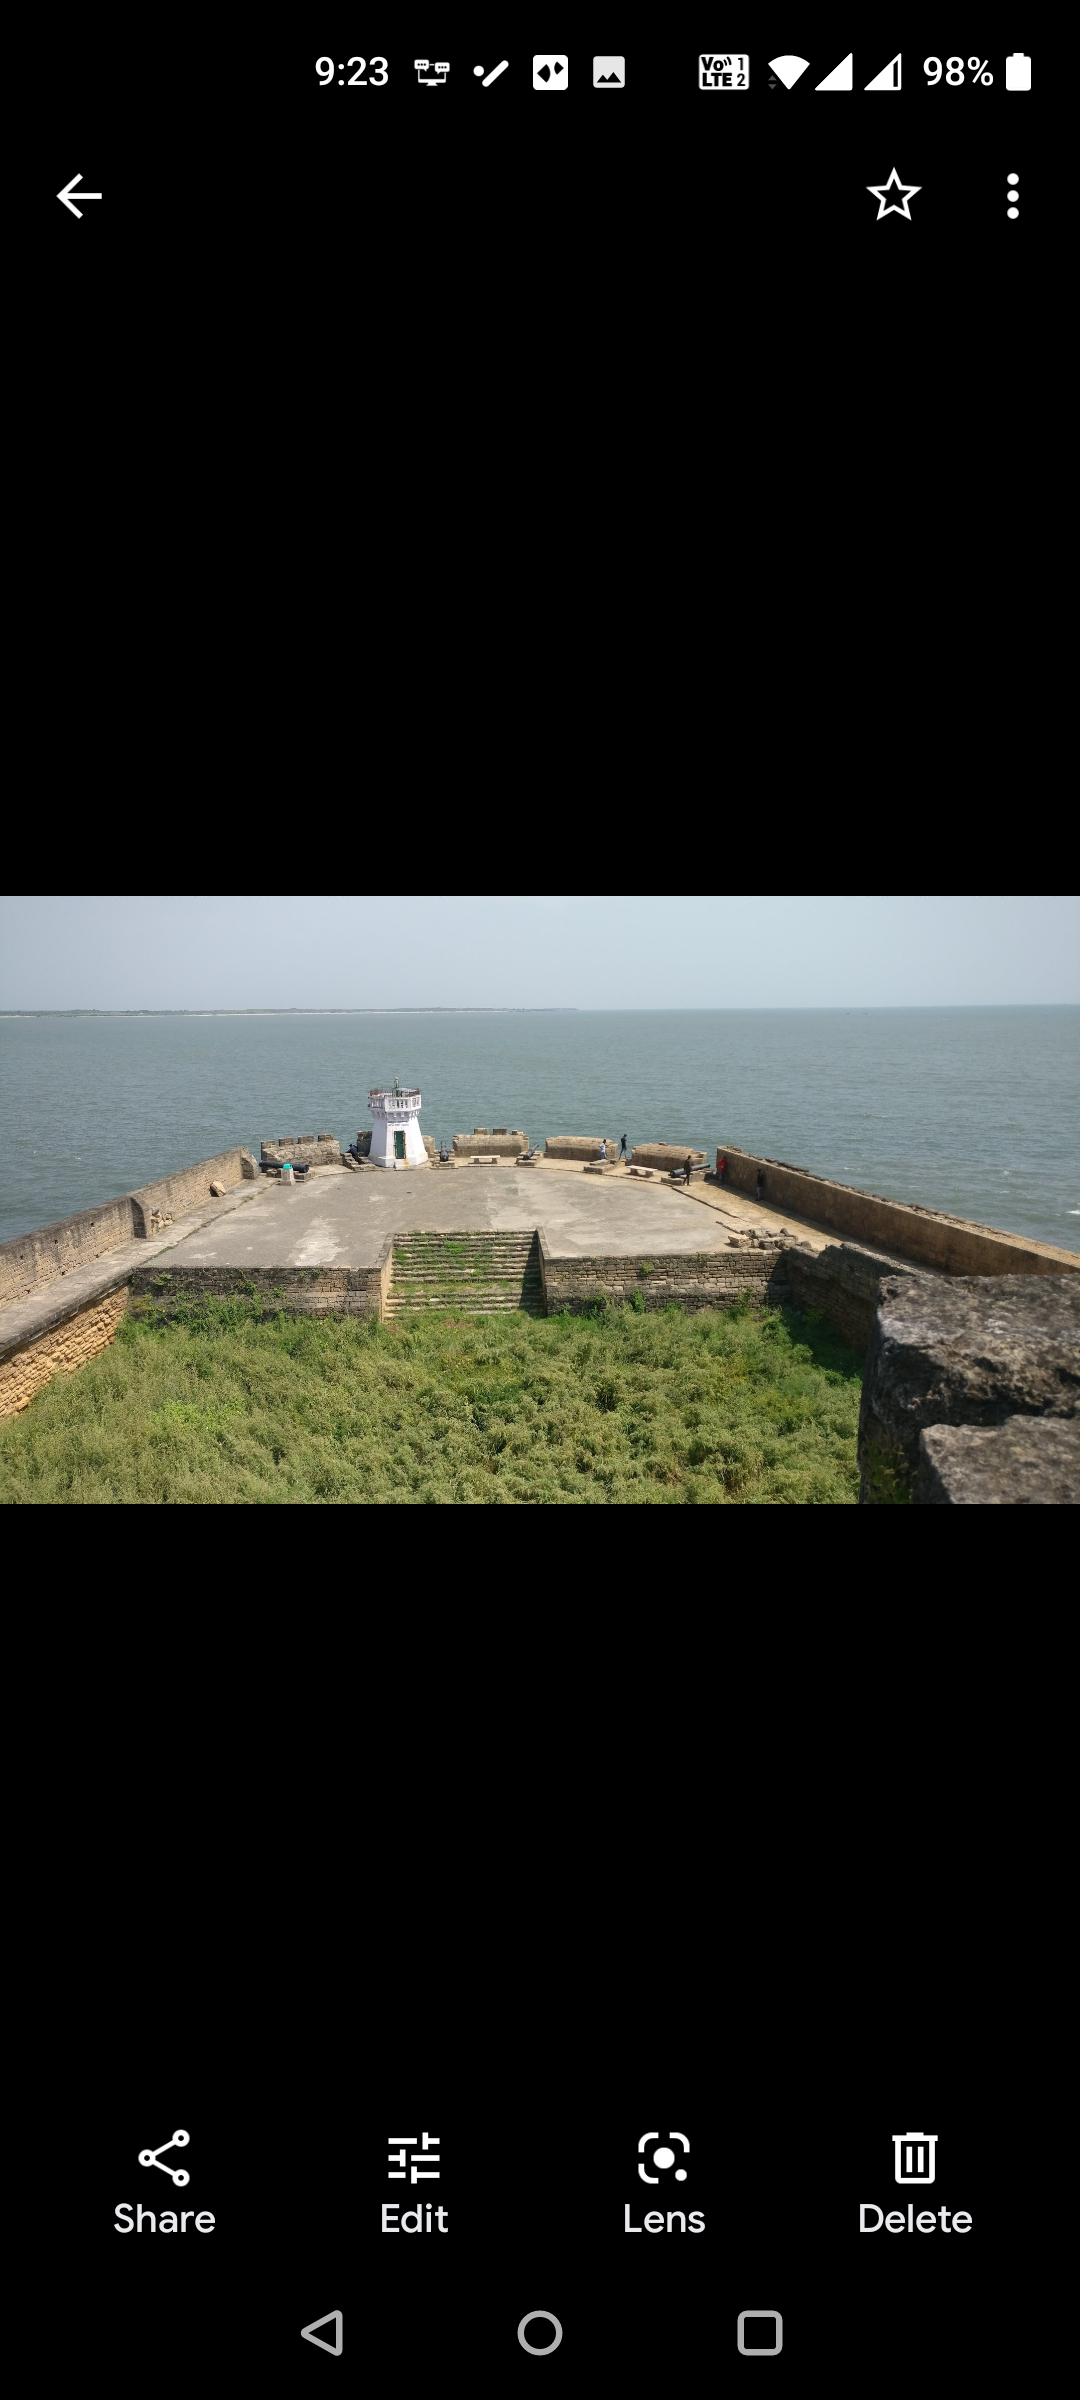
- Tap the photo that you'd like to use the Sharpen tool with.
- When the photo opens in fullscreen mode, select Edit at the bottom bar.
-
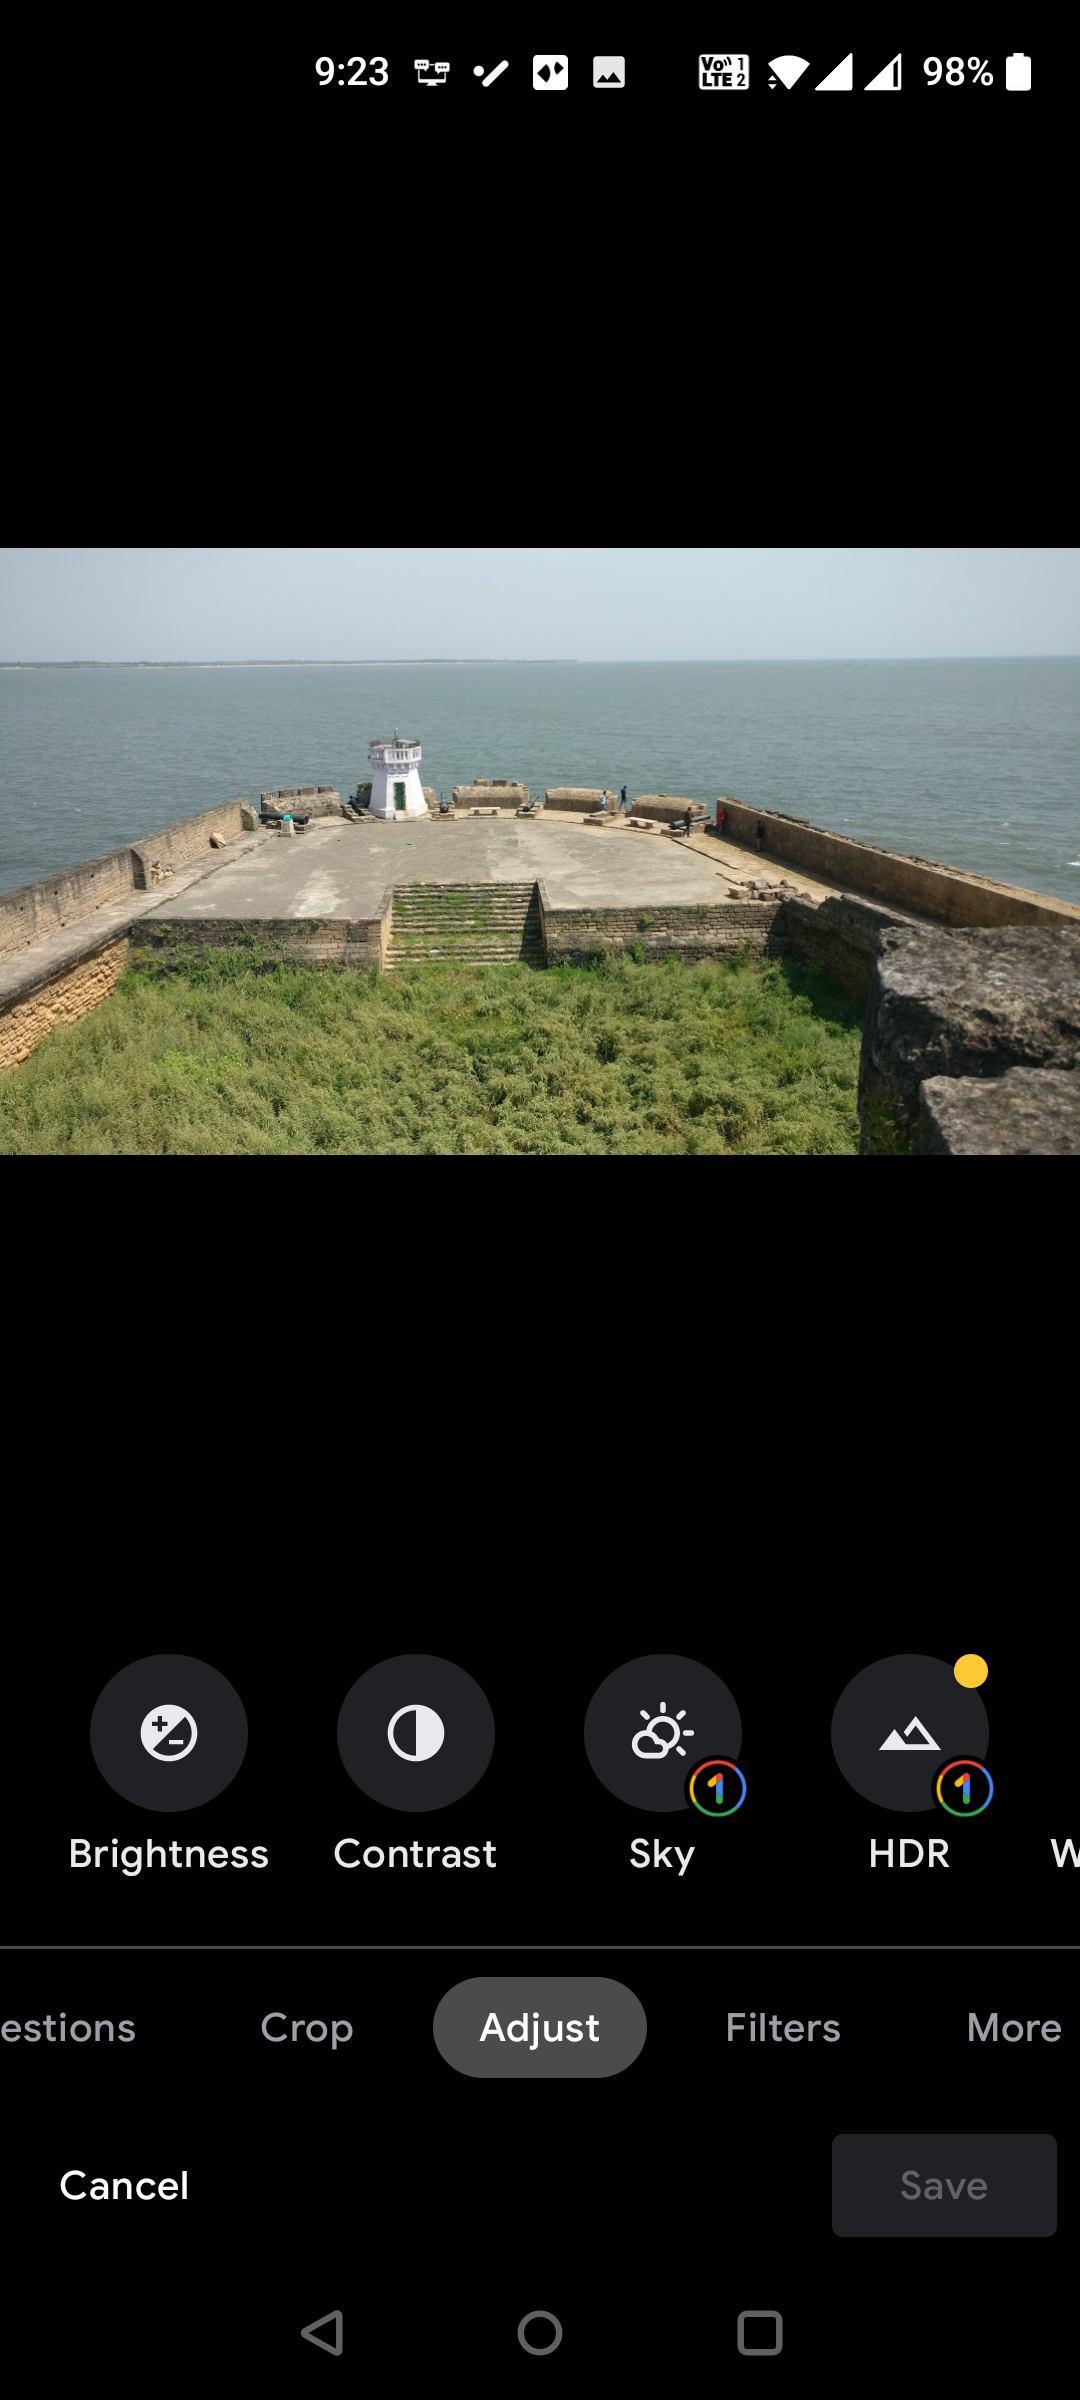
Swipe left in the bottom bar and tap Adjust.
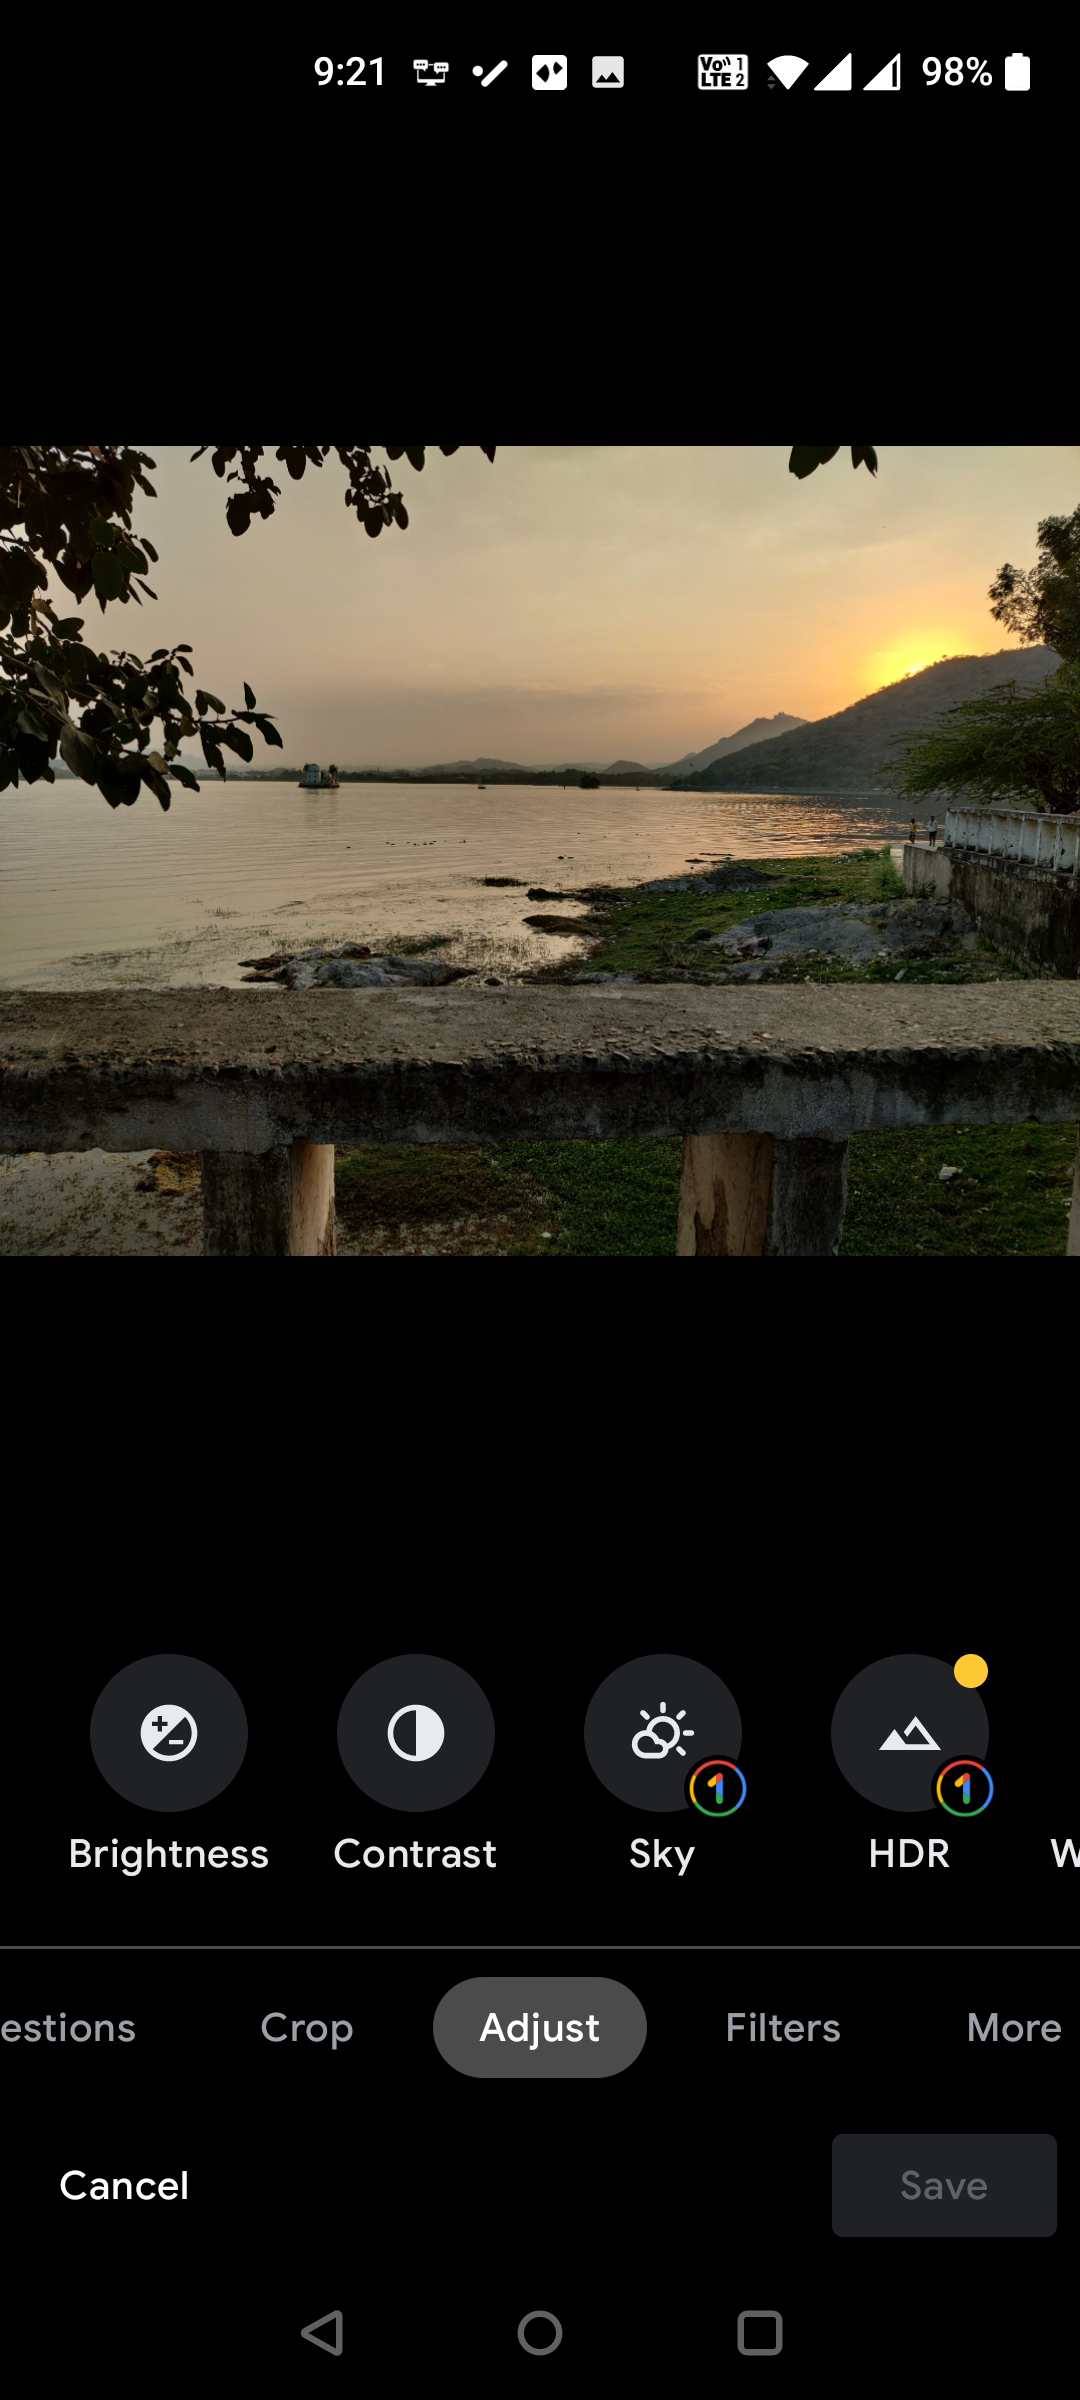
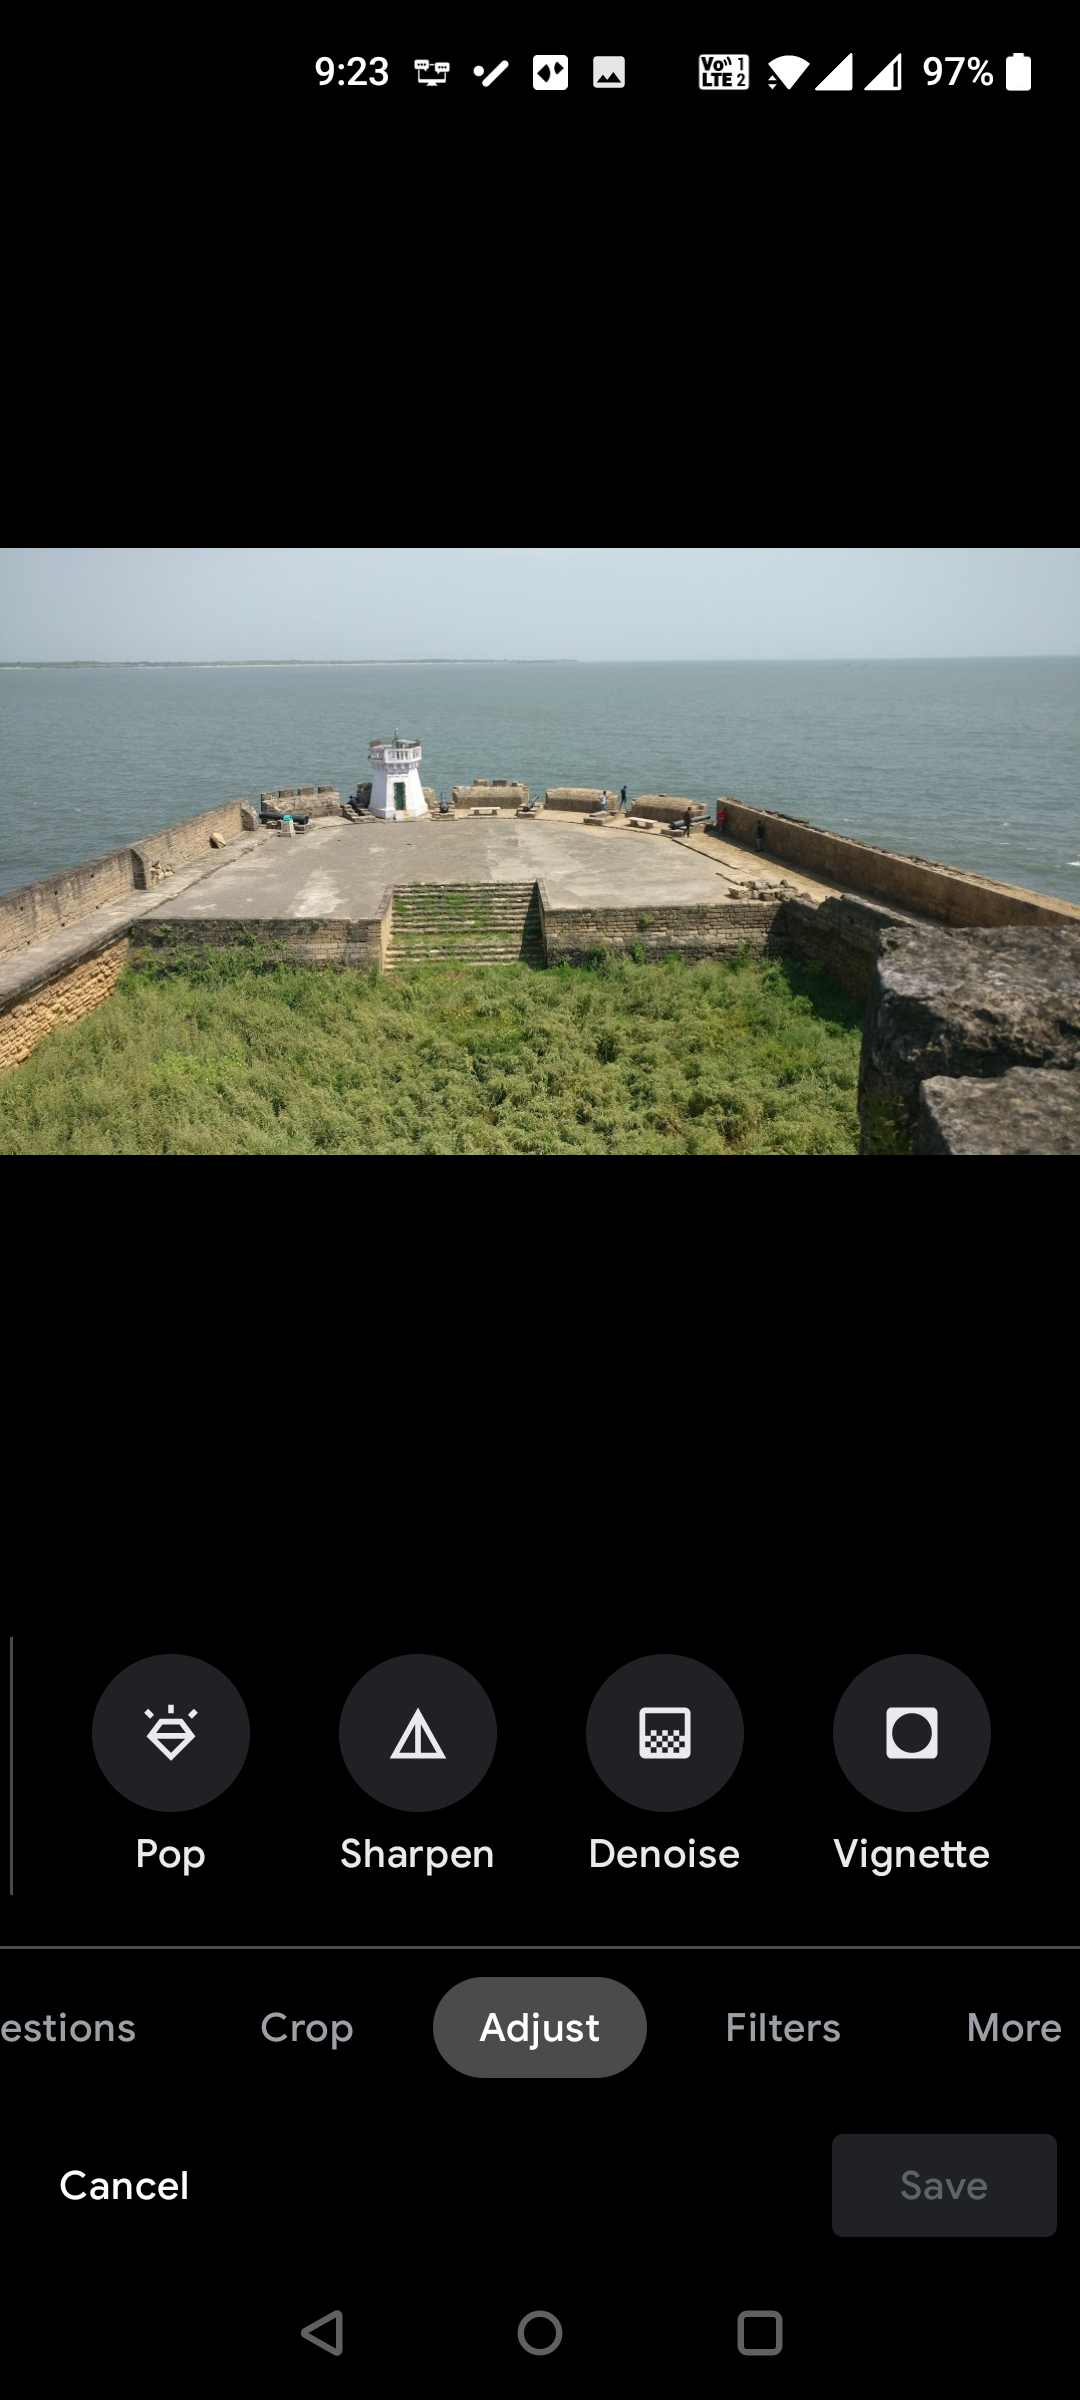
- Swipe left on the tools in Adjust, and then tap the Sharpen option.
-
A slider appears right beneath Sharpen. Drag this slider to the right to adjust the sharpness levels for your photo.
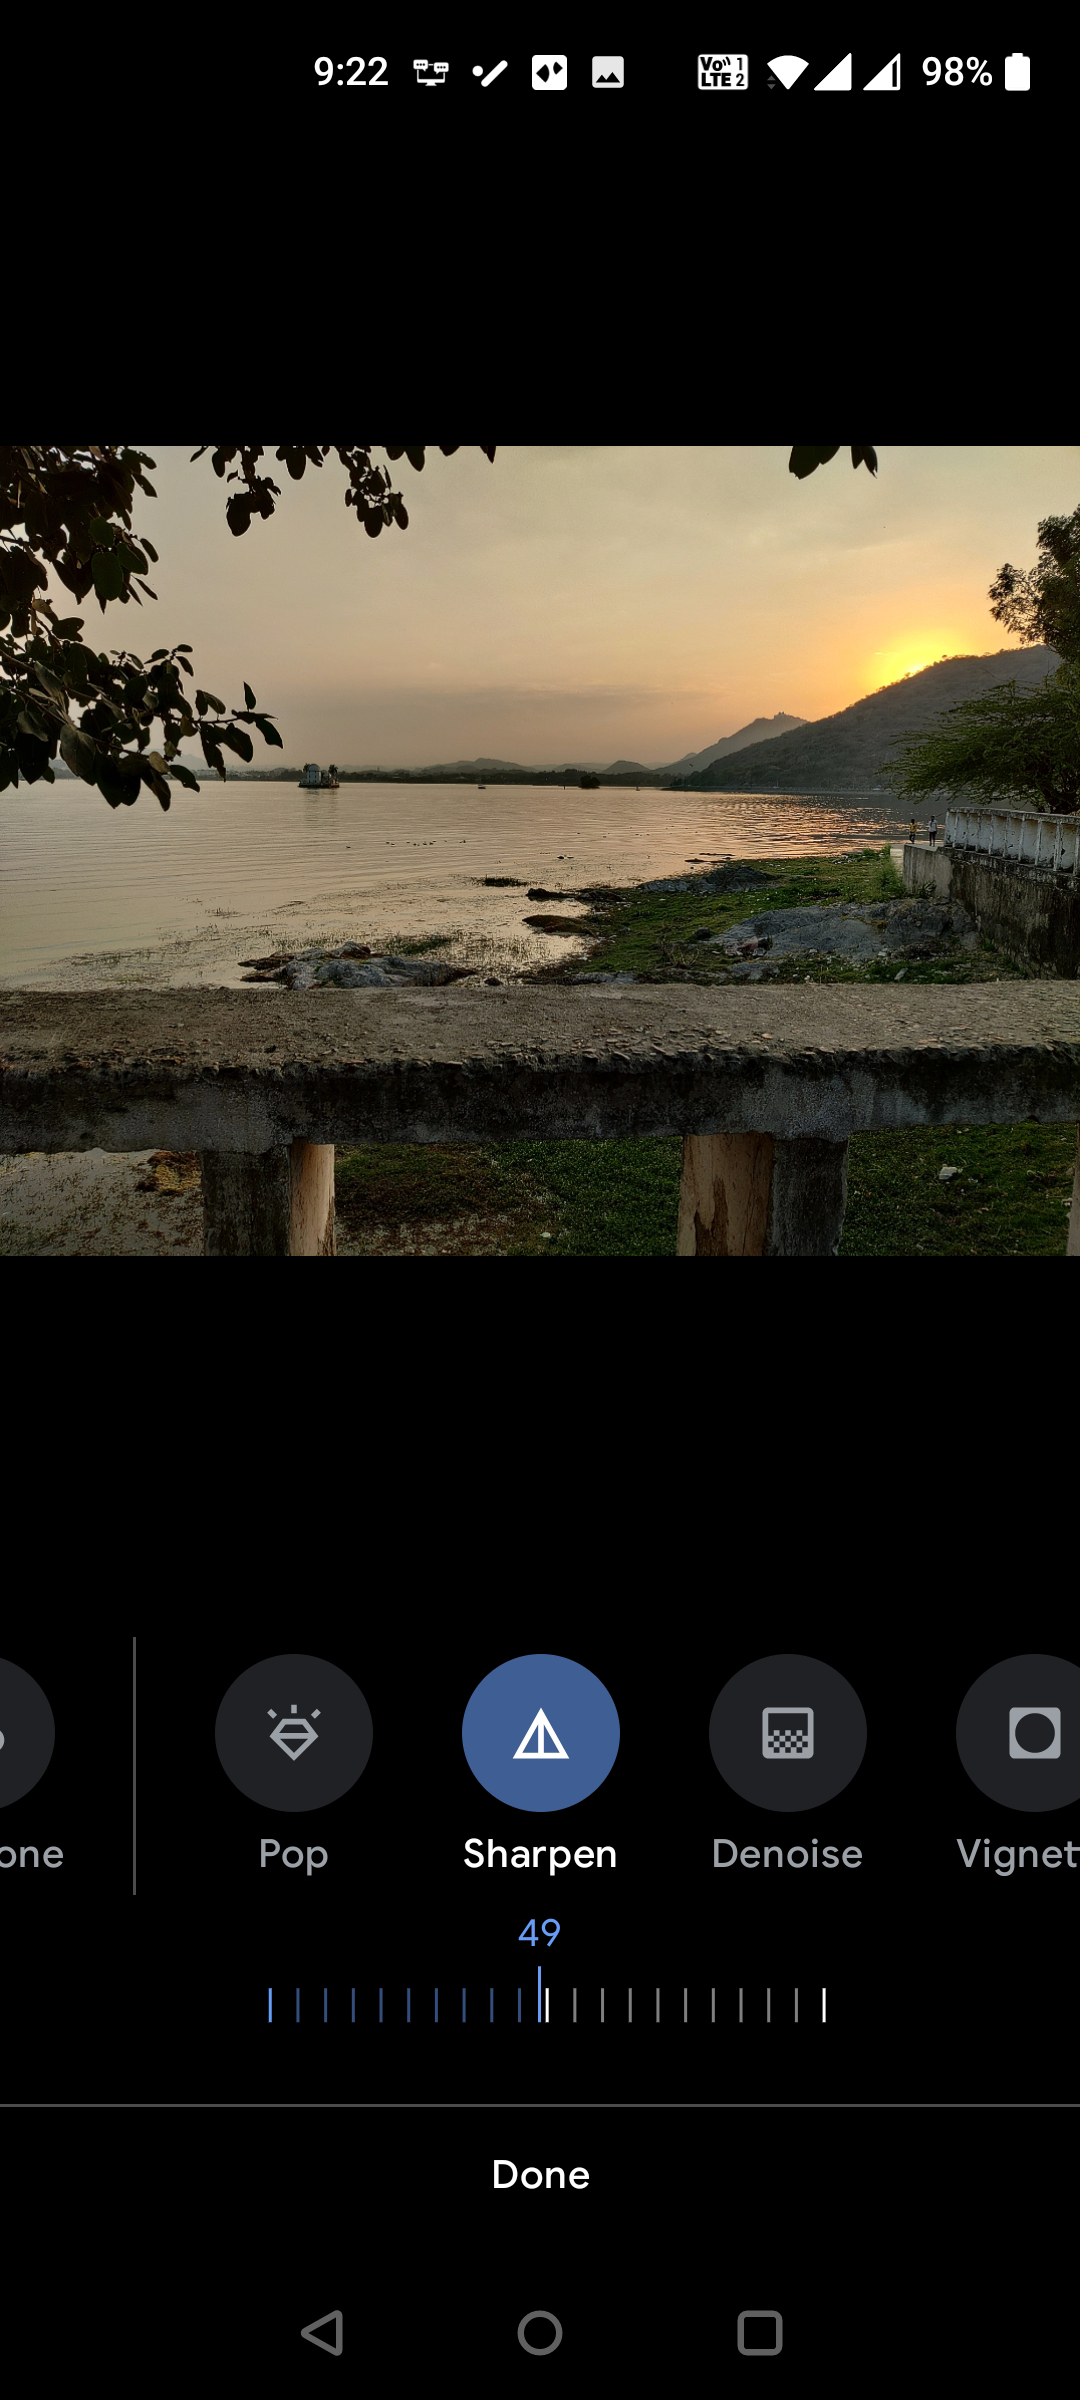
- When you get the desired results, tap Done at the bottom.
- Tap Save copy at the bottom-right corner to save your edited photo.


How to Denoise Photos in Google Photos
Denoise offers a great option to remove the grain from your photos. Since there's a huge range from 0 to 100, you can be as specific as you want while editing your photos.
Here’s how you use the Denoise tool in Photos:
- Open the Google Photos app on your device.
- Select the photo you want to remove grain from.
- When the photo goes fullscreen, tap Edit at the bottom of the screen.
-
Select Adjust from the options displayed at the bottom.
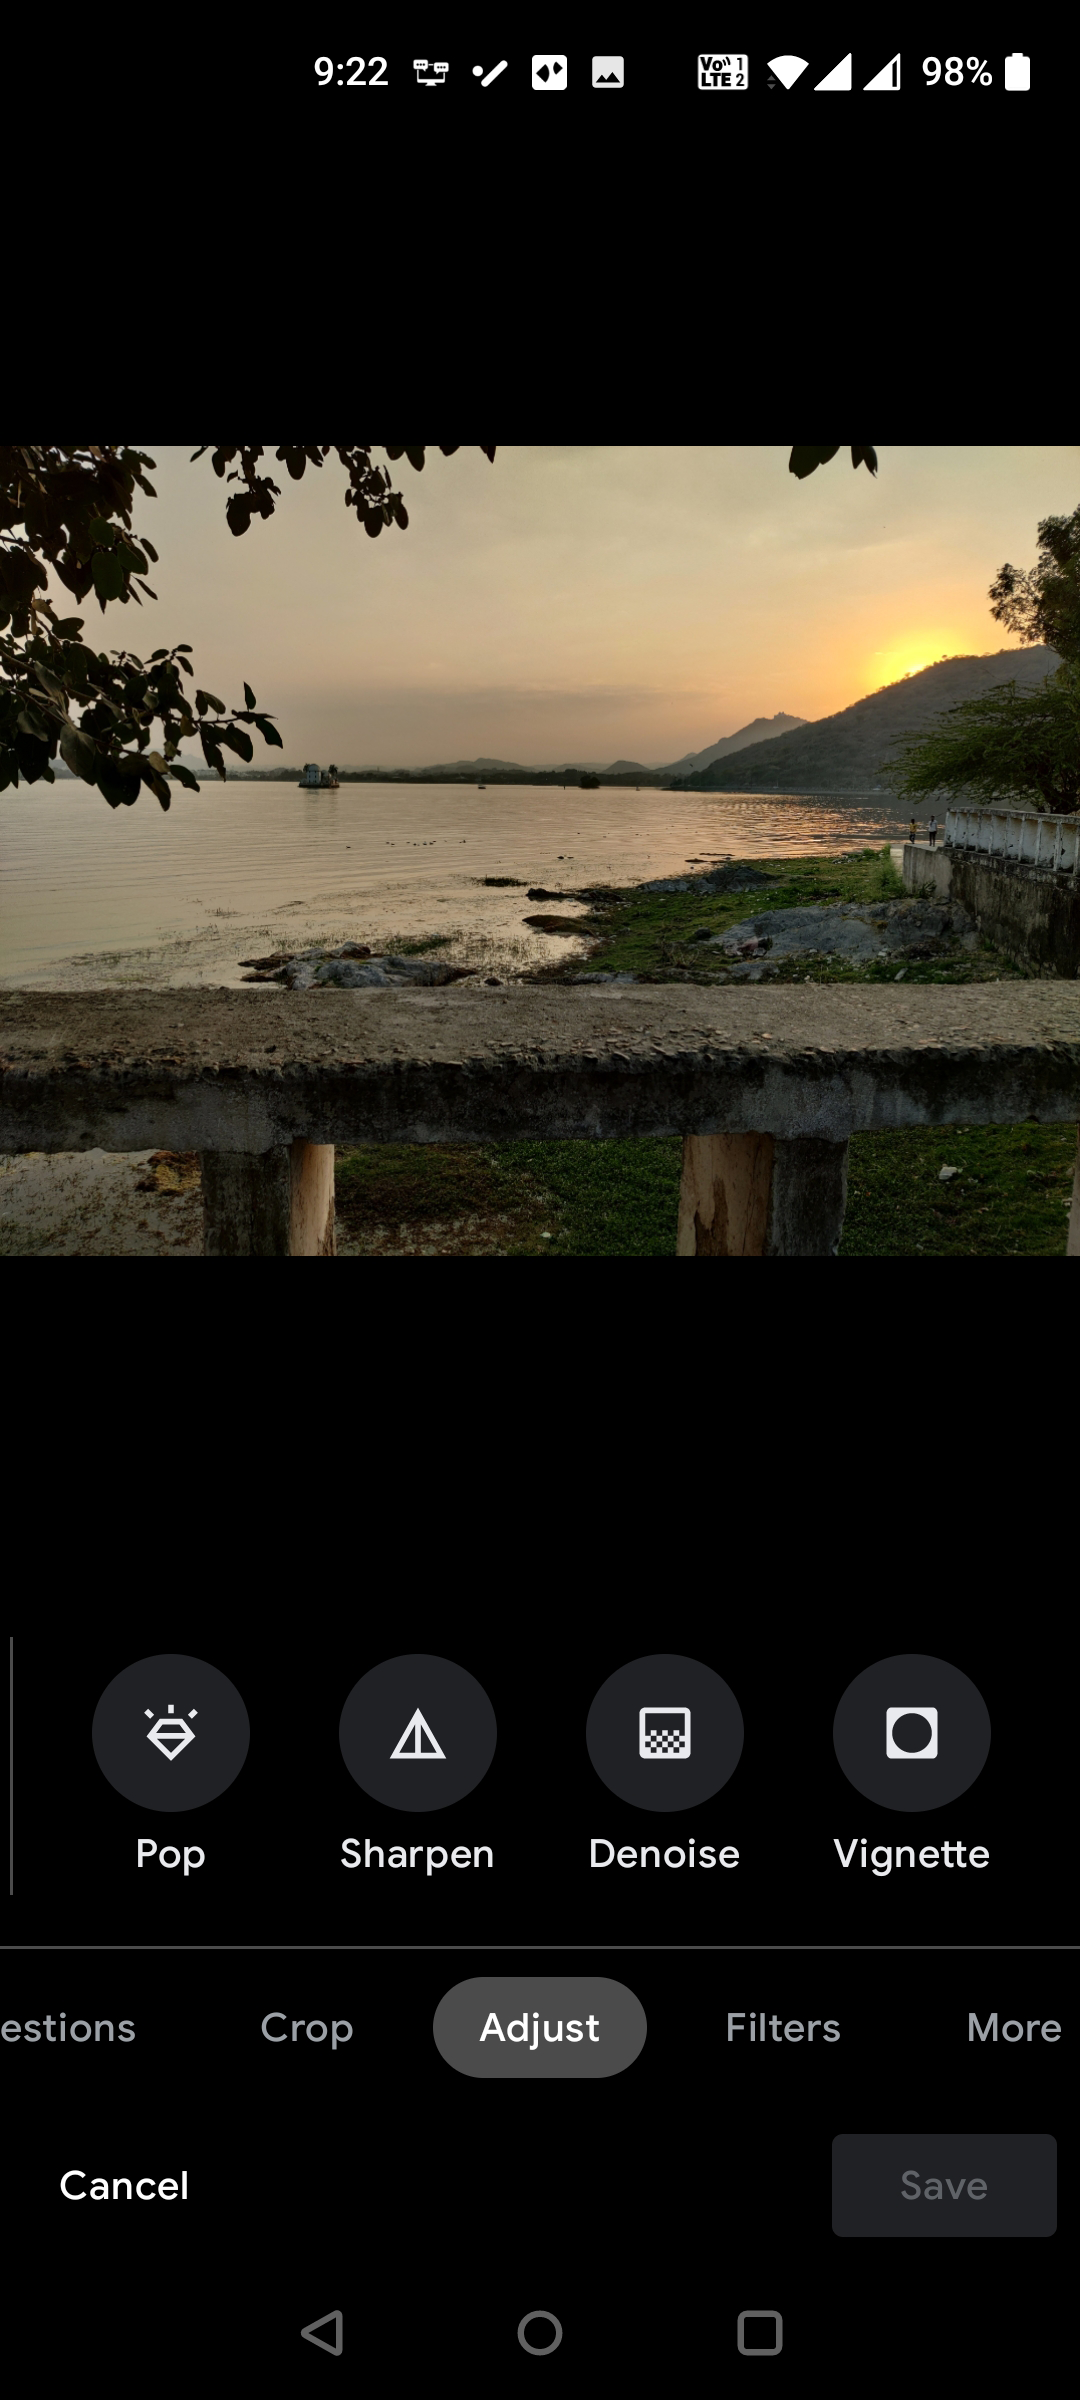
- In the Adjust tools list, scroll to the right and select the Denoise option.
-
Under Denoise, drag the slider to adjust the denoise level for your image.
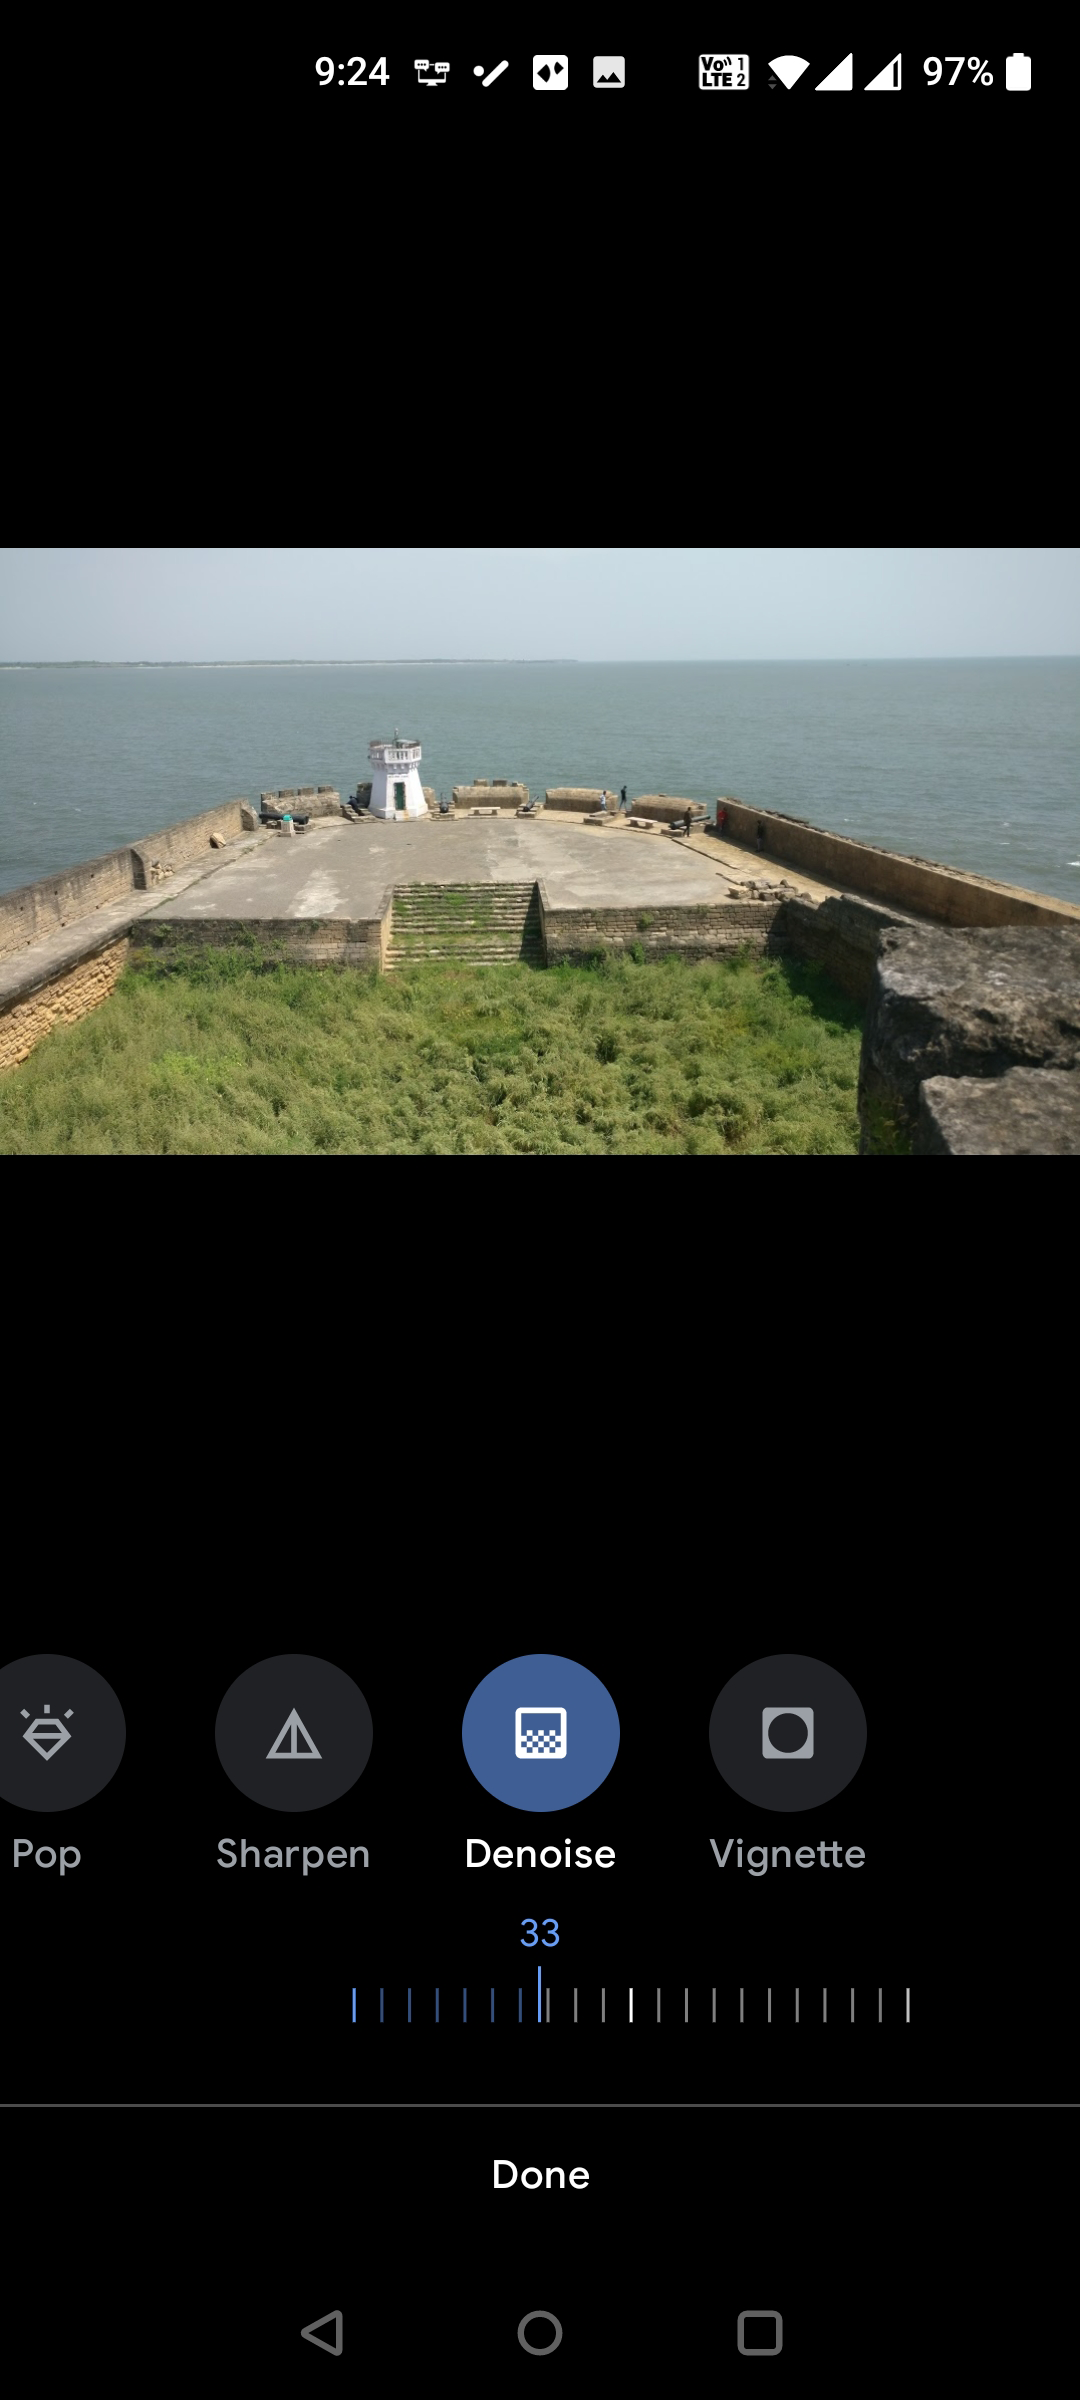
- Tap Done when you've finished editing your photo.
- Select Save copy at the lower-right corner to save your photo.


Sharpen and Remove Grain With Google Photos
If you've ended up with blurry or grainy photos, you now have the tools in the Google Photos app to fix those images. Plus, there are already many other editing tools built into the app to help you further enhance your photos.