The sudo command gives a technique for providing trusted users with administrative permission to a Linux system without sharing the root user password.
When users permitted this technique precede an administrative command with sudo they are asked to provide their own password. Once login, and assuming the command is allowed, the administrative command is performed as if run by the root user.
Read Also: Difference Between su and sudo and How to Configure sudo in Linux
In this article, will show you how to create a new normal user account with sudo privileges on a CentOS system without having to change the system’s sudoers file.
Once sudo access granted, you can able to use the sudo command to run administrative commands without logging in to the root user account.
Create a New Sudo User on CentOS
1. Log in to your CentOS system as the root user.
$ ssh root@server_ip_address
2. Create a normal user account called tecmint using the useradd command, the -m option means to create the user’s home directory if it doesn’t exist, -s defines the new user’s login shell program (which is /bin/bash in this case) and -c defines a comment indicating that this is an administrative user account.
# useradd -m -s /bin/bash -c "Administrator" tecmint
Replace tecmint with the user name that you wish to create.

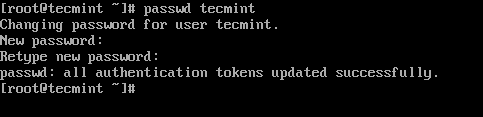
3. Set a password for the newly created user account using the passwd command (remember to set a secure strong password).
# passwd tecmint
4. On all Linux distributions that belongs to the RHEL family, only users in the wheel system group can run a command with sudo. So, next, add the new user tecmint to the wheel group using the usermod command. Here, the -a flag means to append user to a supplementary group and -G specifies the group.
# usermod -aG wheel tecmint

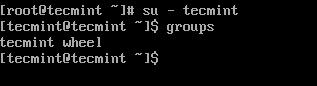
5. Test sudo access on newly created user account tecmint by invoking the su command to switch to the new user account and also verify that the user is in the wheel group.
# su - tecmint
$ groups
6. Now run the whoami command by prepending "sudo" to the command that you wish to run with administrative privileges.
$ whoami
As this is the first time you have executed sudo from this account the banner message will be shown. You will be also be asked to enter the password for the user account.
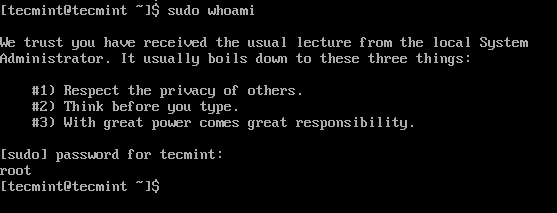
If sudo is configured correctly, the output of the above whoami command will show root.
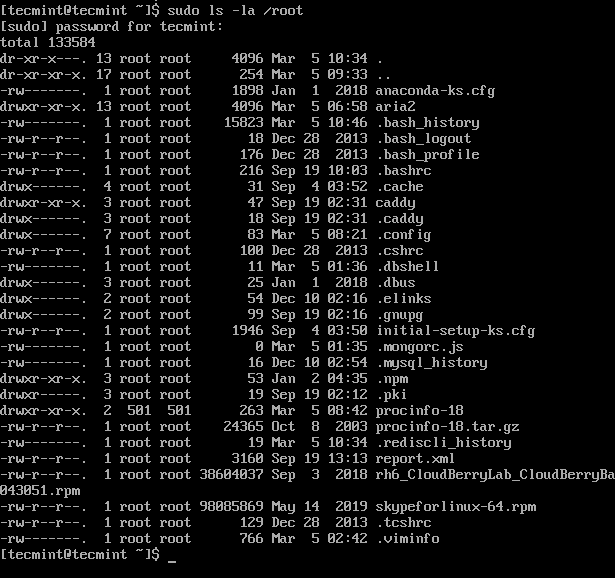
7. You can also list the contents of the /root directory using the ls command, which is normally only reachable to the root user.
$ sudo ls -la /root
You might also like to read these following related articles on sudo.
- 10 Useful Sudoers Configurations for Setting ‘sudo’ in Linux
- How to Show Asterisks While Typing Sudo Password in Linux
- How to Keep ‘sudo’ Password Timeout Session Longer in Linux
That’s All! In this article, we’ve explained how to to create a new normal user account with sudo privileges on a CentOS system. For any questions, reach us via the comment form below.