
Taking screenshots has always been something macOS has done very well. Shortcuts allow you to send screenshots to the clipboard or save them to the Desktop. You can capture the entire screen or any arbitrary rectangle. You can also capture a specific window with an automatic drop shadow.
The window capture, in particular, produces a very nice result. But it’s not easy to take a screenshot with exact dimensions. Resizing a window to an exact pixel width and height is tricky enough. The additional shadow makes it even harder.
Here’s how you can capture perfectly sized window screenshots every time.
Step 1. Learn How to Run AppleScript
Although you can resize images using Photos or Preview, it involves a lot of trial and error, especially when it comes to window-based screenshots. Our technique uses AppleScript, a scripting language that provides access to Mac applications. It’s exactly what you need to set the precise size of a window.
You can run AppleScript commands and programs using two methods:
-
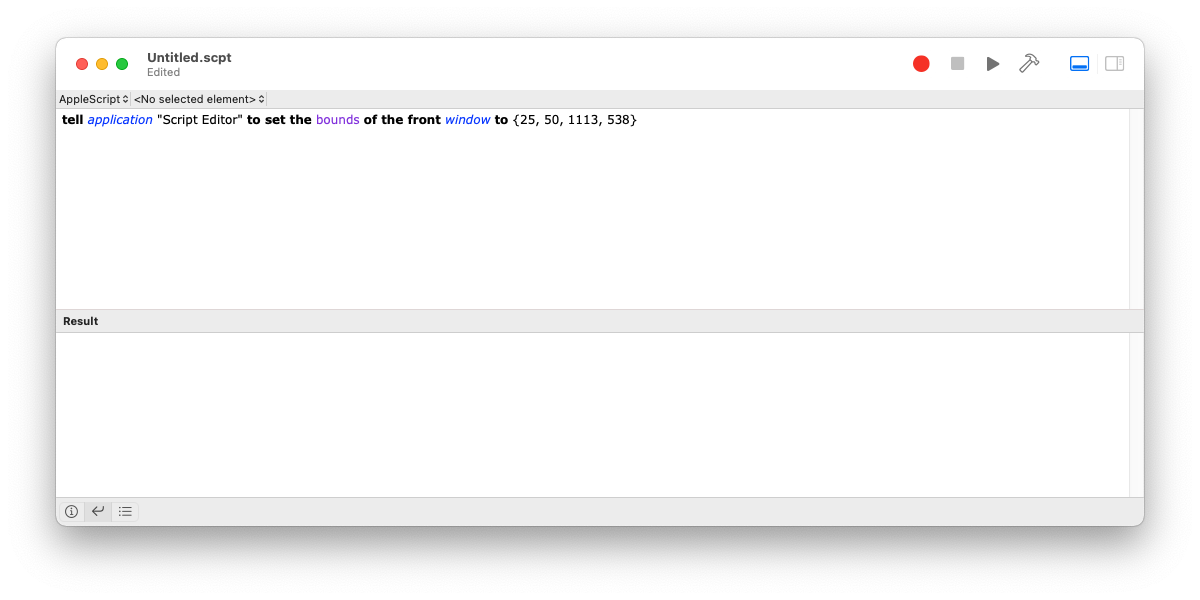
The Script Editor app has a GUI and accessible documentation.
-
You can run the osascript program on the command line, using Terminal. You can send AppleScript as input to osascript like so:
echo '...applescript goes here...' | osascript

The option you use is down to personal preference.
Step 2. Resize a Window Exactly Using AppleScript
The command to size a window in AppleScript is:
tell application "Finder" to set the bounds of the front window to {25, 50, 1025, 650}
Note that this is quite verbose, so be sure to type it exactly as shown. The individual parts work as follows:
tell application "Finder" to sets up the app you want to work with. Here, it’s Finder, but you can use any running app with a window open.
set the bounds of the front window to describes the action to carry out. You’ll be setting the size of the front window, so make sure to bring the one you want to the front first.
{25, 50, 1025, 650} are the bounds. Note that these are the x and y coordinates of the top-left and bottom-right corners, respectively. For this purpose, the actual values are less important than the difference between them—the width and height.
Step 3. Work Out the Shadow Size
The final part of the puzzle is working out the size of the drop-shadow, so you can take it into account. This involves a bit of work we'll just tell you, the shadow is 112×112 pixels.
But in case this changes, or you ever need to work it out from scratch, here’s how to do it.
-
Start by getting the dimensions of a window, any window will do:
tell application "Finder" to get the bounds of the front window - Subtract the first two values from the second two to get the width and height.
- Now take a screenshot of the window (Shift + Cmd + 4, then Space, then Return).
- Select the screenshot image file in Finder and note the dimensions in the preview pane (View > Show Preview). These should be bigger than the width and height you obtained in the last step. The difference is the size of the shadow.
Step 4. Put Everything Together
Let’s say you want a screenshot of exactly 1024×768 pixels. Here's what you need to do:
- Start by adding on the shadow dimensions. If they’re 112×112, then our final window will be (1024+112)×(768+112)—that’s 1136×880.
- Now, choose coordinates for the top-left corner and add them to these dimensions to get the bottom-right corner e.g. {25, 50, 1136+25, 880+50} which is {25, 50, 1161, 930}.
-
Run the AppleScript command:
tell application "Finder" to set the bounds of the front window to {25, 50, 1161, 930} - Finally, take the screenshot (Shift + Cmd + 4, then Space, then click).
If this looks like a lot of work, don’t worry—you only need to do steps 1-2 once. If you regularly use several different image sizes, you can save an AppleScript file for each one.
Use AppleScript to Perfect Your Window Screenshots
This technique takes a bit of setting up initially, but it can save you a lot of time in the long run. There’s a surprising lack of window-sizing features in macOS, but AppleScript helps you bypass these shortcomings. For perfectly sized screenshots, without any awkward cropping, nothing beats pixel precision!
If you frequently need to work with many screenshots, consider using a method to batch resizing.