

It's easy to run Kali Linux from a live USB on nearly any available computer, but many publicly accessible laptops and desktops will be locked down to prevent such use. School, work, or library PCs can be secured with a BIOS password, which is often an easily recovered default password. Once you have access, though, you can use a USB flash drive to run Kali live on any PC you find.
Running Kali Linux on Computers via USB
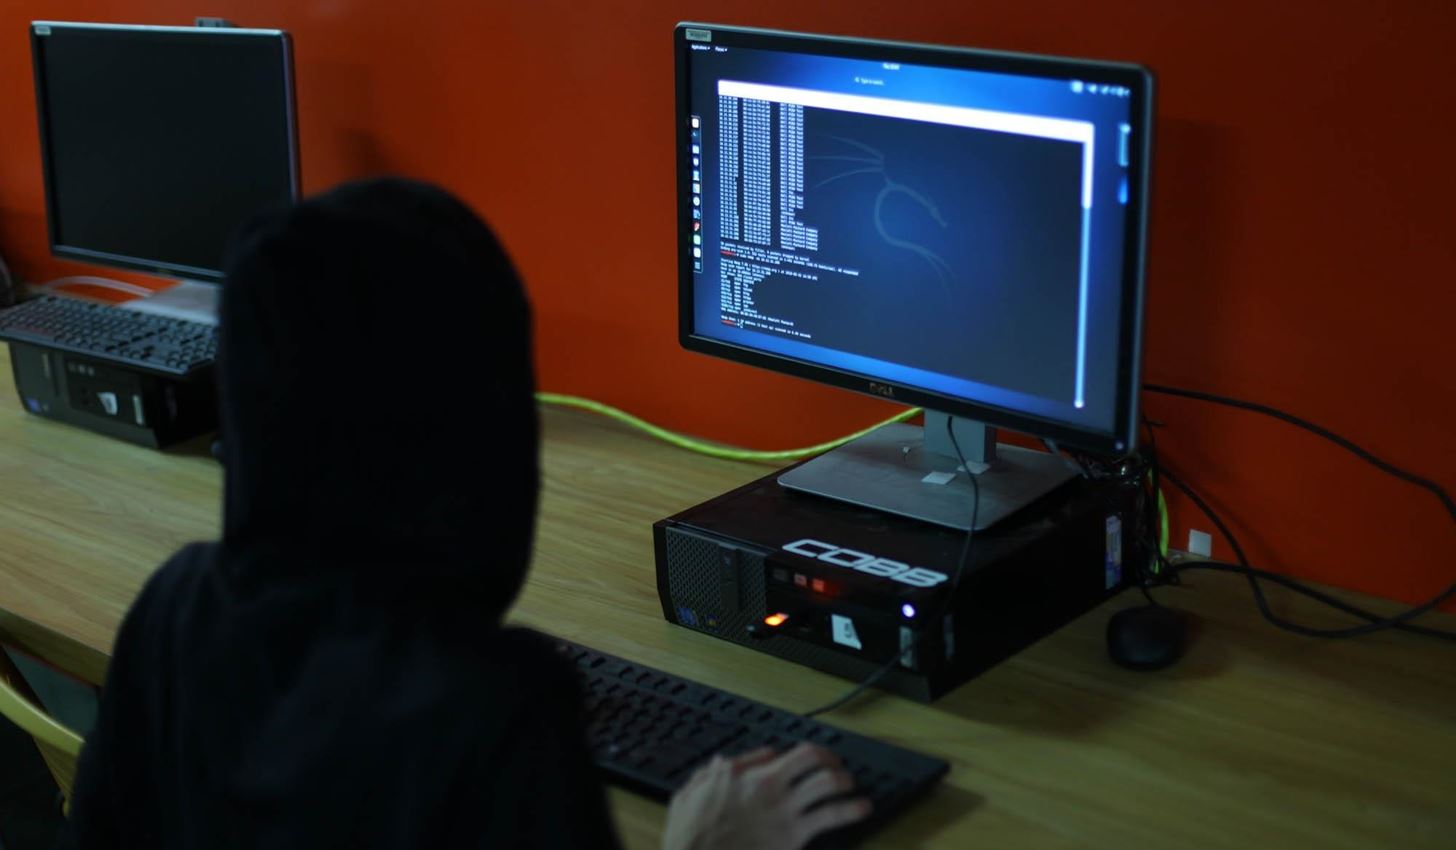
With a Kali live USB stick, you can run a hacking OS on any machine you can plug into, meaning you don't have to dedicate your personal computer or a portion of it for your hacking adventures, nor do you need to buy a PC just to use Kali with. A live USB allows the resources of the computer to be used to boot from the thumb drive, ignoring the hard drive the computer usually boots from.
When running Kali from a USB stick, there are two different ways of doing so. One is persistent, meaning changes that you make are saved to the flash drive. The other is non-persistent, where no changes are saved any anything you do is lost when you exit the session.
If you don't need to store files or remember settings you've changed, you can simply run the installation in live mode and enjoy the benefits of a fresh system every time you start. If persistence is a necessary feature, you can take the extra steps needed to make your installation persistent.
Using a Kali Live USB Stick on Any Windows PC
While computers can be found almost everywhere nowadays, it's rare to find one for public use that isn't protected in some way. Most school and work computers have layers of defenses, usually requiring a login, and some features deemed risky could be disabled. An example of one of these features is changing the boot order in the BIOS menu to allow booting from a USB stick.
The BIOS, or Basic Input/Output System, is the configuration menu which can be run at the beginning of booting a computer. This system runs before the operating system and does things like tells the computer which input device to search first for an operating system to boot from.
If the BIOS is unlocked, changing the boot order to have the computer attempt to boot from USB first takes only a few seconds with the on-screen menu, which can usually be accessed by pressing F2 while starting the computer.
However, as mentioned before, most publicly accessible computers will have a BIOS password set. This password, sometimes called an administrator password, will be required to switch the boot order, making it much harder for the average user to run Kali on a computer they have access to. If the BIOS password is set to a strong password, it can be extremely difficult to modify the system in any meaningful way.
- Don't Miss: How to Run Kali Linux as a Windows Subsystem
Fortunately for a hacker, many PCs simply use a default password on the BIOS, which can be derived easily from the serial number. This allows a hacker to bypass the BIOS password to change the boot order to allow Kali Linux to run on the system. We'll explore how this works, so you can determine if a computer is using a default BIOS password and bypass it.
What You'll Need to Get Started
To try this attack, you'll need to use a computer that has a version of Windows running on it. The boot system of macOS doesn't use a BIOS-type interface, so you won't be able to execute this kind of attack against a Linux or macOS device.
Once you have a test computer, you'll need to create a bootable USB image of Kali Linux. You'll need a USB stick with at least 16 GB of space on it, although more is advised if you want a persistent installation which allows you to save files or data.
Step 1: Download Kali Linux for a Live Install
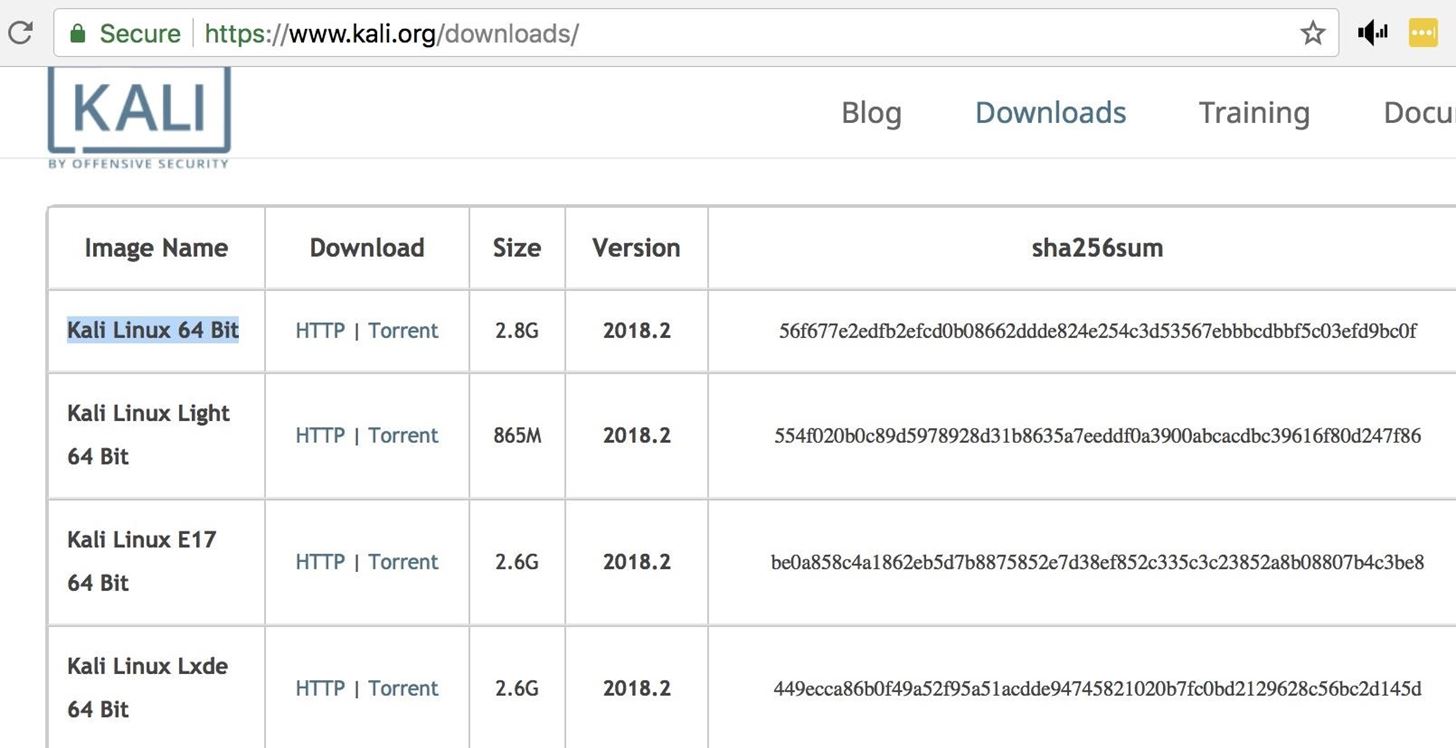
To begin, download Kali Linux from kali.org/downloads, taking care to download the appropriate version for the computer you're going to be using. Generally, the 64-bit version should be fine.
Step 2: Burn a Kali Live Installation to a USB Drive
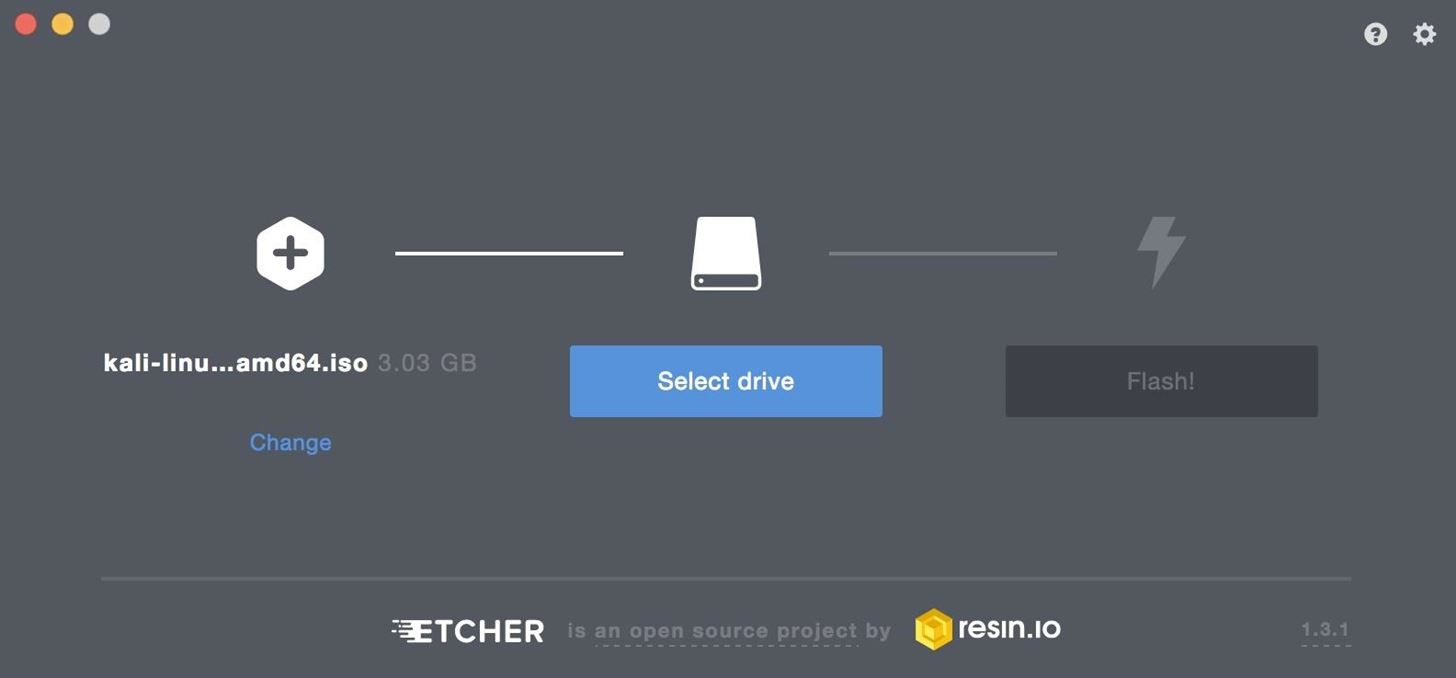
Once this file has been downloaded, you'll need to burn it to a USB flash drive using Etcher (download). This free, cross-platform program can turn the Kali image into a bootable USB stick. Make sure there are no files on the thumb drive you are using because it will be erased in the process.
Insert the USB drive into your computer, then open Etcher. Inside Etcher, you'll need to supply two pieces of information: the image to write and the drive to write the image to. For the option on the far left, select the Kali image you downloaded, then hit "Select drive" to choose your thumb drive. Make sure you're selecting the correct drive because after you click the "Flash" button, the selected drive will be erased.
Click "Flash," and the process will begin, first burning the data to the drive, and then verifying the burned image. When this is done, you can safely eject the drive.
Step 3: Reboot the Target Computer to Access the BIOS
Now that the USB stick is ready, booting into Kali is fairly simple if you're able to access the boot order settings. First, you'll need to identify the key to press when you reboot the computer which accesses the BIOS menu. My HP computer allows access to this menu by hitting Esc, but for many other desktop PCs, the key is F2.
Common Keys for Newer PCs:

F1
F2
F10
Del
Esc

Notes:

- If you try F2 and see a diagnostics tool,
    the BIOS key is likely F10.
- If the boot menu opens for F10, it's
    likely F2.
If you're unsure what keyboard command it is for your computer, you can Google it or simply watch the screen when your computer starts, as it often will say which key to press in order to enter the startup menu, as seen below.
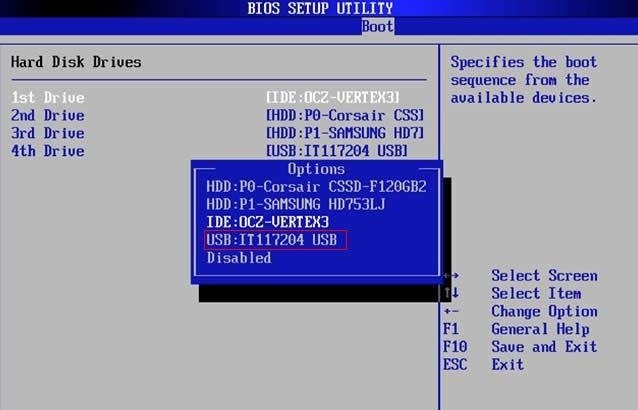
Press <F2> to enter BIOS setupFrom within the BIOS system, you'll need to look for the "boot order" or "boot menu." When you've located this, you'll need to change the order that the computer looks for devices to boot from. If there is no password, this is the step in which you can simply change the boot order so that the USB drive comes before the hard drive, and you're done!
Unfortunately, many computers will have an administrator password set here, preventing you from changing the setting. In that case, jump to the next step to start the process of bypassing it.
Step 4: Recover the Default Password
After getting a prompt stating that a password is needed to change the boot order, it should include the serial number, which can be used to figure out the password.
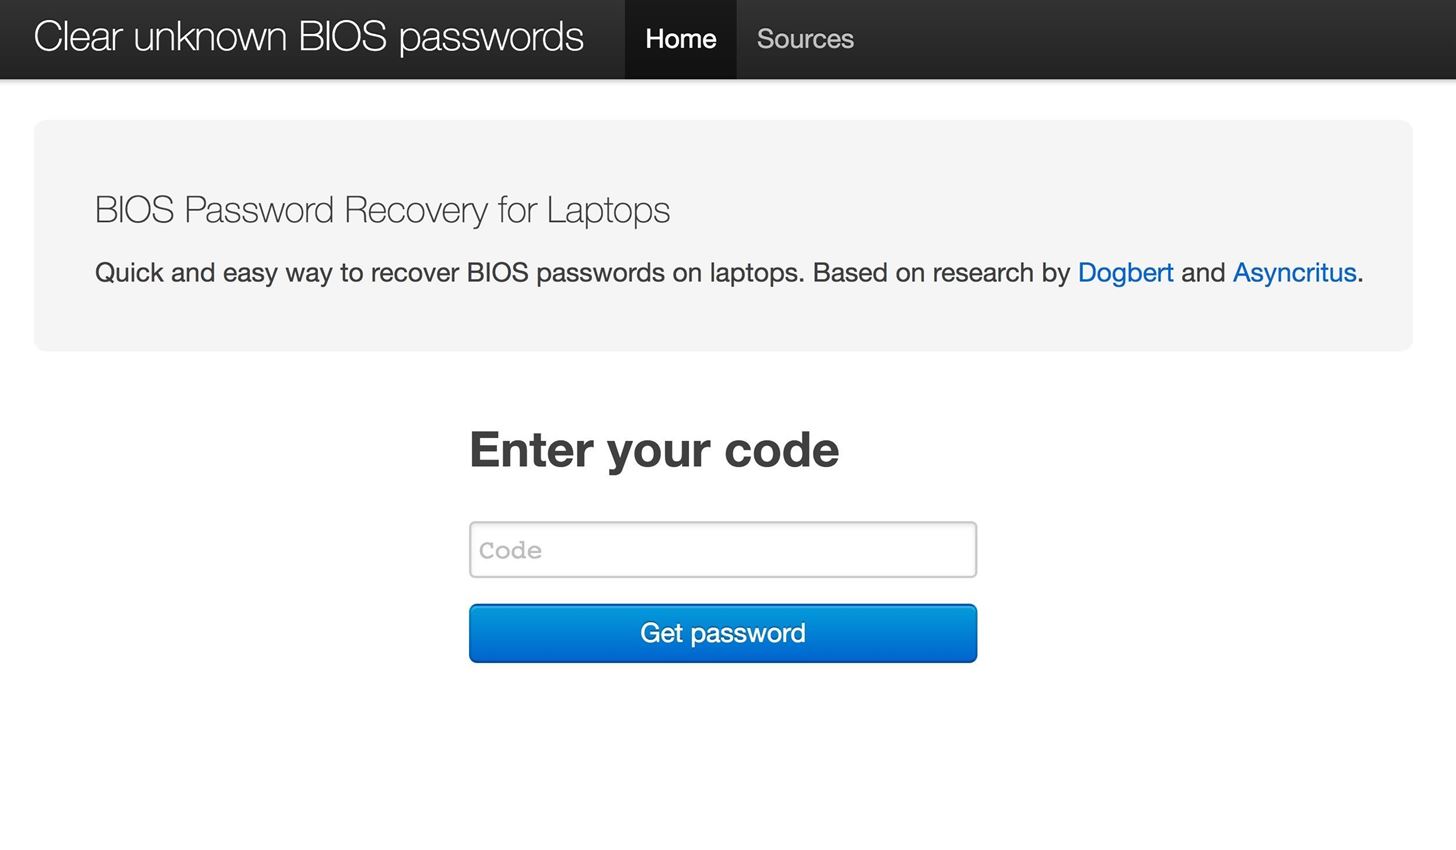
On your smartphone or another computer, you'll need to navigate to a website that generates BIOS default passwords such as Clear unknown BIOS passwords. Copy down the serial number you got from the BIOS menu, then enter it into the website tool and hit "Get password" (or a similar button) to generate a default password.
Some manufacturers supported by the website are as follows:
Asus: Current BIOS date. For example: 01-02-2013
Compaq: 5 decimal digits (e.g., 12345)
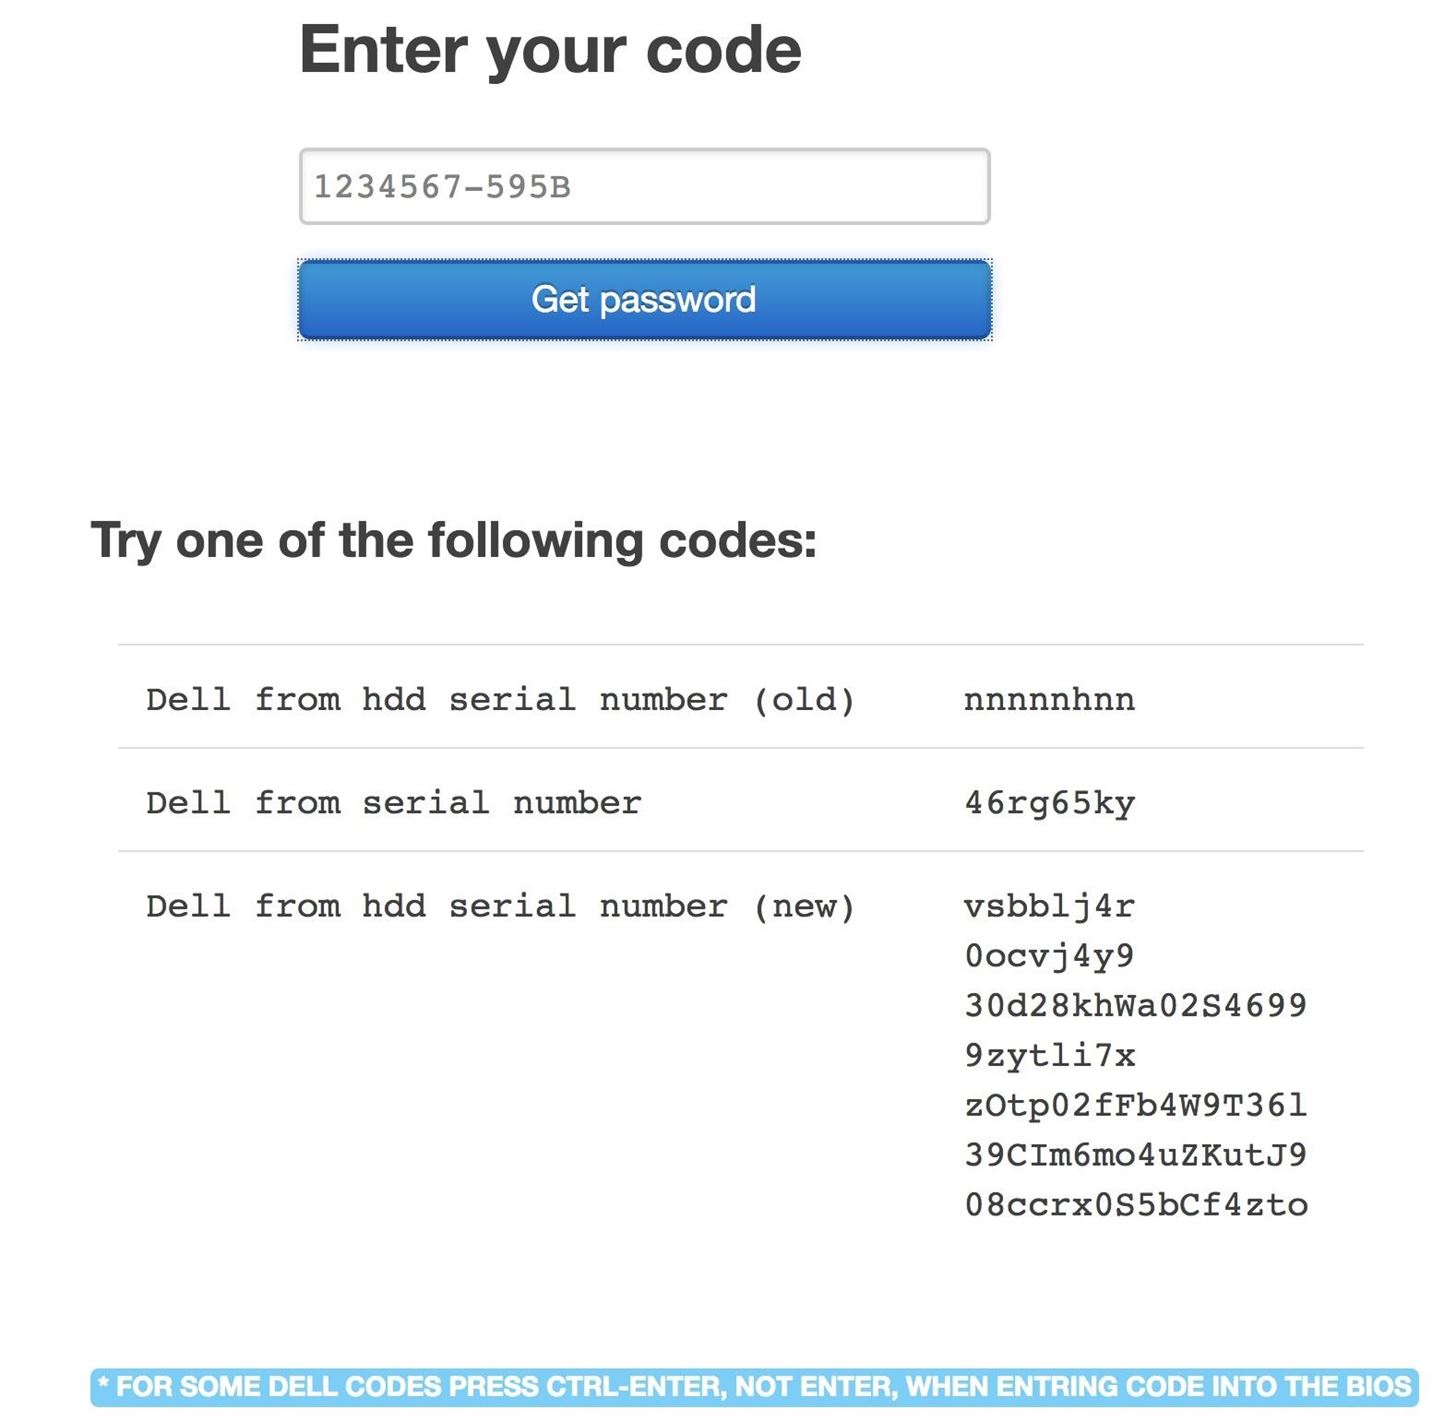
Dell: Supports such series: 595B, D35B, 2A7B, A95B, 1D3B, 6FF1, and 1F66. (e.g., 1234567-2A7B or 1234567890A-D35B for HDD)
Fujitsu-Siemens: 5 decimal digits, 8 hexadecimal digits, 5x4 hexadecimal digits, 5x4 decimal digits
Hewlett-Packard: 5 decimal digits, 10 characters
Insyde H20 (Acer, HP): 8 decimal digits
Phoenix (generic): 5 decimal digits
Sony: 7-digit serial number
Samsung: 12 hexadecimal digitsAfter you enter your code, you'll see several codes to try. You can type these in one by one to see if any of them work. If you're trying this on a Dell computer, you'll need to press Ctrl and Enter at the same time to get the default password to work.
Step 5: Bypass Authentication & Change the Boot Order
Now that you have the default BIOS password, you can access the entire BIOS menu. This gives you full access to the hardware settings of the computer, and you can do pretty much whatever you want at this point. To start, you can disable the BIOS password, set a new admin password, or do things like apply firmware updates.
In this case, you probably won't need to do any of this. Attempting to change the boot order should give you a password prompt, and once you supply the default password, you should be able to switch the boot order to make the "USB" option first, as seen above in Step 3.
- Don't Miss: Fully Anonymize Kali with Tor, Whonix & PIA VPN
If this doesn't work, you can also navigate to the security settings and attempt to log in there. Once you supply the default password, you can proceed to either disable or change it, allowing you to proceed to the boot order settings and change it to run USB first.
Step 6: Boot Kali Linux from USB
Now that you've bypassed the BIOS password and changed the boot order, insert the Kali live USB stick, and reboot the computer. The first place the computer should now look is the USB port for a system to boot from, but in the future, if there is no bootable system plugged into the USB drive, it will just proceed to boot from the hard drive as usual.
Once the system starts, you will be taken to the Kali setup screen. Here, you'll be able to pick which version of Kali you want to run on the system. You can select a live version, which will not save any data to the disk, or a persistent version, which will allow you to save files and settings to the disk.
You can also choose to install Kali Linux permanently onto the system, which will allow you to select part of the hard disk of the host computer and install Kali Linux onto it. This may change the way the computer boots, so it's not a very subtle option.
- Don't Miss: How to Compile a New Hacking Tool in Kali
Once you decide which to run, select it to begin booting into the system. Once you see the login prompt, type root as the username and toor as the password to log into the desktop for the first time. And now that you're logged in, you're free to run an update, change the default password, and get started using Kali Linux!
Have Questions on Any of This?
I hope you enjoyed this guide to bypassing BIOS passwords to free any Windows PC to use Kali Linux from a portable flash drive! If you have any questions about this tutorial or running Kali from a live USB stick, feel free to leave a comment below or reach me on Twitter @KodyKinzie.
Just updated your iPhone? You'll find new emoji, enhanced security, podcast transcripts, Apple Cash virtual numbers, and other useful features. There are even new additions hidden within Safari. Find out what's new and changed on your iPhone with the iOS 17.4 update.


7 Comments
I there!
First, thank you for all your good tutos, they've been very helpful! :)
I tried this one at home, but it didn't work: new W10's feature "fast startup" doesn't give you access to the BIOS/UEFI for some reasons. Since you need Admin privileges to remove it, I wonder how to bypass it. Could you help w/ that as well?
You must boot into the Windows logon screen, then go to where you can reboot the machine. Press the F2 key and click reboot or restart or whatever and keep the F2 key down until the manufacturer logo shows up. Then release the F2 key and there you are. BIOS.
thanks!
sir I had a doubt that will booring kali linux from a live usb affect the hard drive
also will my primary os (like windows which was on the hard drive) be erased or affected
please answer ASAP
ps I am a newbie to kali
pps I love null-byte posts
please reply soon
thank you in advance
oiiiii mate where are you
Share Your Thoughts