
Kheli Mason had been studying to become a doctor when her career unexpectedly changed paths. She took a term off to earn some extra money and landed a job with a forward-thinking building maintenance handyman. “He bravely put an electric saw in my hands—it was a Milwaukee Sawzall, for you tool connoisseurs out there—and told me to cut a pipe,”she says. “He had no idea what he was starting. But after twenty-five years, two or three Sawzalls, and plenty of blades, I’m still sawing.”
In 2012, Mason founded the Handy Woman LLC. Her mission: to teach people, women homeowners in particular, how to care for their houses. Those who sign up for coaching, either one-on-one, in small groups, or in larger classes, get hands-on experience with typical home-maintenance projects. “Many of the repairs I’ve done for others over the years could have been avoided if the homeowners had been aware of basic maintenance procedures,” Mason says. “Most of these jobs are simple and can save quite a bit of money if they’re carried out on a regular basis.
A house that’s in good health will be safe to live in, protected against damage, and running efficiently. Though the Handy Woman LLC has since closed up shop, we still turn to Mason—we like to think of her as the “house doctor.” Here she shares her top 10 maintenance tips to keep your house in peak condition.
1. Know where your main electrical panel and water shutoff valve are located.
Even if you have no intention of doing your own maintenance or repair work, you should know how to cut the power and turn off the water main in an emergency. That knowledge could prevent considerable damage in the event of a burst water pipe or hose—and could even save a life.

2. Make sure your fire extinguishers are ready to perform.
A fire extinguisher that’s been sitting around for years may not work in an emergency. To make sure your extinguishers are in good order, check the dial gauges every month to see if the pressure needs recharging. If an extinguisher has been used once, even for only a small amount, it must be recharged. Look online for a local company that specializes in recharging fire extinguishers, or ask your fire department for advice. For more, see our Remodeling 101: How to Choose a Home Fire Extinguisher.
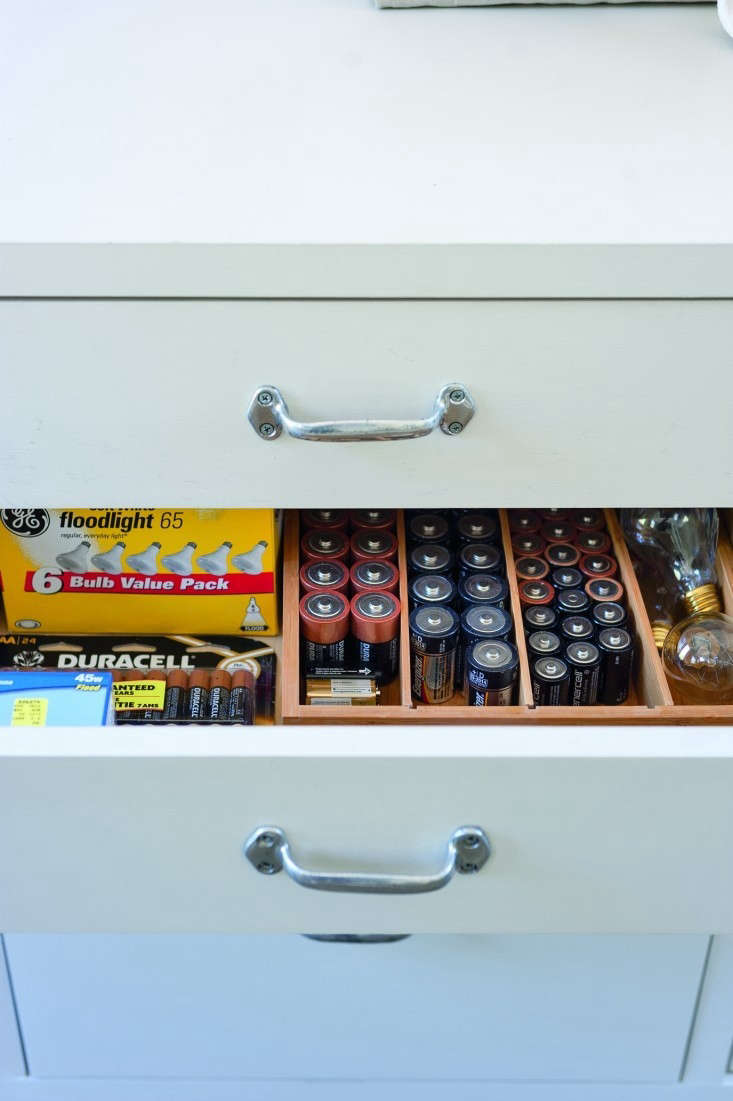
3. Replace the batteries in your safety alarms on a regular schedule.
Obviously, it’s important to have functioning batteries in your smoke alarms and carbon monoxide alarms. (These days, the two are often combined in one unit.) Even if your alarms are hardwired, they still need a backup battery in case your power goes out, so replace these batteries annually. And consider changing the thermostat battery at the same time, to avoid having your furnace malfunction while you’re away. Check out 7 Essentials: Smoke Alarms with Smart Designs for a few of our favorites.
4. To keep appliances running efficiently, replace or clean filters as required.
Most appliances seem to have filters: refrigerators, humidifiers, water filtration systems, range hoods, furnaces, air conditioners, and more. Clean filters help your equipment function at peak efficiency and increase its life expectancy. While some filters can be cleaned and reused, most must be replaced with new ones. Keep track of which filters you need, and when they must be cleaned or replaced, by filing away any documents you received at purchase time.
5. Caulk regularly to protect against moisture.
Caulk protects the parts of your house that may be exposed to moisture. It seals gaps where water might seep in: around showers, tubs, and sinks, and on the exterior of the house around windows and doors, foundations, and driveways. Vigilant maintenance of all the caulk will ensure that water won’t cause mold, mildew, and eventual rotting. Not only is water damage expensive to repair but also it can also cause illness since some people are susceptible to mold that grows on damp drywall and other materials.

6. Seal tile grout at least once a year, and clean it regularly.
Don’t assume that the grout between your bathroom and kitchen tiles is waterproof. In fact, it’s not. You need to apply sealant to the grout annually or run the risk of water seepage. I’ve torn out many a shower to find the wall behind it so badly rotted from water infiltration that it crumbled in my hands. As an added benefit, sealant helps protect the grout against hard-to-clean staining. Some types of sealant are more labor-intensive than others, so do your research to find out what will work best for your situation. Also read up on Remodeling 101: How to Choose the Right Tile Grout.

Besides sealing your grout, Mason recommends cleaning it regularly. For eco-cleaning, try this recipe for Homemade Tub, Tile, and Grout Cleaner.
7. Clear obstructions from the clothes dryer duct.
Clogged vent systems are the leading cause of clothes-dryer fires. If you see lint around the dryer vent outside your house, you can be sure that lint has accumulated in the ducting. Every year you should clean the entire vent system, removing the flexible pipe connected to the dryer so you can vacuum it thoroughly, and using a flexible brush to reach up inside the dryer itself. Companies specialize in this service, but you can do it yourself with a kit of duct-cleaning brushes and other equipment. Annual cleaning also helps the dryer function properly.

(Note: In clothes dryers, rigid or flexible venting material sustains proper air flow. Mason prefers the higher-gauge steel used in rigid vents because it withstands heat better than the aluminum or plastic found in flexible venting.)
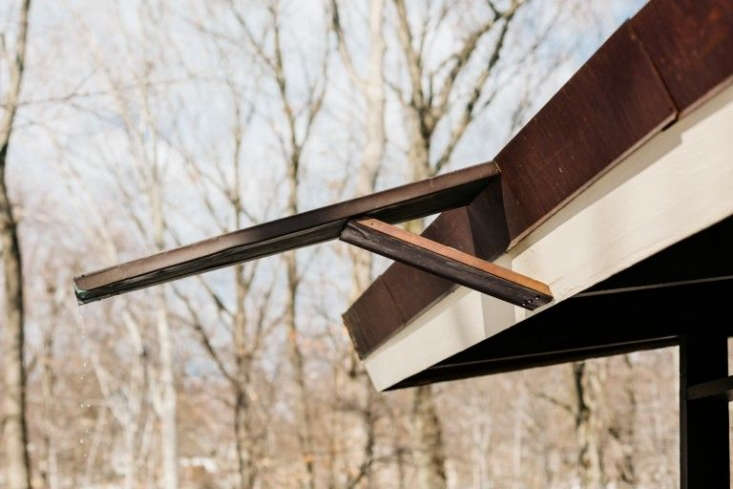
8. Remove debris from rain gutters and window wells.
Rain gutters are meant to direct water away from the house. But when gutters fill with leaves and other debris, water can creep under shingles, sneak behind wood siding, and damage walls. At least once a year, check that gutters and downspouts are clean and clear of obstructions. And watch for clogged drains in window wells, which can result in water leaking into your basement or crawl space. Cover window wells with screening to help keep drains free of debris.
9. Clean the area around your refrigerator motor once a year.
The refrigerator fan is constantly drawing air into the area around the motor. That can cause dust to collect, blocking the motor’s air intake and forcing the motor to work harder to keep the temperature cool inside the refrigerator. It can also shorten the motor’s life span. At least once a year, pull out your refrigerator and clean the area behind and underneath to make sure the motor can run efficiently.

10. Take these small measures to extend the life span of items in your home.
- Tighten the hinges, handles, and knobs on appliances, cabinets, and doors as soon as they become loose. It helps the doors close properly and saves wear and tear.
- Check the weather-stripping around your outside doors, and replace it when it becomes worn. This will help seal out drafts and keep insects from sneaking in.
- Freeze vinegar in ice cube trays and throw the cubes in your garbage disposal now and then to keep it clean and fresh.
- Another use for vinegar: removing hard water deposits, or scaling, on faucets, shower doors, and sliding-door tracks. Left untreated, scaling can damage surfaces over time.

N.B. This post is an update; it was originally published on Remodelista on May 9, 2014.
Going deep on spring-cleaning and maintenance? Check out our posts:
Products in this Post:
-
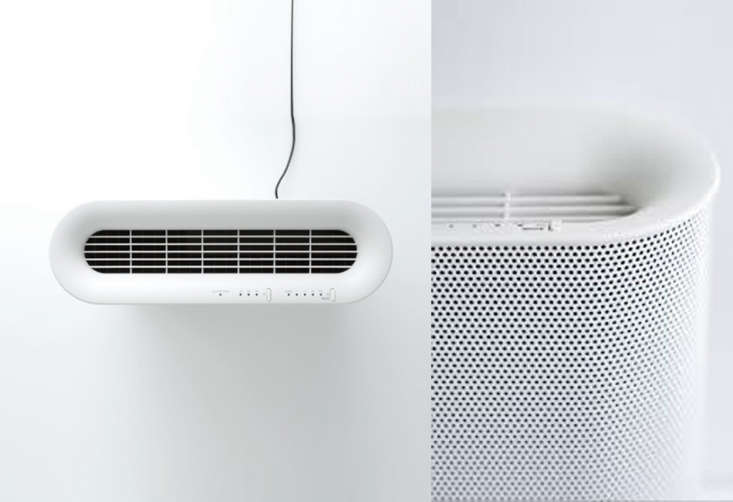
PlusMinusZero Air Purifier
$340 USD from Japan Trend Shop
-
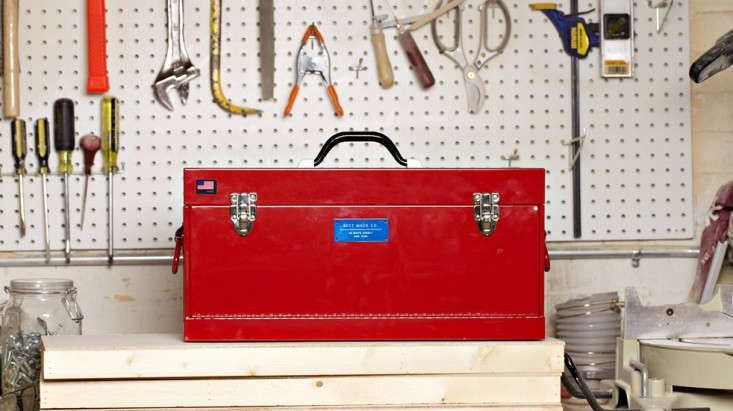
Front Loading Toolbox
A$94.00 AUD from Best Made Company


Have a Question or Comment About This Post?
Start the Conversation