20 Photos of a Winchester Model 94 Refinish
Russ Chastain 10.16.17

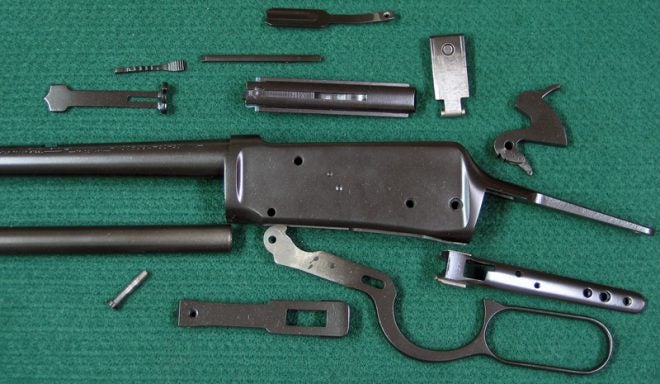
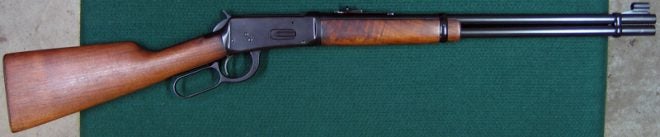
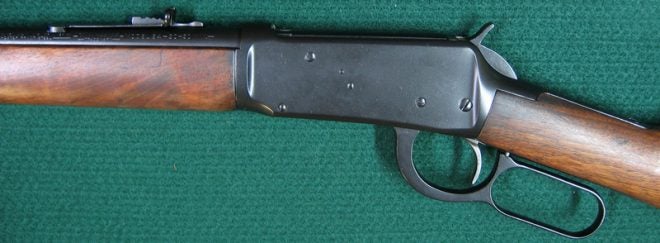
Years ago, I became the owner of an old pre-1964 Winchester Model 94 30-30 carbine. Someone had stripped off most of its bluing, so although it was perfectly functional, it looked like hell. The first time I tried to refinish this sweet old lever gun (with Blue Wonder), the result was a brown magazine tube (see the bottom gun in the photo above). Un-good. So I decided to try again a few years later.
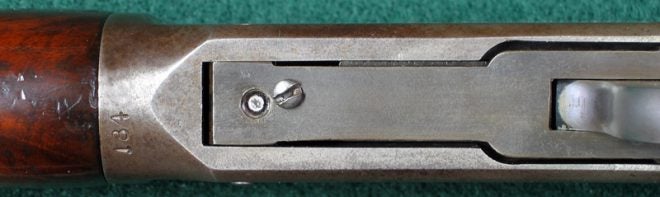
So I start taking the gun apart for the refinish, and the link pin stop screw is stubborn. I gave it a little more elbow grease than was good for it, and the head broke off. Argh!
The part of the screw beyond the threads should just be straight, but this one has a groove worn on it where the link pin rode against it for all those years. The screw couldn’t turn because the pin was engaging with that groove when I tried to turn it.
A replacement for this tiny part ended up costing me almost $8, and that was 8 years ago.
The broken part of the screw was uneven, so I used a Dremel to flatten it before I drilled the hole for the easy-out. Once I got the link pin centered, the screw turned out easily. I could have avoided quite a hassle if I had just taken my time. That’s usually how it goes.
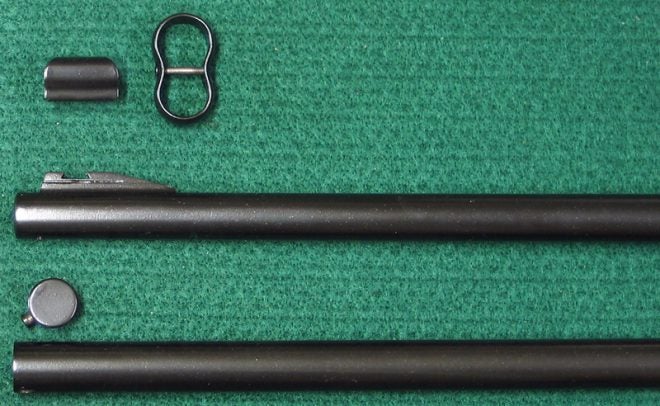
I prepped the parts with Birchwood Casey (BC) Blue & Rust Remover; along with steel wool, this quickly removed old rust and bluing and the brown finish on the magazine tube. This stuff has string fumes, so have plenty of ventilation. I did it at a sink in the workshop.
I followed BC’s directions with the remover, then I rinsed each part in tap water to get rid of the chemicals. After they were dry, I degreased them so I could apply Birchwood Casey Perma Fin (since discontinued) with an airbrush.
Perma-Fin was a liquid finish which required at least two straight minutes of shaking to thoroughly mix it before being sprayed on with an airbrush. You didn’t bake it or anything else; simply spray and allow it to dry.

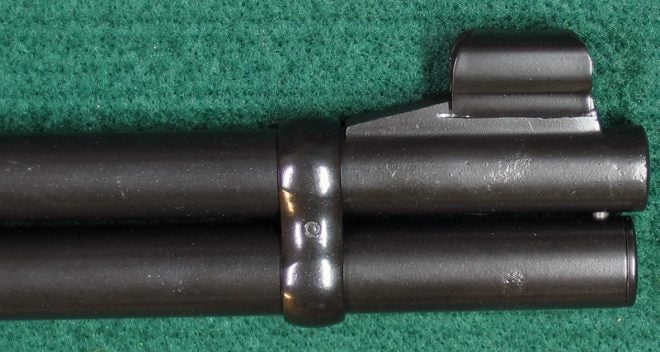
After the finish had dried on the barreled action, I had to test the fit of the forearm and barrel band. Since this stuff is essentially paint, I wanted to be sure the parts would still fit, and they did.
Because Perma Fin doesn’t build up surfaces or full barrel stampings etc, it also doesn’t hide flaws such as scratches or rust pits in the metal. For this reason, you can still find the areas of this gun which were previously rusty.
During assembly, I was impressed with the durability of the finish.
One day after the final coat was sprayed on, it was cured and ready for assembly. Airbrush trouble created a textured finish, which ain’t great but I sure wasn’t going to start over from scratch.
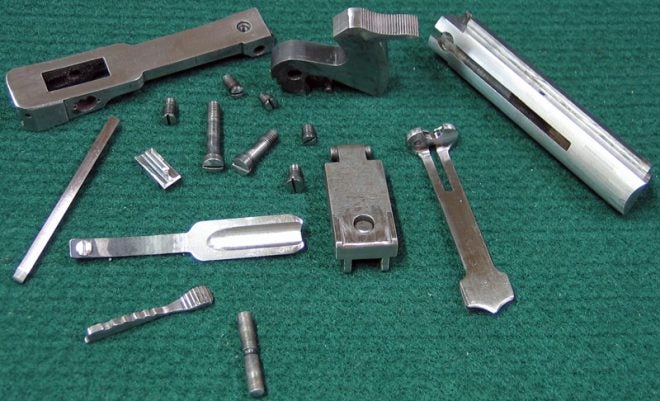
Be sure you have a set of threading taps anytime you do a project like this, to clean out threaded holes before assembling the parts.
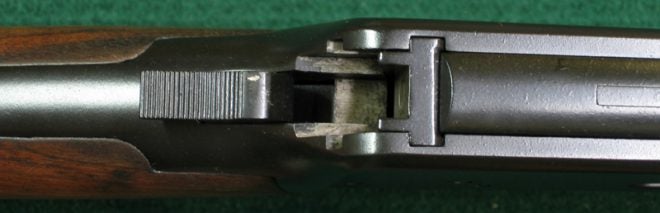
The texture on the rear sight wasn’t my favorite part, but I decided not to let it bother me too much.
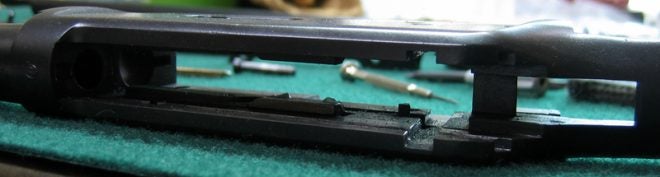
I never degreased the inside of the receiver, nor did I mask it; I simply allowed overspray to go wherever it wished. That came back to haunt me, because there were layers of Perma-Fin inside the receiver — and they were peeling up. So now I needed to clean it all off.
The pic above doesn’t show the peeling very well.

Some shreds and bits of overspray from the inside of the receiver. Some fell off, and the rest came loose with a nylon “toothbrush,” or a bronze brush in a few extreme cases.
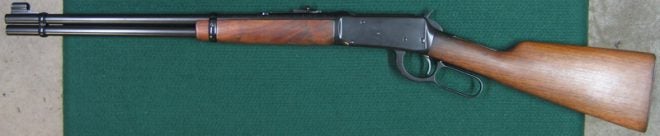
This old dog sure looked better after the finish than before.
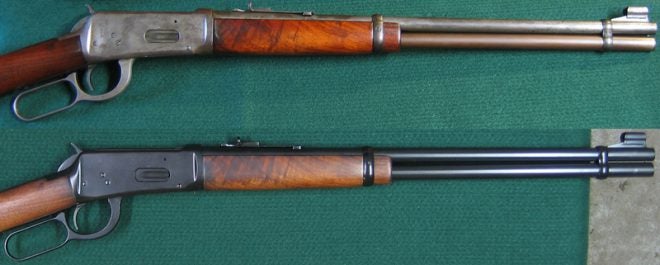
This ‘before and after’ photo tells the tale.
The old rust pits on the right side of barrel and magazine tube are still discernible.

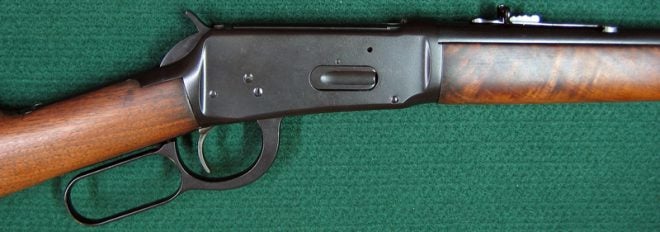
Naturally, the bolt scratched some of the finish off of the hammer when I worked the action.
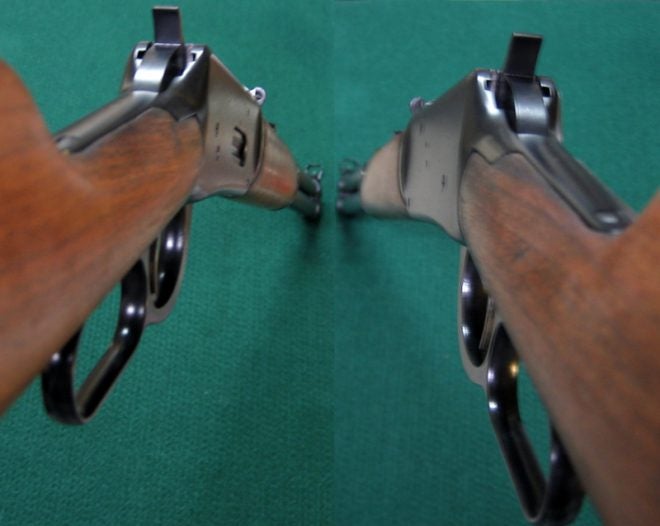
The photo above is not a mirror image; it’s a composite showing both sides of the gun.
After I did this, I felt pretty good about Perma-Fin, but that changed. Here’s a note I made on my Perma-Fin review three years after this finish was applied:
While looking through my safe, I found that this rifle had gained a whitish cast. I immediately examined it and the white stuff appears to be some form of oxidation – not good. Furthermore, the finish has gained a texture that suggests that the steel is rusting underneath the Perma-Fin. I have downgraded my rating to zero stars to reflect that. Therefore, this review and its conclusions are outdated and are only presented here in a historical context.
I hope you enjoyed seeing the refinish process.
