7 Hidden Lightroom Tricks You Might Want to Know
Educator Colin Smith of photoshopCAFE has 7 great tips for Lightroom users that might just surprise you and make your post production life a little easier. He previously shared 7 Photoshop tricks hidden in plain sight, and these Lightroom tricks are just as helpful.
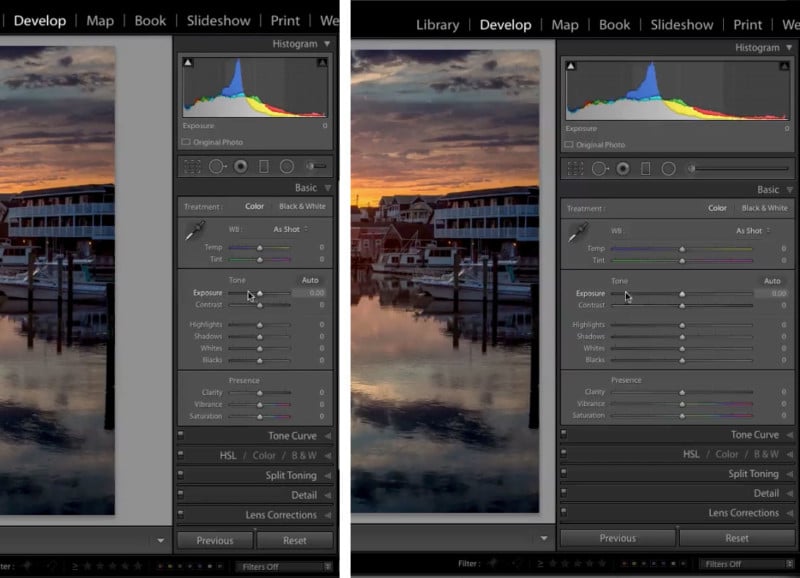
1. Try Out Solo Mode
Scrolling through all the panels in Develop mode can be a real pain. Once you’ve started opening a few of them, the sidebar because really full.
If you right-click one of the panels, such as “Basic”, you can enable “Solo Mode”. Now this means that every time you open one section of the sidebar, the others will close.
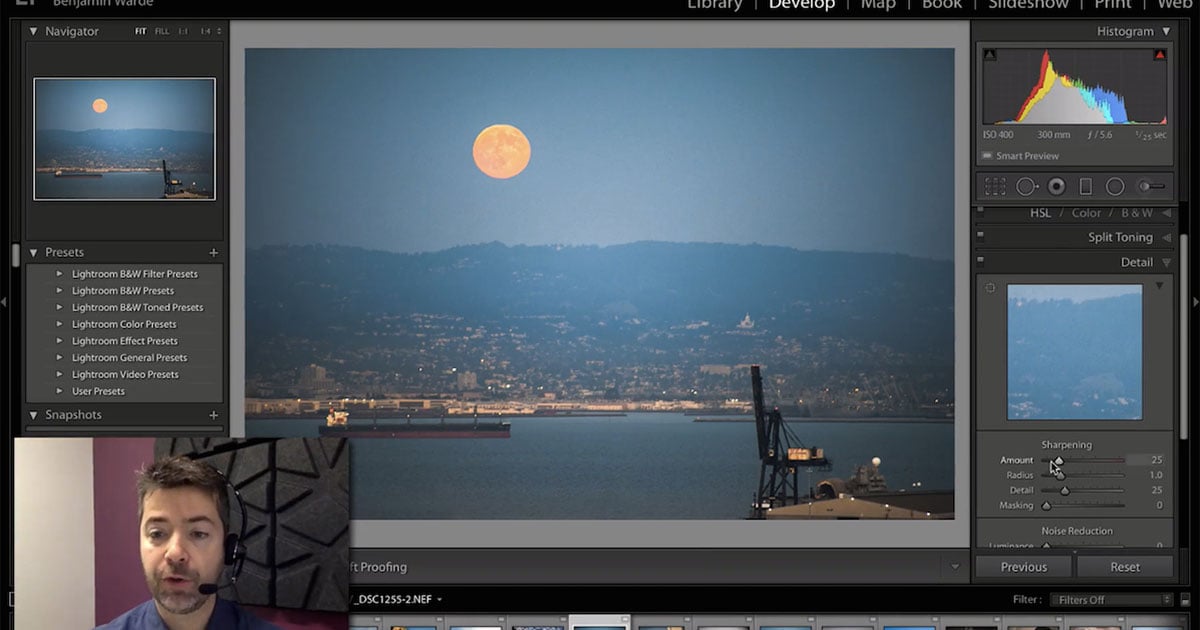
2. Increase the Slider Size
Increasing the size of the sliders let’s you have greater control over the adjustment you’re making. It makes it easier to move in finer increments, and it’s super easy to do.
Just click the edge of the sidebar, and drag it to the left. Best of all, Lightroom will remember the sidebar width for each of the different modules and retain them for you.
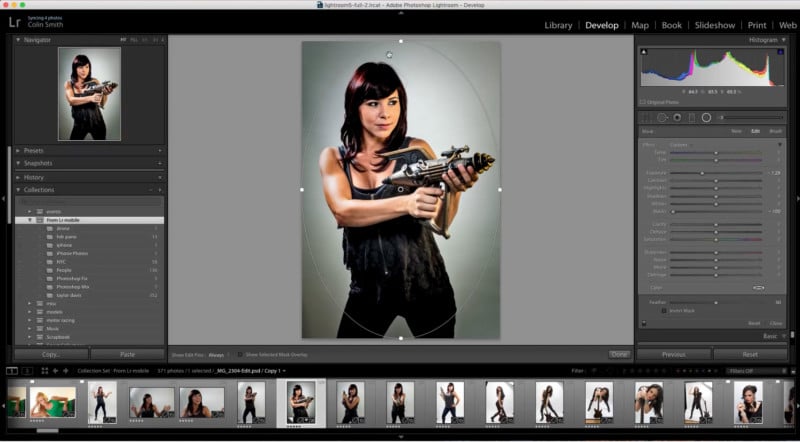
3. Snap Shapes to the Size of the Image
If you want to apply a radial filter to your photos, such as when applying vignetting, you can easily snap the shape to perfectly fit the photo. Just hit the Control key on Windows (or Cmd on Macs) and double-click the black pin in the middle of the shape.
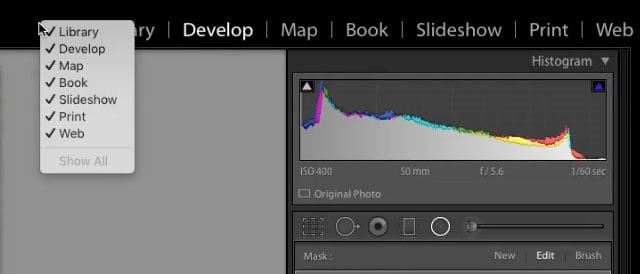
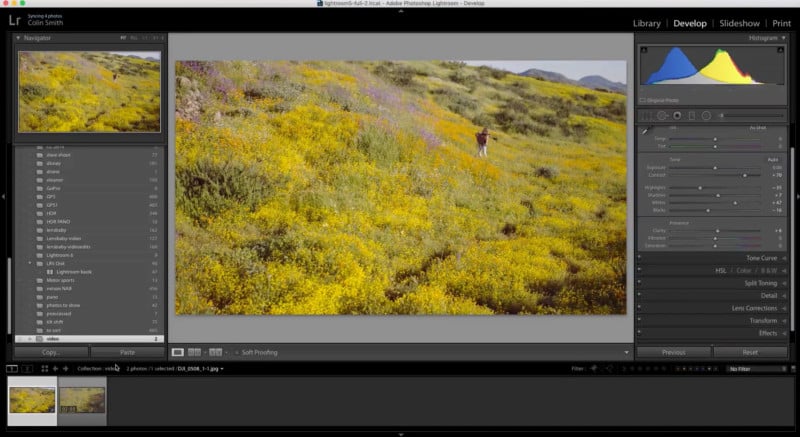
4. Hide Unwanted Modules
Don’t like the cluttered list of modules in the top-right of the Lightroom screen? Just right-click and disable the ones you don’t want for a simpler workspace.
5. Quickly Edit Videos in Lightroom
Usually, opening a video in Lightroom’s Develop module will give you a “not supported” message. Don’t worry – just capture a frame of the video and edit this.
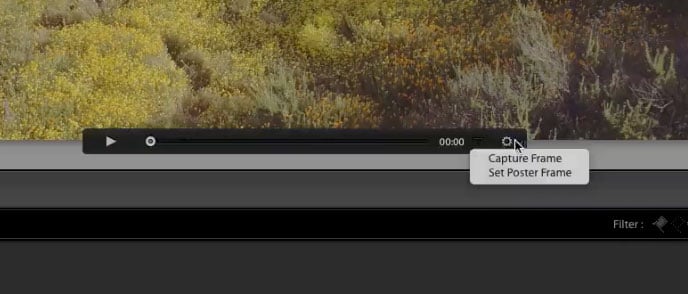
Once you’ve made your edits, select both the video and the still frame and click “Sync…” in the bottom-right corner. Now your changes will be made to every frame throughout the video itself!
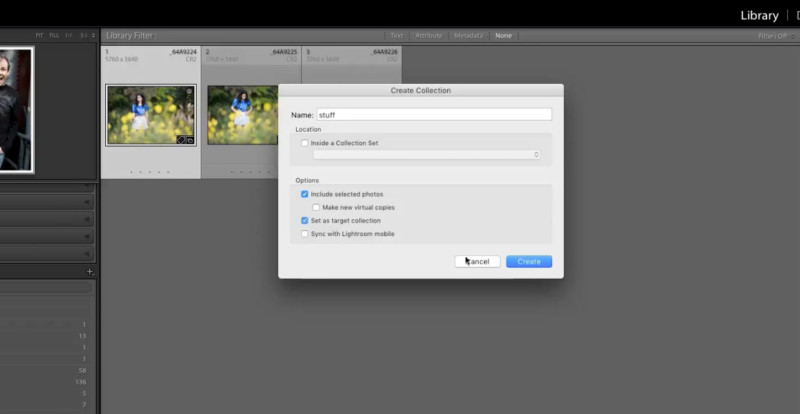
6. Add to Any Collection – Not Just “Quick Collections”
If you want the ease of adding to a collection like you do with Quick Collections, then that’s possible too. When you create your collection, tick “Set as target collection”. Now you can add straight to this one instead of the standard Quick Collection just as easily.
7. Show Metadata for Individual Photos When Selecting Multiple
You’ve probably noticed that when you select multiple images in the Library module, you can’t view the metadata for each one. Instead, it’ll just read “< mixed >”.
This is easily fixed. Navigate to “Metadata” in the toolbar, and select “Show Metadata for Target Photo Only”.
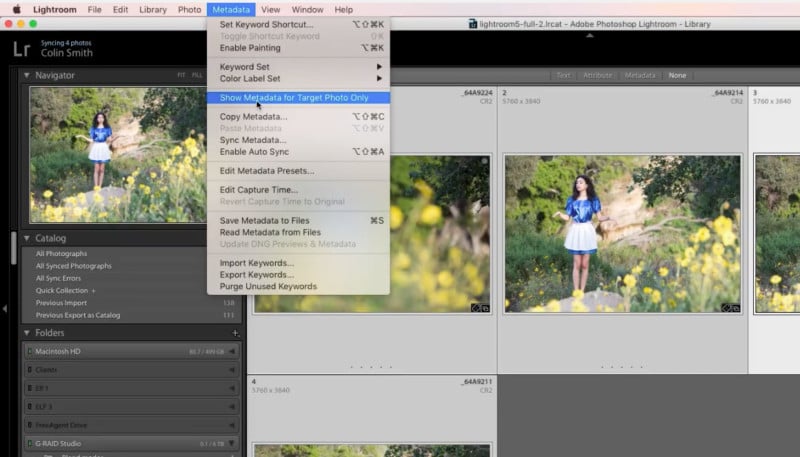
After that, when you highlight a particular photo in your selection, you’ll see the metadata of only that image.
Now, didn’t that make your Lightroom life a little better? You can find more helpful Photoshop content by photoshopCAFE on its website and YouTube channel.