

Introduction: Arduino WiFi Wireless Weather Station Wunderground


In this Instructable I am going to show you how to build personal wireless weather station using Arduino
A Weather station is a device that collects data related to the weather and environment using many different sensors. We can measure many things like:
- Temperature
- Humidity
- Wind
- Barometric Pressure
- UV index
- Rain
Mine inspiration to create this weather station is Greg from www.cactus.io Davis anemometer, wind speed and rain meter Arduino code copyright rights belong to him.
I'm using Arduino Uno as main board.
ESP8266 WiFi module will send data to www.wunderground.com
Weather Underground is a commercial weather service providing real-time weather information via the Internet.
I will use these sensors:
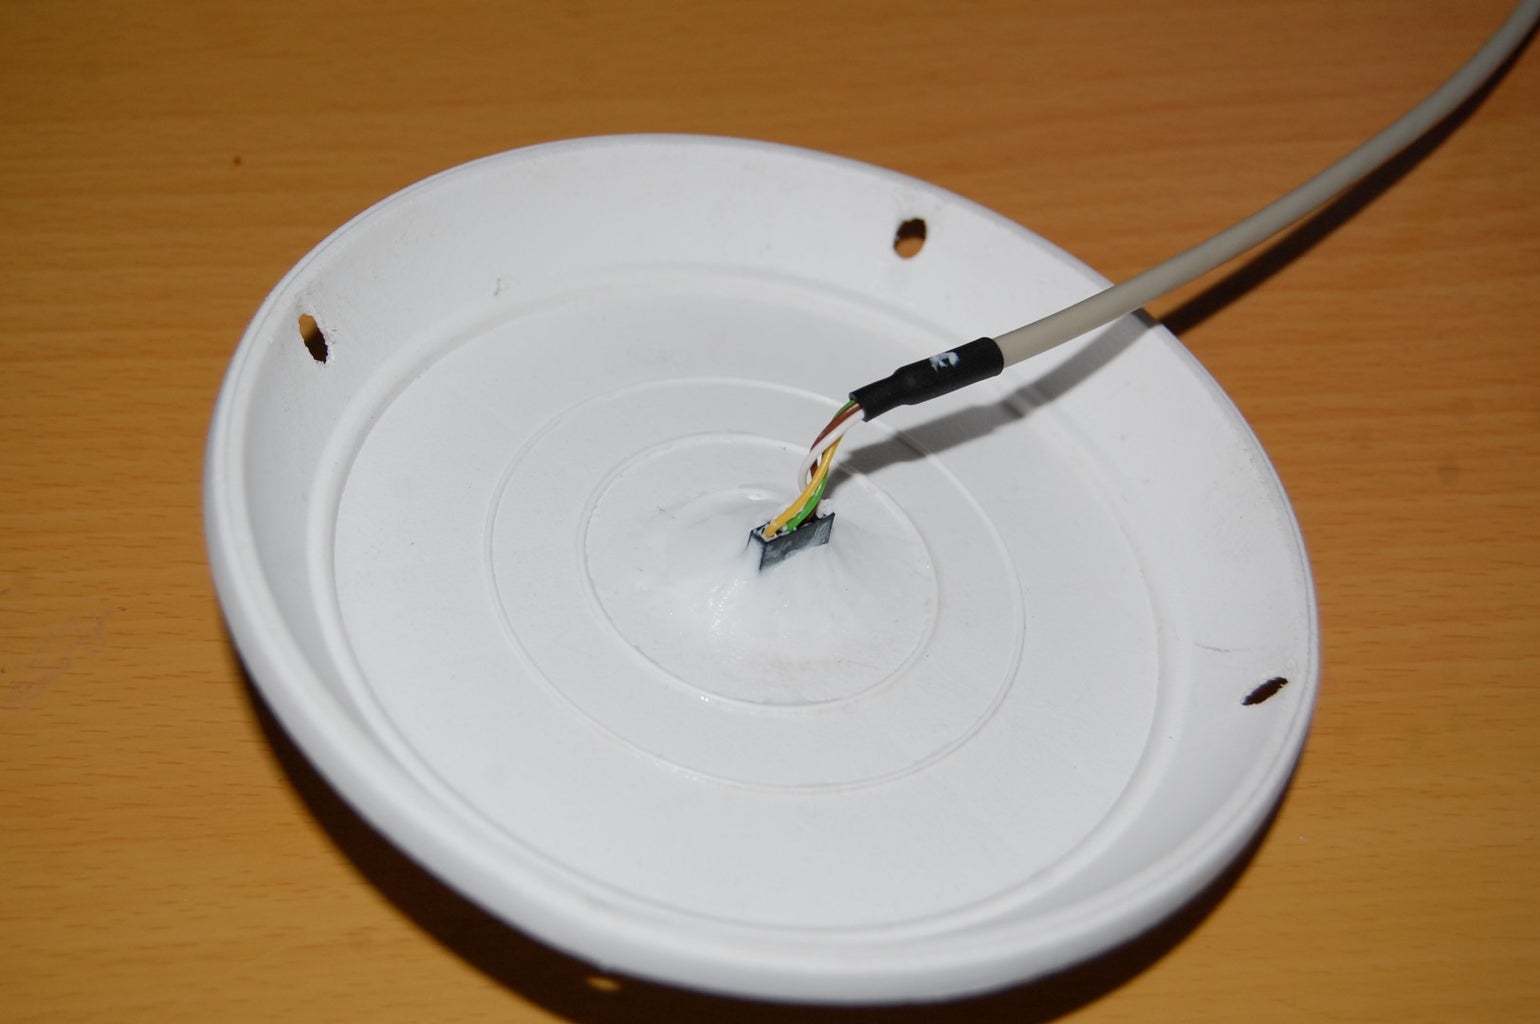
- Temperature - Dallas DS18B20
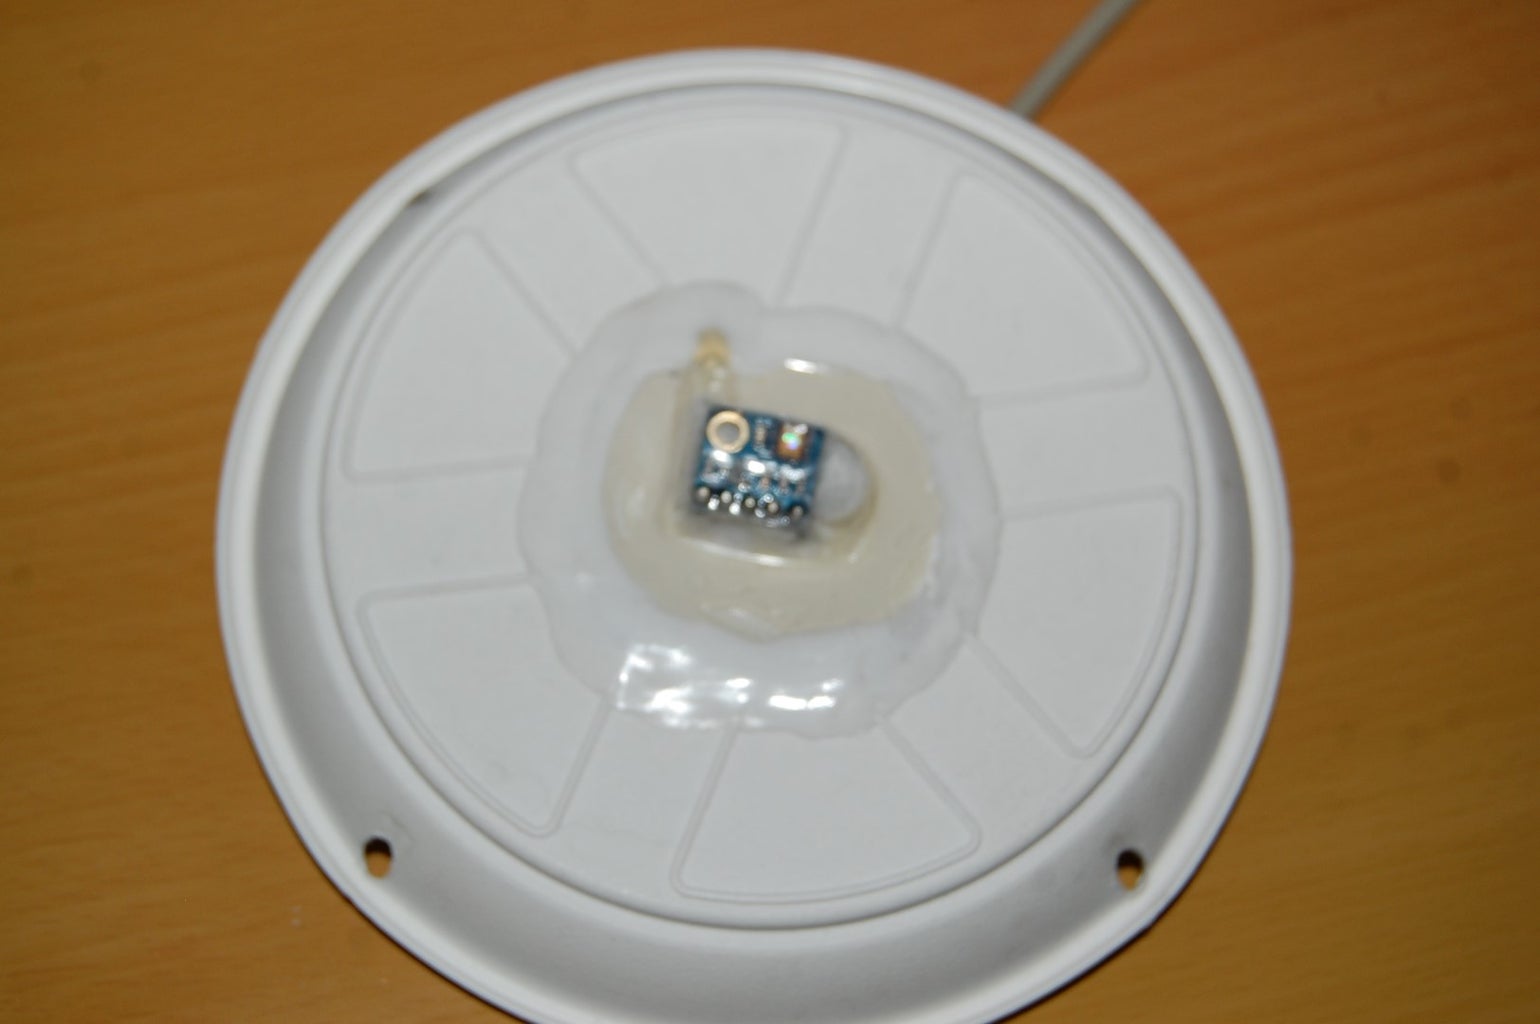
- Humidity, Pressure - BME280
- UV, Solar - ML8511
- Anenometer and wind direction - Davis 6410
- Rain gauge - Ventus W174
Step 1: Parts


The parts needed in order to build this project are the following:
- Arduino Uno
- ESP8266 ESP-01 or ESP-12
- BME280
- ML8511
- Davis 6410
- Ventus W174
Step 2: Schematic and Wiring Diagram

Step 3: PCB Arduino Uno Weather Station Shield


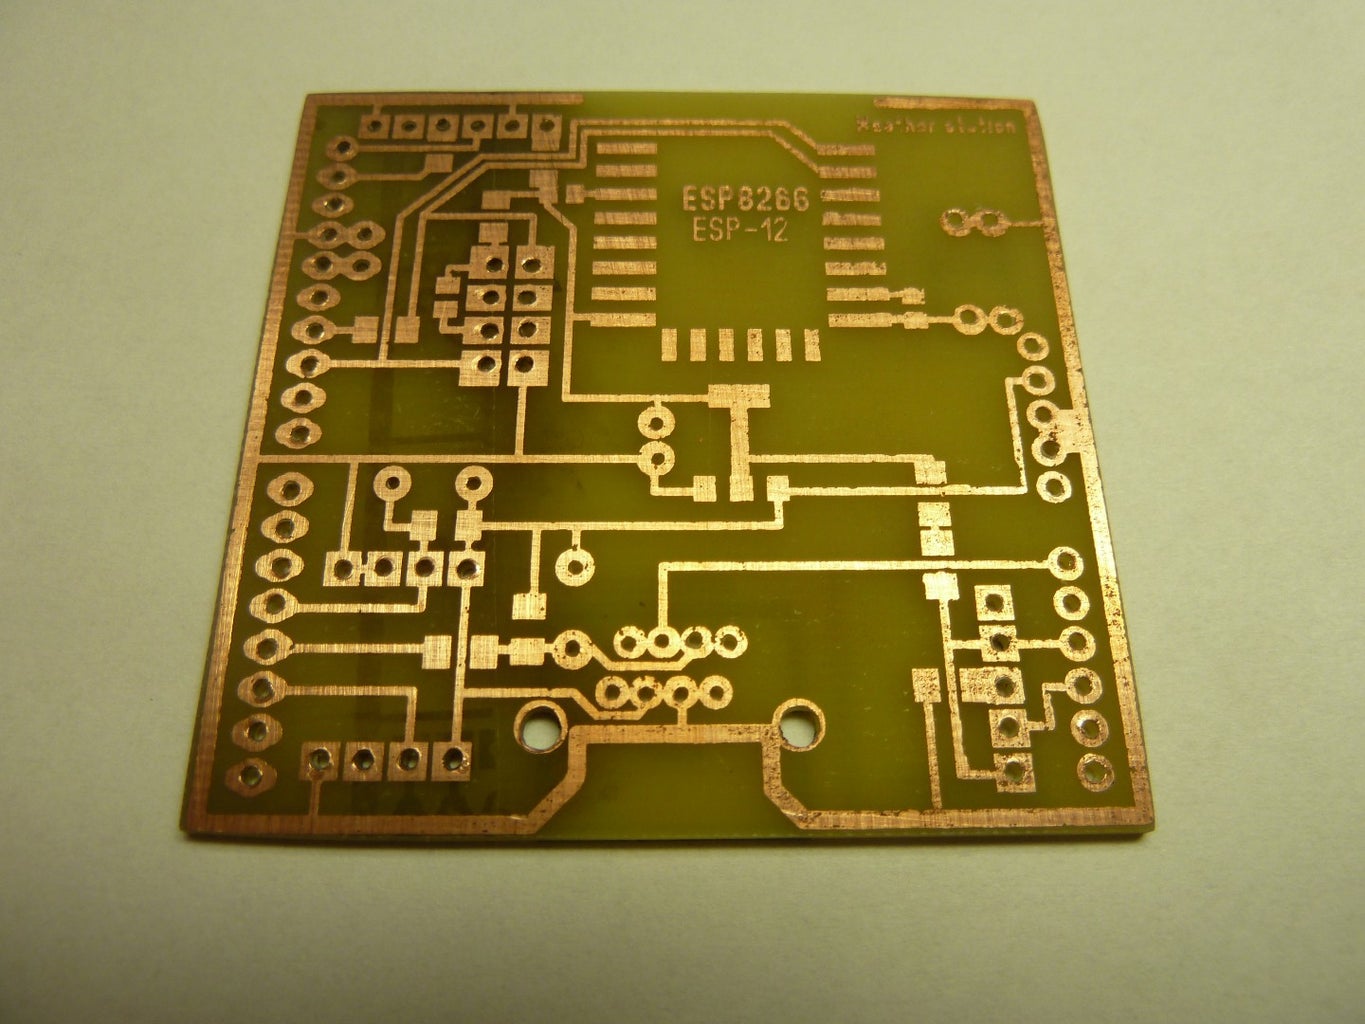


Design printed circuit board (PCB), I was used ,,Sprint-Layout" software. Exported to Gerber files.
To create this Arduino Uno weather station shield you will need:
- ML8511 UVB UV Rays Sensor Breakout UV Light Sensor Analog Output for Arduino Ebay
- Waterproof Digital Thermal Probe or Sensor DS18B20 Arduino Sensor Ebay
- JST-XH Kit 4Pin 2.54mm Terminal Housing PCB Header Wire Connectors Ebay
- Atmospheric Pressure Sensor Temperature Humidity Sensor Breakout BME280Ebay
- 1x ESP8266 ESP12F Ebay
- 1x 1k 0805 resistor
- 1x 120R 0805 resistor
- 8x 0R 1206 jumper ( resistor)
- copper board
- 2x 4.7K resistor
- 1x 10k resistor
- 1x 3mm led
- 1x RJ45 socket Ebay
- 1x 47uF electrolytic capacitor
- 1x 40pins header pins Ebay
- 1x Voltage Regulator Sot-223 Ams1117 Ams117-3.3 3.3V 1A Ebay
- 1x 2.54mm Pitch Switch DIP 2 Ebay

Step 4: Arduino Sensors Libraries, Manual and Other Information
1) Arduino weather station project www.cactus.io
2) Davis 6410 anemometer manual http://www.davisnet.com/product_documents/weather...
3) Adafruit BME280 Driver (Barometric Pressure Sensor) library https://github.com/adafruit/Adafruit_BME280_Libra...
4) ML8511 UV Sensor Library https://learn.sparkfun.com/tutorials/ml8511-uv-se...
5) Arduino Library for Maxim Temperature Integrated Circuits DS18B20 DS18S20 - Please note there appears to be an issue with this series. DS1822 DS1820 MAX31820 https://github.com/milesburton/Arduino-Temperatur...
6) Library for Dallas/Maxim 1-Wire Chips https://github.com/PaulStoffregen/OneWire
7) Wunderground (Personal Weather Station Upload Protocol)
8) NodeMCU weather station http://chynehome.com/web/station-meteo-a-base-de-e...
Step 5: Soldering PCB


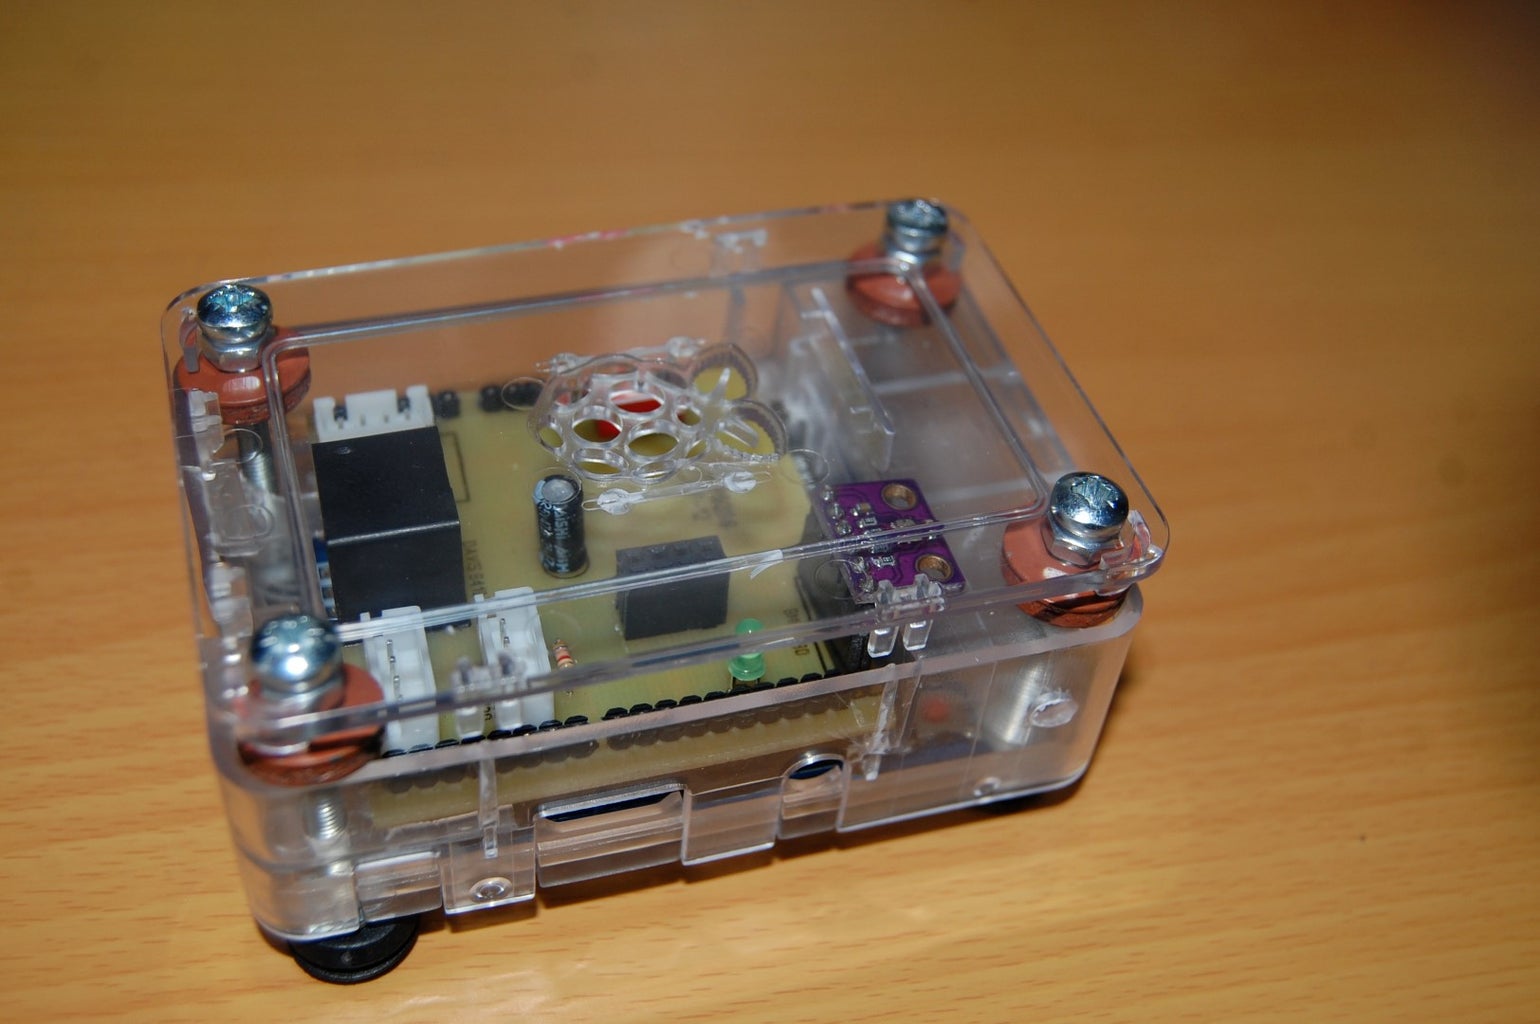
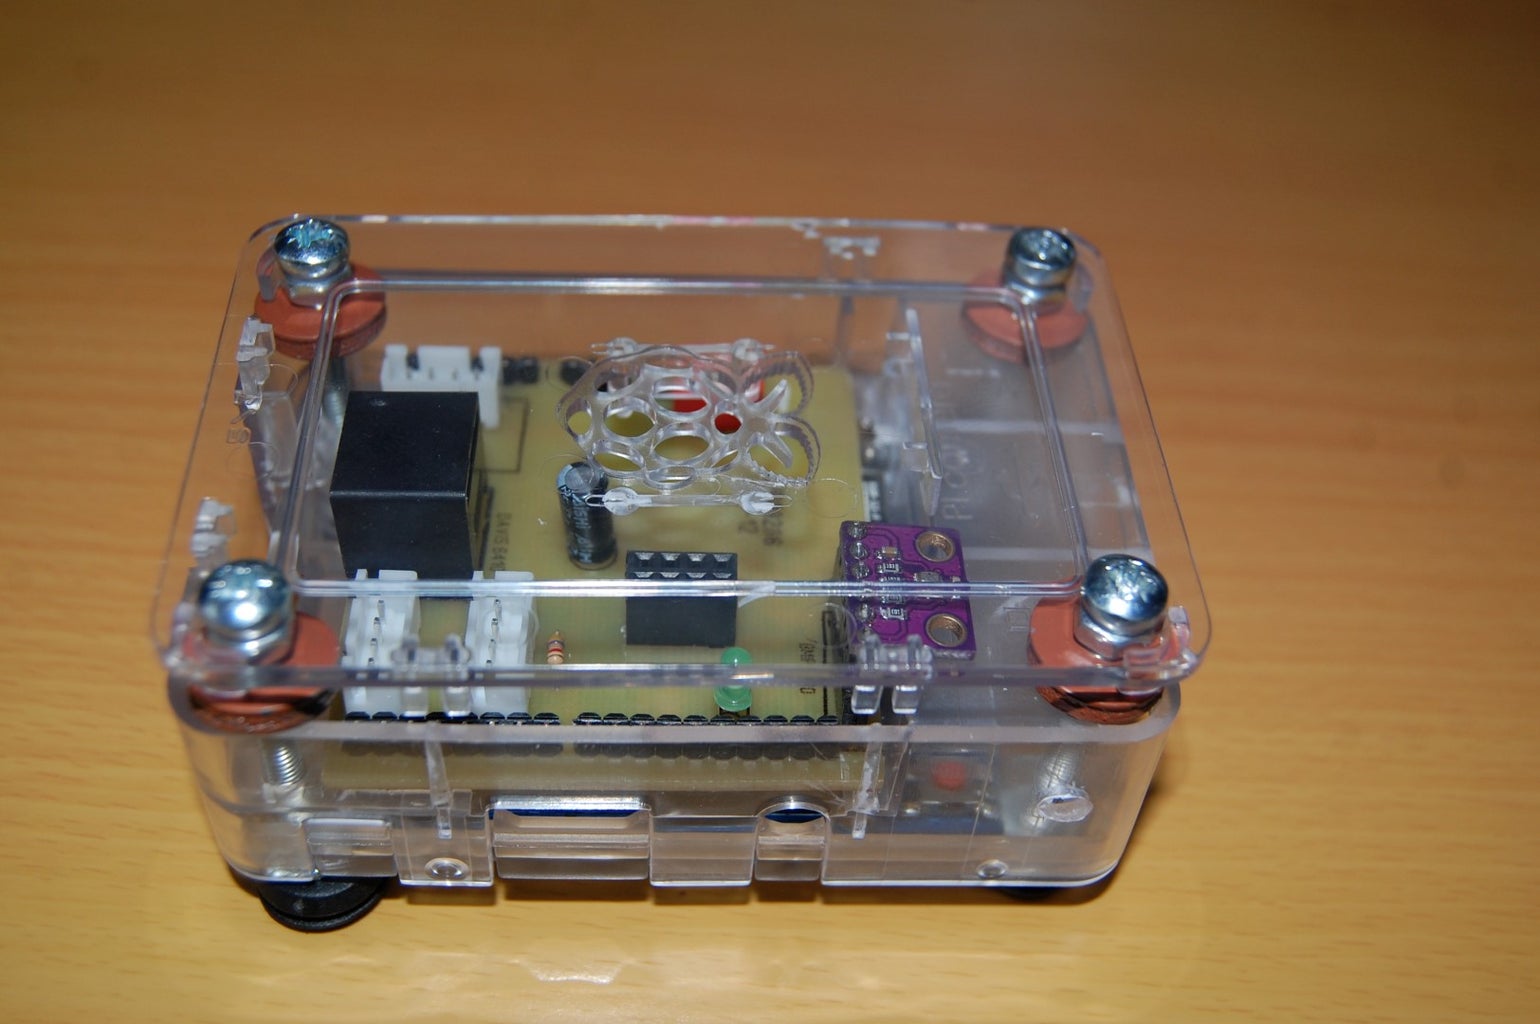

Weather station shield I was ad in to Raspberry Pi case. I think it looks better.
Step 6: Installing Personal Weather Station


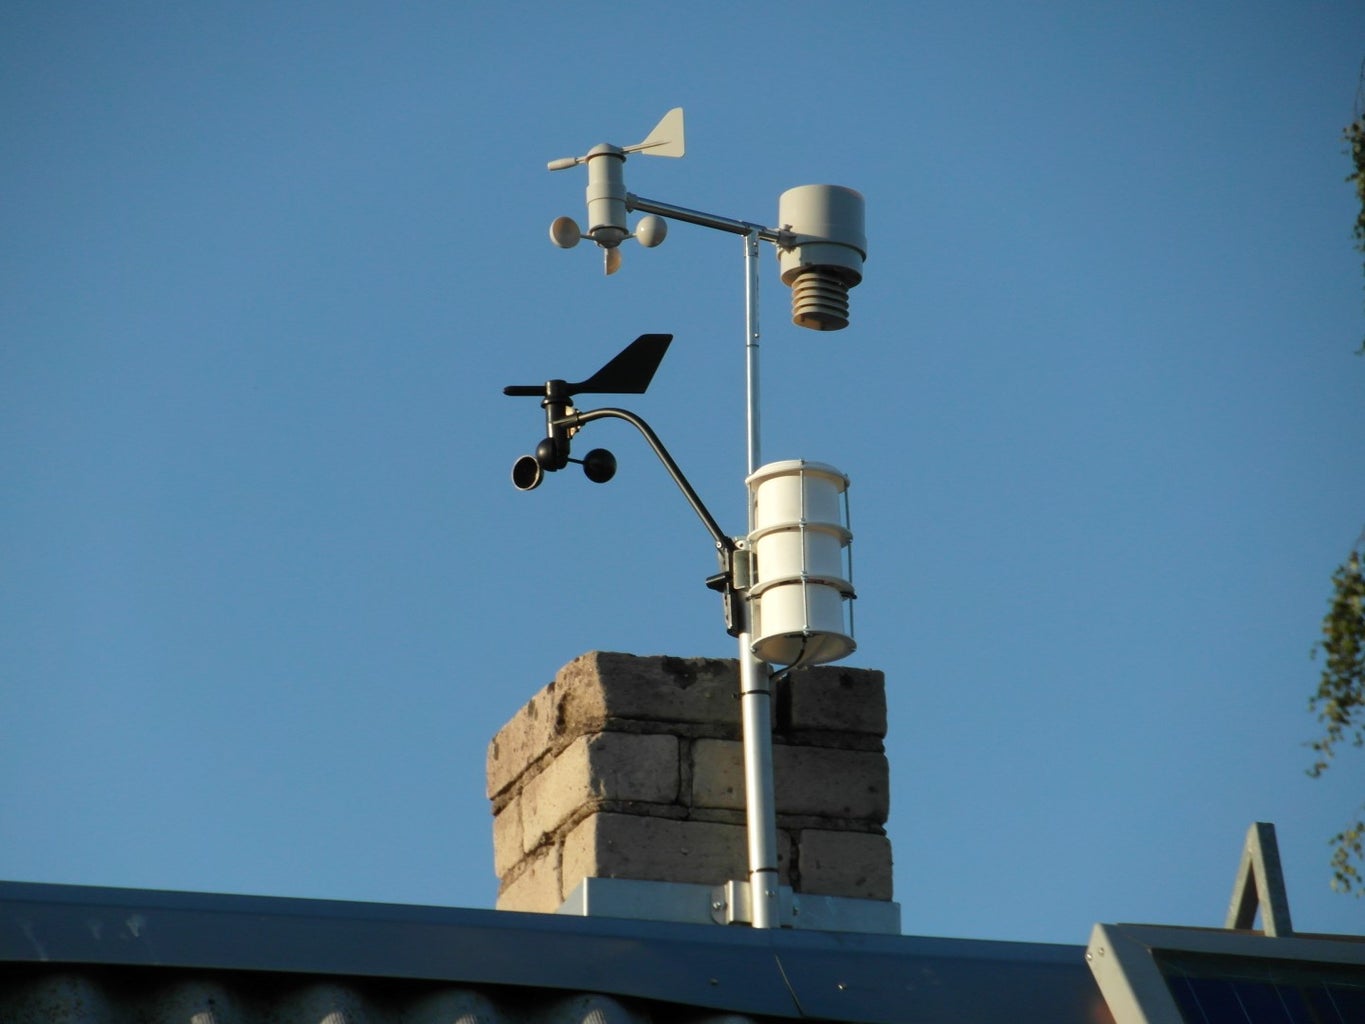


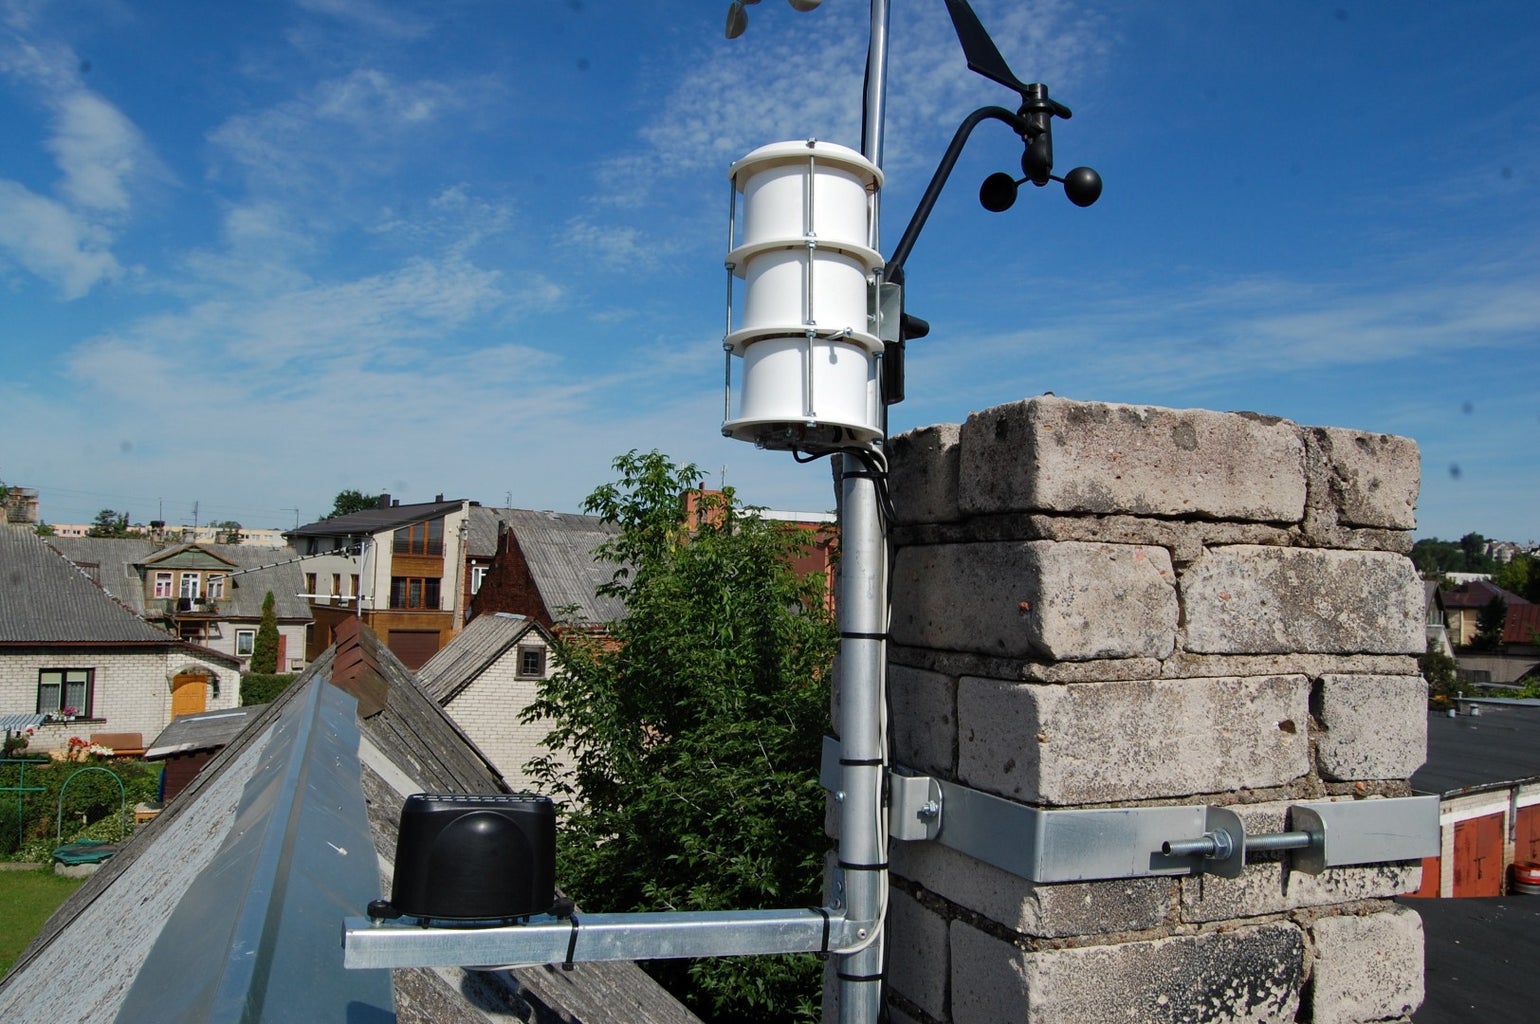
The location weather station is the most important part of
installation. If weather station is located under a tree or an overhang, the rainfall data measured by the station will not be correct. If you place your weather station in an alley, you could very well get a wind tunnel effect on the anemometer, resulting in erroneous wind data. Weather station should have good "fetch", or distance from any other tall object.
The standard wind measurement should be taken at 10 meters above the ground. A roof-top works the best for me.
Weather station is powered from solar panel. So it is autonomous.
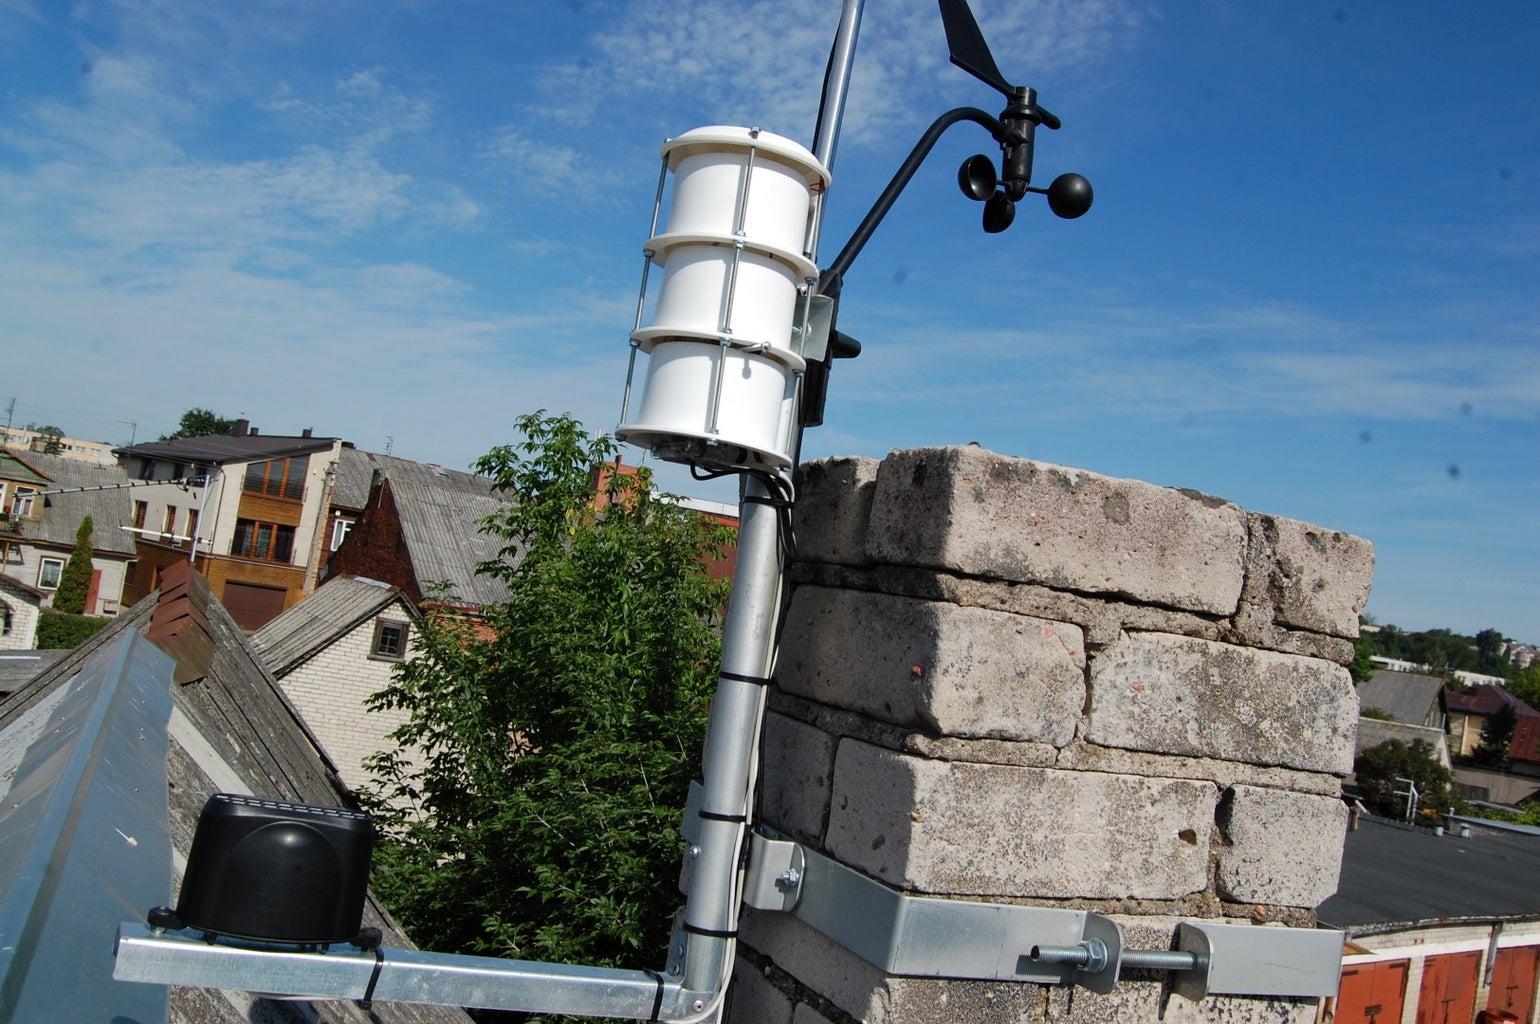
The most common error in installing a weather station is associated with misplacing the thermometer sensor. Meteorologists define temperature as the temperature in shade with plenty of ventilation. When placing weather station, make sure:
- The thermometer sensor never receives direct sunlight.
- The thermometer receives plenty of ventilation and is not blocked from the wind.
- If the thermometer is placed on a roof-top, make sure it is at least 1.5 meters above the roof-top.
- If the thermometer is placed above grass, again, it should be at least 1.5 meters above the grass surface.
- The thermometer is at least 15 meters from the nearest paved surface.
So I'm using weather shelter. I made it from PVC tube. This way, weather station can be placed in direct sunlight, with the thermometer located inside the shelter.
More information about installing weather station here
Step 7: ESP8266 AT Commands


First it need prepare ESP8266 wifi modulle. Change CWMODE into 1 = Station mode(Client) and connect ESP8266 to your WiFi router.
I'm using usb to ttl serial adapter. Its need only connect 4 wire ( +3.3V, GND TX,RX)
Or you can use Arduino to send AT comands to ESP8266.
AT commands:
AT
AT+CWMODE?
AT+CWMODE=1
AT+CWJAP="your ssd","password"
more AT commands here
Attachments
Step 8: Arduino Code
1. Before upload code into your Arduino Uno register in wunderground.com to obtain a WU station ID and key/password
2. Change this ID and key/password into your weather station Arduino code.
- char ID [] = "xxxxxxxx"; //wunderground weather station ID
- String PASSWORD = "xxxxxxxx"; // wunderground weather station password
3. Change altitudepws to get relative pressure meters (m)
4. #define DEBUG 1 // if you only check sensors data.
5. I'm using 30 second loop time sending data to Wunderground.com. 25 seconds I will take to measure wind speed. Other time is for read sensor data.
Step 9: Result

It is working and sending sensors data to Wunderground.com. I'm very happy ;)
Step 10: IoT Personal NodeMCU ESP12 WiFi Wireless Weather Station V2

New weather station version v2 click https://www.instructables.com/id/NodeMCU-Wireless-Weather-Station/


