

Introduction: Pinnable World Map


"The world is a book, and those who do not travel read only a page." Saint Augustine
Let's be honest - travelling is awesome. There is nothing better than discovering foreign lands and cultures while at the same time seeing your perspective and mindset change.
I am a big adventure fan. I try to travel as much as possible with my limited student budget. After finishing a bike tour to Russia, a hitchhiking trip to Poland and tropical adventure to French Guiana this year I realised that there are quite a few places that I have visited in my life. Trying to recall all of them turned out to be a tricky task. I realised that I needed some sort of neat way to mark down where I have been and where I still want to go . Of course, the only logical solution for me was a big retro-looking wall mounted pinnable world map.
Follow me along as I show you exactly how I did it. Be sure to watch the video!
If you like this project give it a vote in a contest! Subscribing and following would also make me really happy! :)
Let's get started!
Step 1: Tools and Materials
You will need:
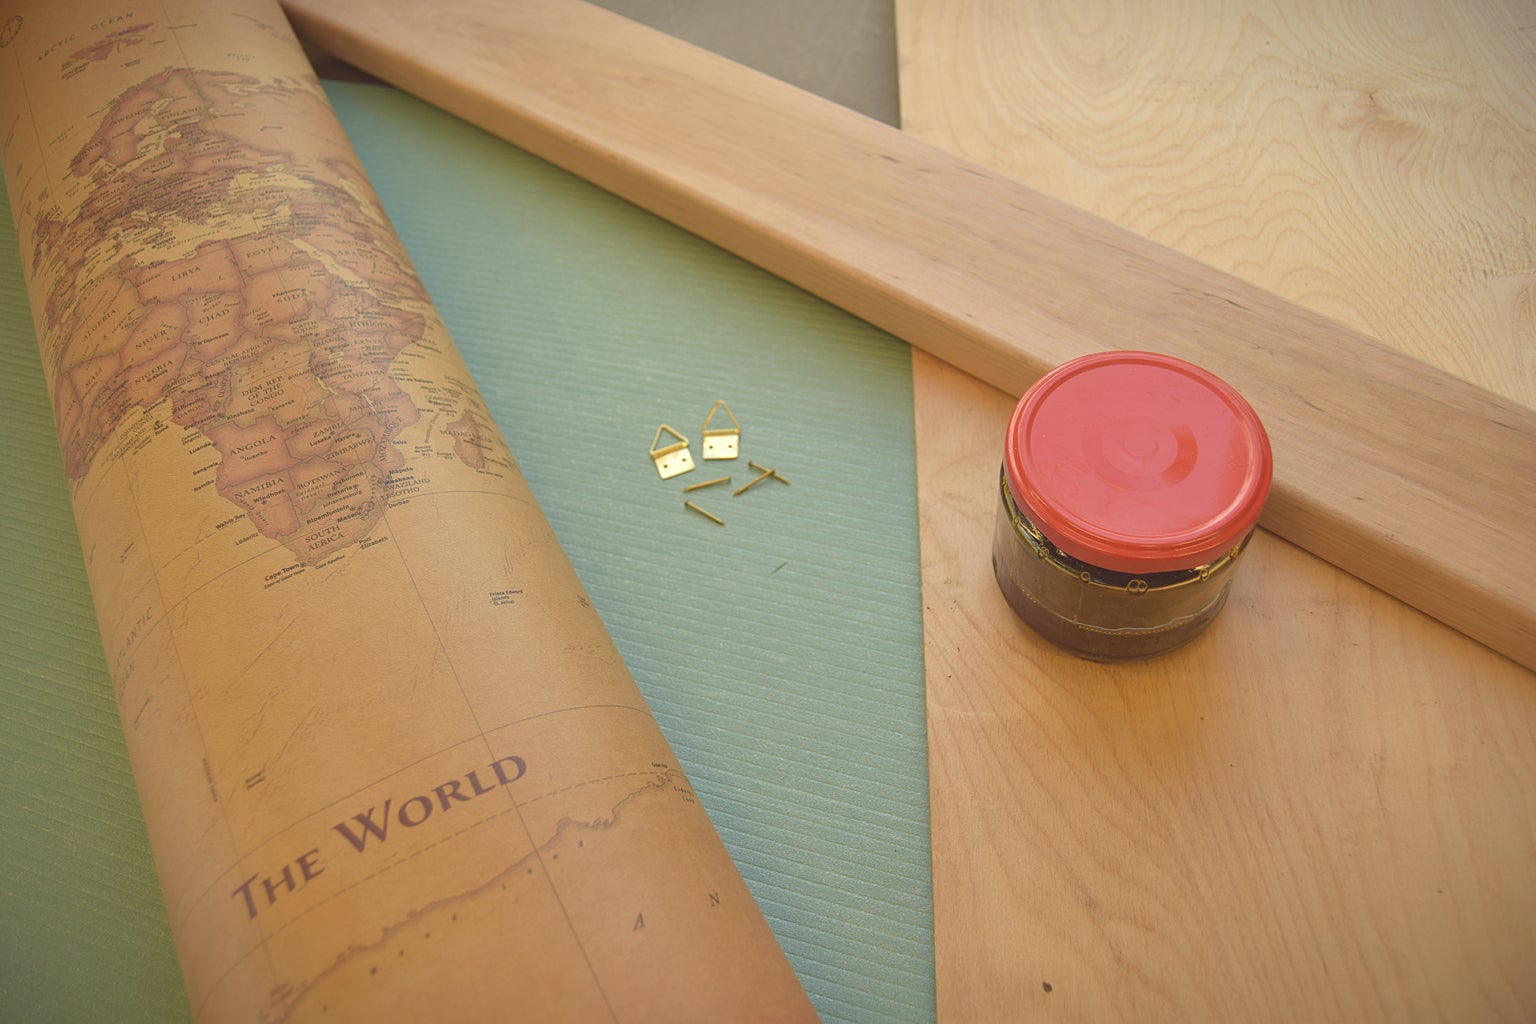
- World map (duh) I used this one from Ebay. It measures 100X66 cm which is big enough so that smaller countries like Luxembourg or Liechtenstein can also be seen.
- Some wood for the frame. I used Alder
- 2 picture hangers and a few small nails
- Thin plywood or other sheet material for the backing
- A foam board that can hold your pins. I used two layers of 5mm parquet flooring insulator. Cork boards could also be used but it will be much more expensive.
- Some sort of finish like linseed oil or shellac, etc.
Tools:
- Table saw
- Sanding blocks (and orbital sander)
- masking tape
- wood glue
- a hammer
There are of course other designs that do not require the use of woodworking tools. For example, you could buy a ready-made picture frame or just leave it frameless altogether!
Step 2: 1


The build process is really simple and straight forward.
- Cut the wood to size (you can make as wide or thin frame as you like)
- Use a sanding block with 150 grit sandpaper (or orbital sander) to remove rough marks left by the sawblade.
- Use the table saw again to cut a similar groove as shown in the picture.
- Use miter sled or miter saw to cut 45-degree angles. Go slowly on this step and be sure to double check! You can always remove wood but never add it!
- Cut the backing to size
- On a flat surface use masking tape to clamp and glue the frame together. Here is an awesome video from Chris Salomone explaining how to do it. Be sure to also add the backing to ensure the frame is perfectly square.
Step 3: 2


7. Sand the frame and fill cracks with wood putty or sawdust-wood glue mix.
8. Apply finish
9. Cut the foam to size and glue it on the wooden backing using adhesive of your choice. I used regular silicone. Do not use hot glue as it will melt the foam.
10. Also, glue the map to the foam
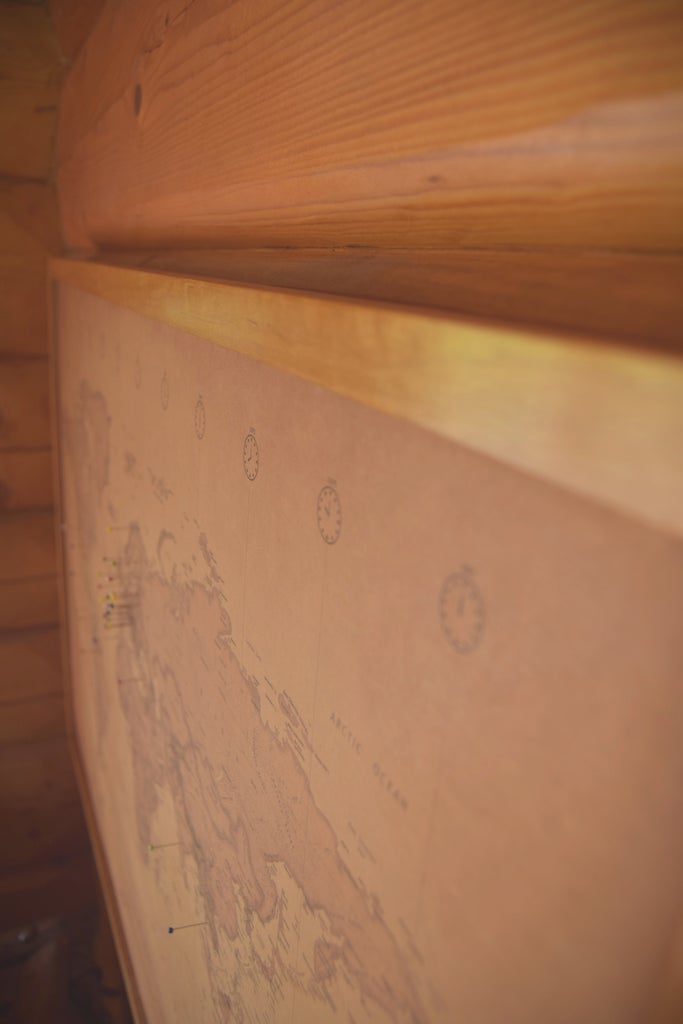
11. Fit it all to the frame and secure the backing with nails as shown in the picture.
12. Lastly, add two picture hangers
13. Hang it on the wall and start pinning!
Step 4: The End!

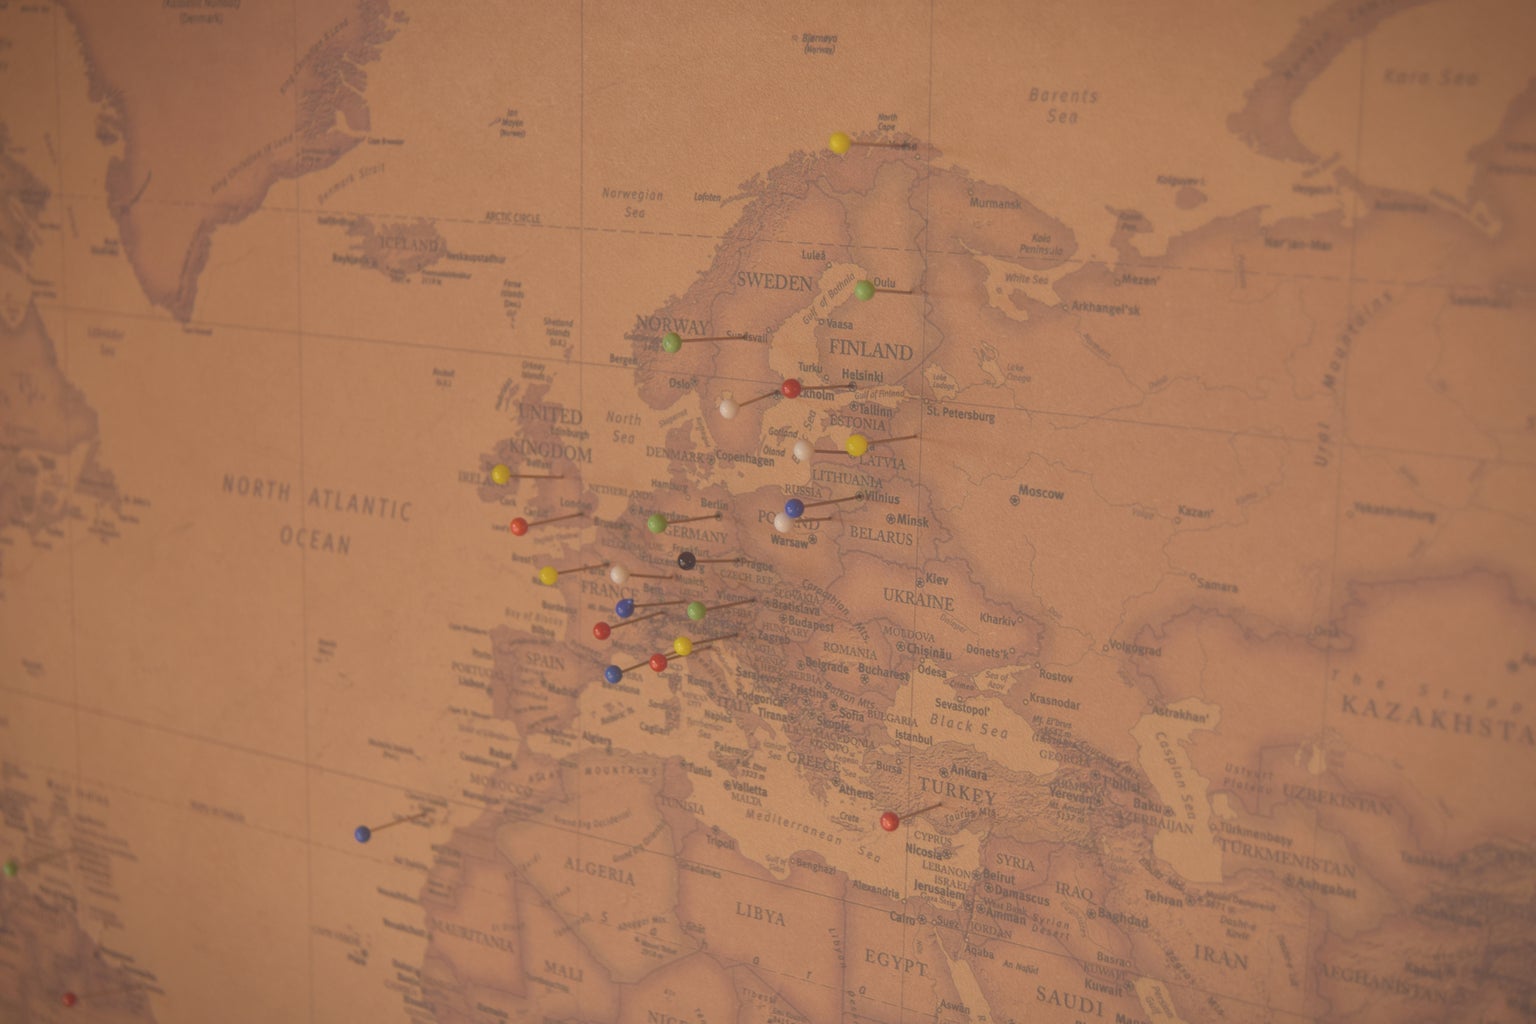
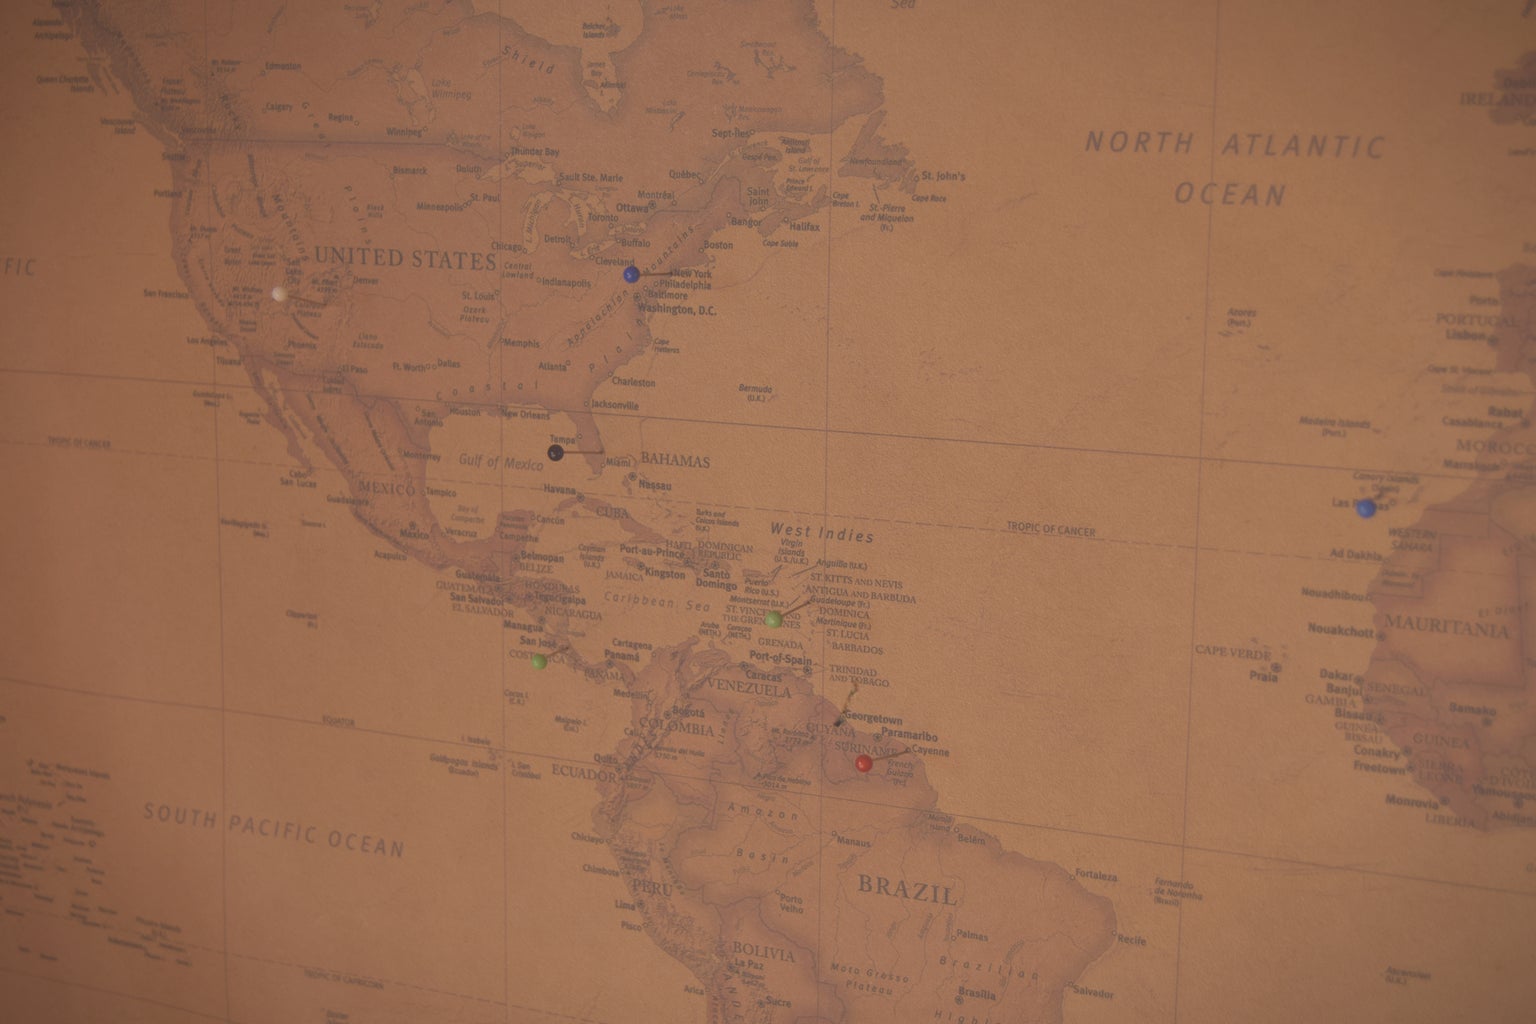

I am really pleased how this turned out! Only after pinning down all the places I have been did I realise that there are still whole continents waiting to be discovered! The adventure shall not end soon!
Do you like it? Have you made something similar? Would you do something differently? Got any questions? Need help with anything? Let me know in the comments!
And if you like my projects be sure to vote, follow and subscribe ! I really appreciate it!
Take care,
Andu

Participated in the
Travel Contest 2017


