

Introduction: Computer Monitor Using Arduino and Node JS


This instructables will show how to monitor your computer hardware while doing another things on your computer.
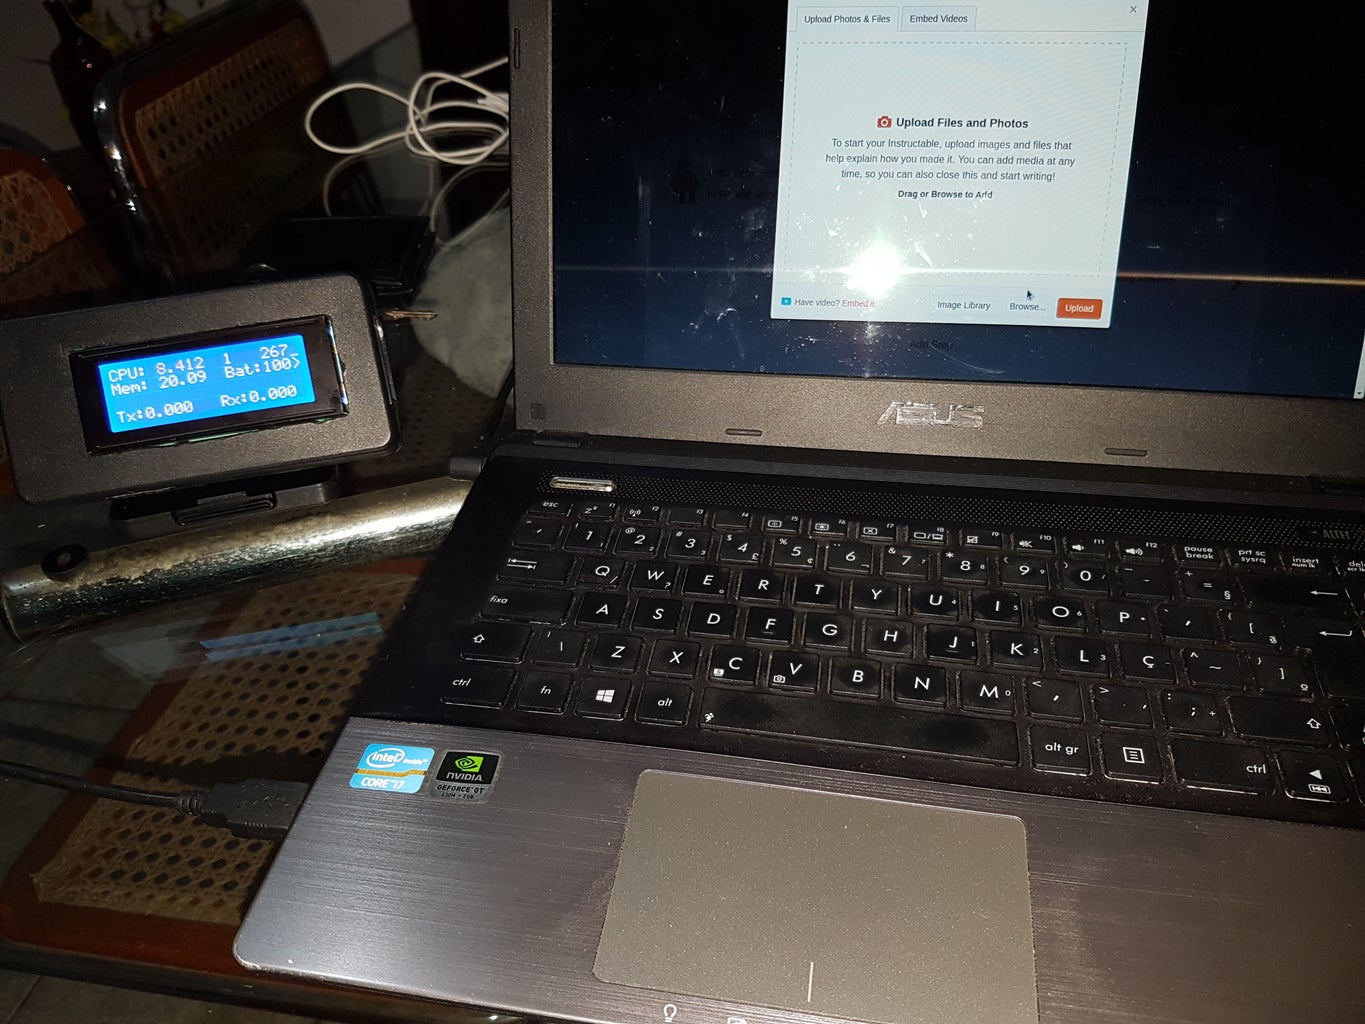
I always had problem to check my hardware while playing games, programming and etc... that is why I decided to make this Computer Monitor using Arduino; I called it Retrovisor (Rearview mirror in portuguese).
Using this you can check your CPU / memory usage, process running, stand by process, battery life and network usage without opening any screen on your computer.
For this I used an old font case, arduino Duemilanove, 4x20 LCD and node.JS.
Step 1: 20x4 LCD and PCF8574T Adapter


For this project I used a PCF8574T Adapter, the controller name is printed on the chip mounted on the read of the LCD backpack:
You must plug the VCC on Arduino 5v output, plug GND on Arduino GND, plug SDA on Arduino analog 4 and finally SCL on Arduino analog 5.
Step 2: Preparing Your Arduino to Johnny Five


To use Johnny Five (node pack to use Arduino with node JS), you must prepare your board. For that you must have StandardFirmataPlus installed on the board.
To install follow this steps:
- Download Arduino IDE
- Plug in your Arduino or Arduino compatible microcontroller via USB
- Open the Arduino IDE, select: File > Examples > Firmata > StandardFirmataPlus or StandardFirmata
- Your IDE will load the Firmata code
- Click the "Upload" button.If the upload was successful, the board is now prepared and you can close the Arduino IDE.
Nice! Now your board is ready to listen Johnny Five from your node JS application.
Step 3: Install Node JS on Your OS


You can download and install node JS using this link.
After installing, check if it is working fine running this command:
node --version
If it shows the current version, your instalation is ok.
Be sure that npm is installed too:
npm --version
Step 4: Getting Node Project From GitHub


You can download the project:
https://github.com/alskenobi/retrovisor
Or use:
git clone https://github.com/alskenobi/retrovisor.git
After that you must use your terminal to go to retrovisor folder.
Step 5: Run and Voilà

Be sure your arduino is connected to your USB.
After that, be sure that you are in "retrovisor" folder.
Now run:
node server
And voilà, you are now monitoring your computer hardware using Arduino and Node JS.
If you get some troubles while using, go to server.js file and change the name of your adapter:
board.on("ready", function() {
var i = 0; var iface = "";
var lcd = new five.LCD({ controller: "PCF8574T" });
Remember, the adapter name is printed on the chip.
Be happy monitoring your hardware while playing or working.


