

The right inspiration and a few essential tools are all it takes to capture more perfect moments and bring the best out of every shot. Here are ten quick and easy suggestions for taking and making extraordinary photos.
1. Set the Scene
The best adventure photographs provide a sense of place. They explain to viewers where the photo was taken and help bring us to that location. If you’re photographing mountain bikers in Arizona, step back and show the ruggedness and beauty of the desert. If you’re following climbers in the Himalayas, give us a sense of the steepness and enormity of the mountains they’re on.

2. Follow the Light
We all know a good photo becomes a great photo with beautiful light. Get up early and stay out late to shoot when the sun is low on the horizon and most directional. Take a nap in the middle of the day to avoid the noonday sun. Pro tip: If you have to shoot when the sun is high in the sky, don’t be afraid to use a reflector to fill in shadows on your subjects. Profoto make a series of reflectors that throw different shades of light. They’re durable, light, and easy to use.
3. Find the Moment
Sometimes the most important storytelling moment happens at the end of a race when people cross the finish line and start celebrating. Sometimes it happens right in the middle when the subject is exhausted, frustrated, and wants to give up. Don’t be afraid to show people struggling—real human emotion is at the heart of everything, because we all know that the best adventures usually involve some hardship.

4. Pack Light
Don’t carry unnecessary gear. If you’re weighed down with lenses you don’t need and can’t keep up on the trail, you’re going to miss the photo. There are several well-designed photo packs to choose from that will help you comfortably shoulder your load and not get left behind. One of the best is the F-Stop Loka UL, a lightweight backpack with a bomber construction and a great harness. It offers easy on-the-go access to all your gear through a zippered rear-entry storage pocket.
5. Use What You Have
As the old saying goes, “The best camera is the one you have with you.” We couldn’t agree more. That’s because moments matter more than megapixels. When a beautiful piece of light peeks through the clouds, start shooting with whatever you have in your pocket or around your neck.
6. Know Your Camera
The best skiers don’t think about the dimensions of their skis. They just make turns. The best riders don’t worry about the geometry of their bikes; they just pedal. The same goes for photographers. You want the camera controls to be second nature so you can stop worrying about buttons and focus on what’s happening in front of you. Practice makes perfect. Get out there and snap away so when the big moment happens, you nail it.
7. Keep It Organized
After you’re done shooting, you’ll want to edit and manage your take. Adobe’s Creative Cloud Photography plan lets you do so right on your phone or camera. Any actions you take—flagging, rating, or even editing—are automatically synced across all your devices, making it easy to edit on the fly and seamlessly pick up where you left off back at your computer. Sound handy? Sign up for a free, 30-day trial Creative Cloud Photography plan here.

8. Make Them Sing
Images that come straight from iPhones and DSLRs alike often need a touch of editing to really make them pop. Thankfully, Adobe Lightroom, as part of the Creative Cloud Photography plan, allows you to adjust things like exposure, color, and tone in just a few clicks. If you shoot a landscape, for example, and want to add a little drama to the sky—especially the clouds—it’s easy to experiment with tools that fine-tune the color gradient or bump up the contrast. The best part? If you don’t like what you did, you can revert back to the original with just one click. Adobe provides detailed video tutorials on its site for everyone from beginners to pros.
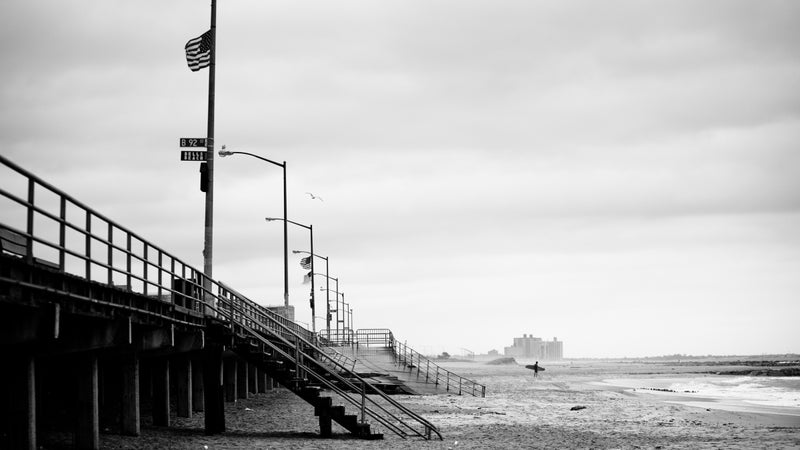
9. Go Black and White
Some photos look better in black and white, especially if they were shot in low light. A simple click of the button is all it takes to convert a photo in Lightroom. A slider tool makes it easy to make custom adjustments, allowing you to enhance the depth or add drama to an image.
10. Add and Erase
How many times have your pictures been ruined by power lines running through the sky? Too often, probably. Photoshop’s lasso tool does exactly what you’d think: Use it to draw a circle around the lines, and—poof!—they’re gone without the background being affected. On the flip side, some lens flare in the sky can add a touch of drama to certain photos. If you weren’t able to add it with the camera or would like to enhance the subtle flare you did capture, just a few keystrokes will add lens flare or adjust the brightness of an existing sunburst.