We may earn revenue from the products available on this page and participate in affiliate programs. Learn More ›
The hook knife (also known as a crooked knife) is an odd tool, and an old one. Today, farriers use a dull version of this blade to clean the crud from the underside of horse hooves, but other than that, these tools aren’t frequently seen anymore. Yet in an older time, these knives were more common, and often used to carve the hollow cavity for wooden bowls, spoons, ladles and other necessities. I recently bought a set of these blades, and here’s my experience learning how to use them to carve a wooden bowl.
The Tools
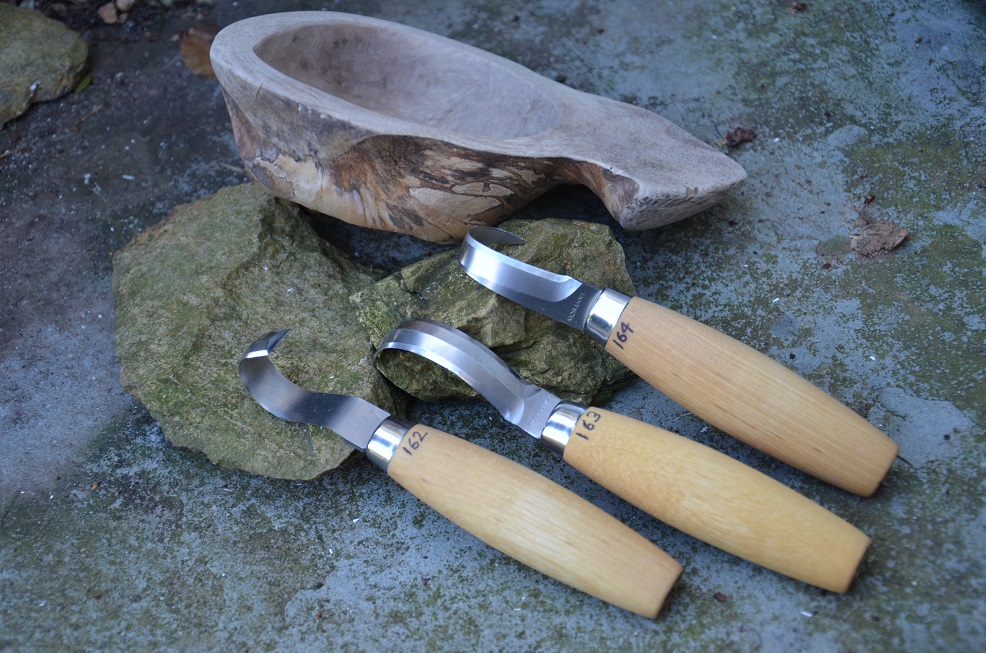
It’s no secret that I am a huge fan of Mora steel. Maybe it’s the long dark winters, or the ubiquitous presence of saunas, but those Swedes sure can make some sharp metal. Still, I try to keep my dollars in local businesses, so I checked a few local feed and tack stores, finding some poorly made farrier hook knives in the $5 to $8 range. These just weren’t up to snuff, so I ordered a set of hook knives from Amazon for about $25 each. I got the MoraKniv 162 (a wide double-edge blade with a tight radius), the Morakniv 163 (a wide double-edge knife with a shallow bend) and the Morakniv 164 (a narrow little single-edge hook with a tight radius). Because of the oblong handle shape, these hook knives work well for righties and lefties, and they allow you to cut on the push or pull. And as expected with this type of steel and this brand, each tool was frighteningly sharp right out of the box – and ready to put to work!
The Technique
So how do you eat an elephant? The correct answer is not “with hot sauce” but instead, “one bite at a time”. And that’s how you carve with a hook knife. One little bite at a time. To carve my first bowl, I used a sycamore burl I had been saving for a while. Sycamore is on the harder side for hand carving, but it resists cracks and this piece had softened a bit as it aged. I have also been saving some very soft basswood hunks for projects like this, and you can use any of your local softwoods (that aren’t prone to cracking) for this project, but for now – let’s get back to the burl. For those who aren’t familiar with this term, a burl is a rounded growth on a tree trunk or branch. The reason these are favored for bowls is their growth rings. You can make a more watertight bowl when you follow a growth ring layer and still get a cavity with a burl (as opposed to cutting down through many layers in a straight grained block to create a concave space). I started with broad strokes on the shallow 163 blade, which cut beautifully (unless I tried to take too much).
Once a cavity had opened up, I switched over to the tighter bend of the 162 blade. By the way: the square knife tip takes some getting used to. Once I had carved out most of the cavity (about 20 minutes), I finished with the 164 blade (great for hard-to-reach spots) and then sanded the burl bowl with 100 grit sand paper. I plan to finish it with finer successions of sandpaper and oil it with boiled linseed oil to seal it. But that’s enough for today, my wrist hurts!
Have you carved wood with these blades? Please tell us how you like them by leaving a comment.