:format(webp)/cdn.vox-cdn.com/uploads/chorus_image/image/53879669/Kaam_Ya_tak_shrine_header.1490378010.jpg)
Kaam Ya’tak is a shrine within The Legend of Zelda: Breath of the Wild’s Hyrule Field.
On this page, we’ll help you find the Kaam Ya’tak shrine location and puzzle solution, and walk you through the “Trial of Power” trial to collect the chest and spirit orb reward at the end.
The Kaam Ya’tak shrine is located to the southwest of the Central Tower in Hyrule Field.
Once you are done here, our shrine locations page can direct you to the next nearest shrine to tackle.
Kaam Ya'tak shrine location
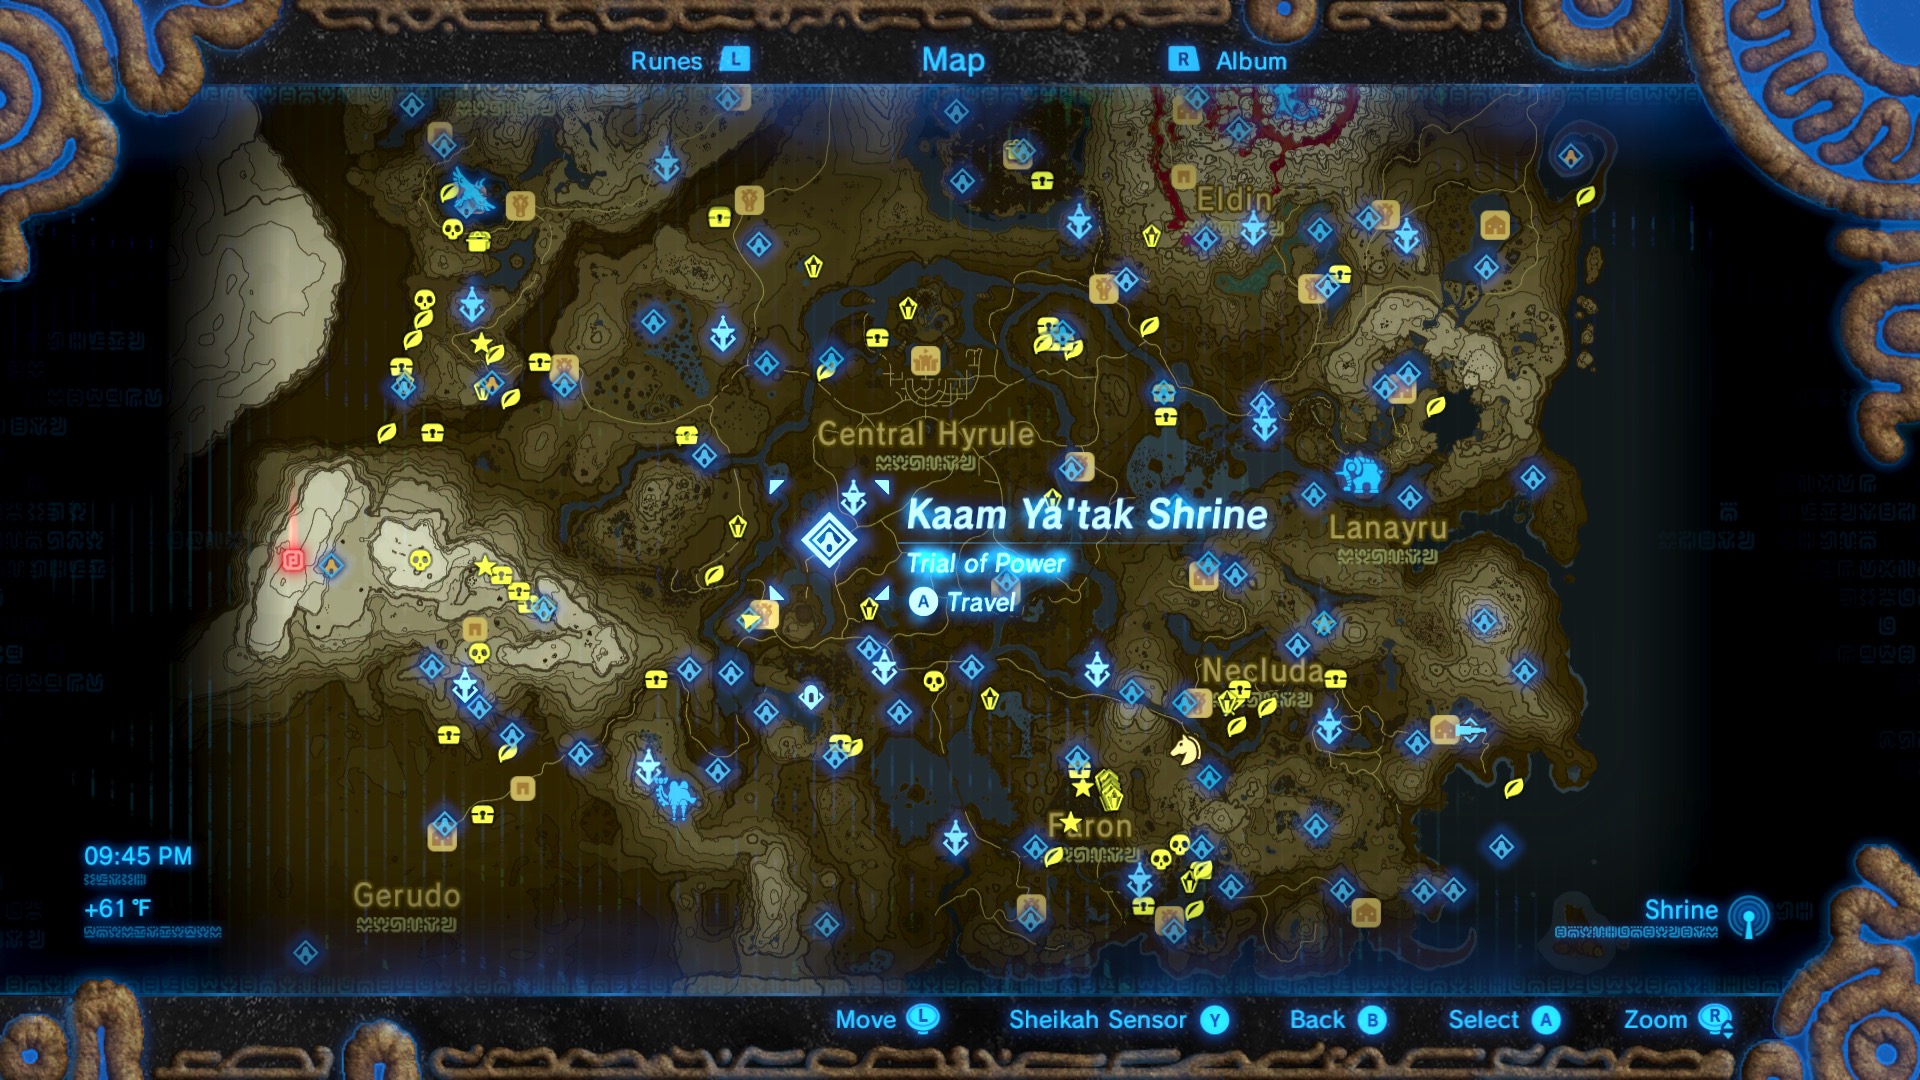
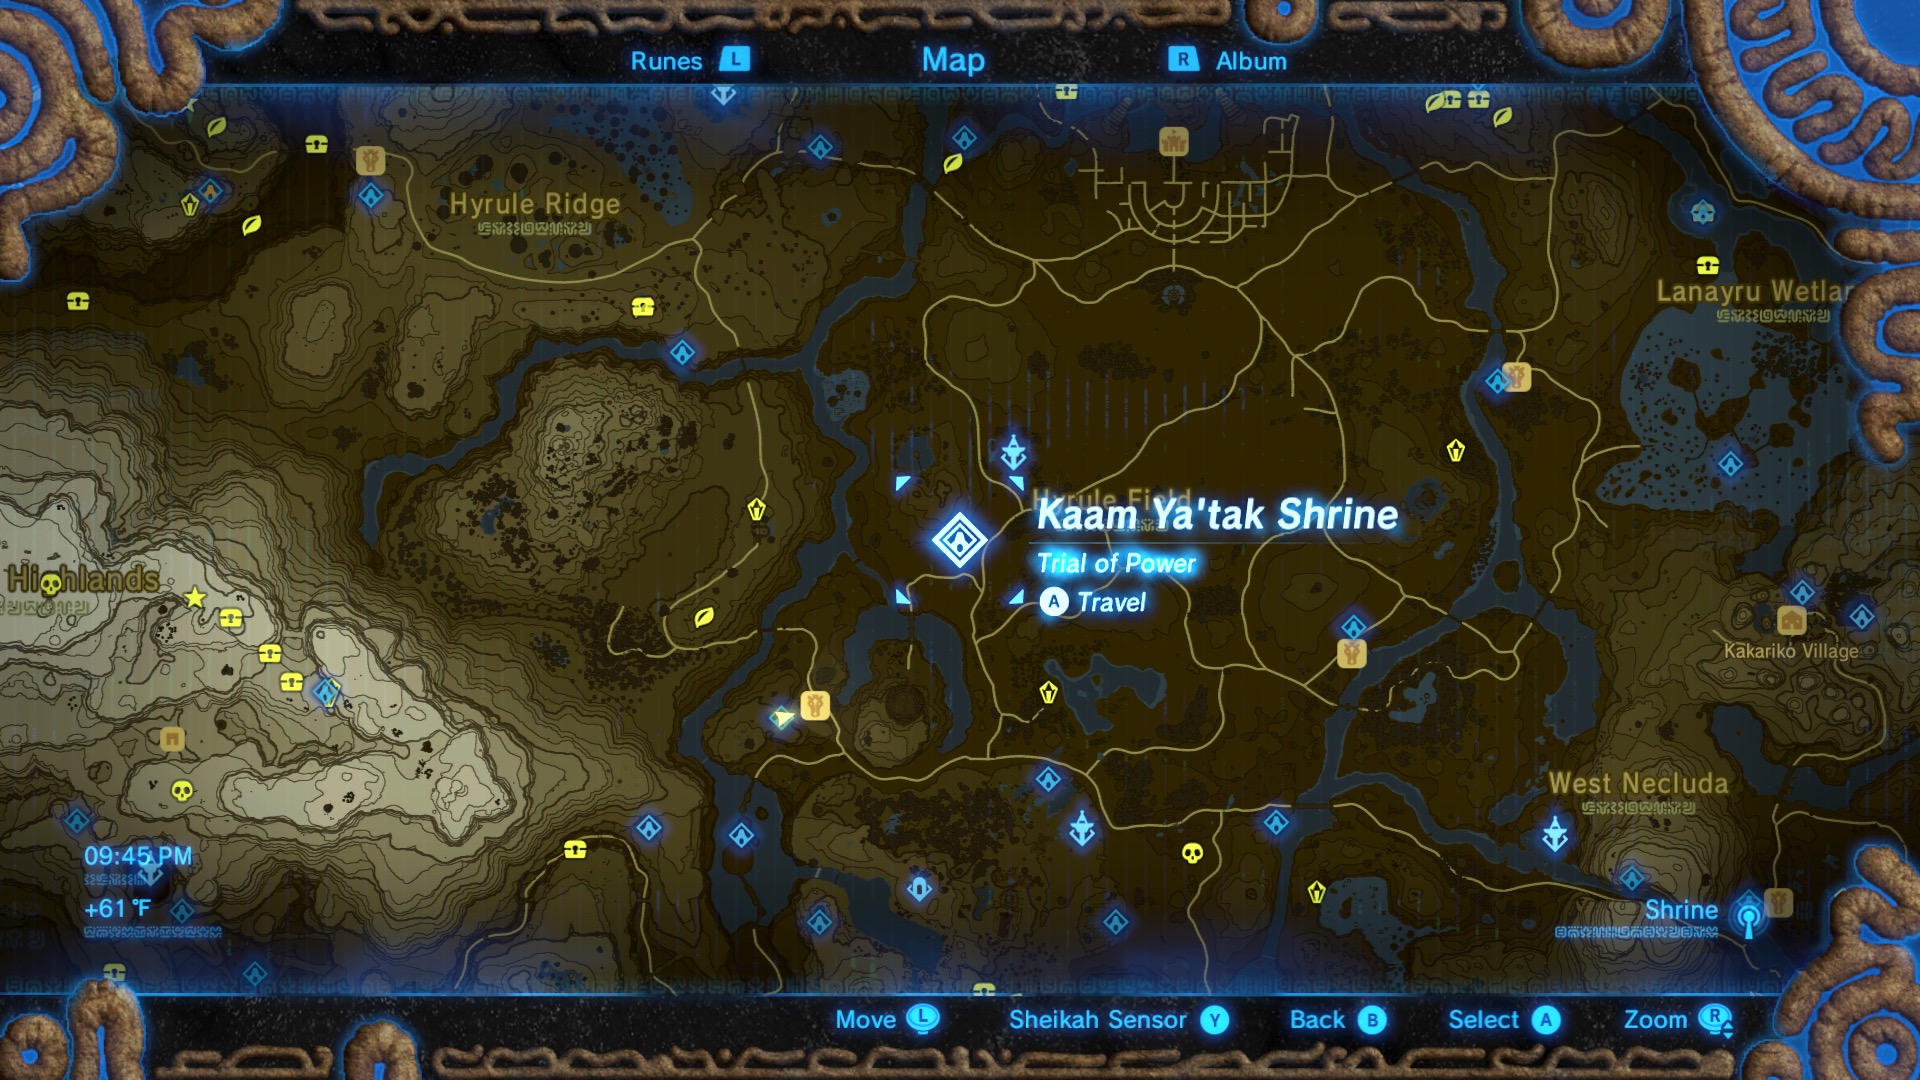
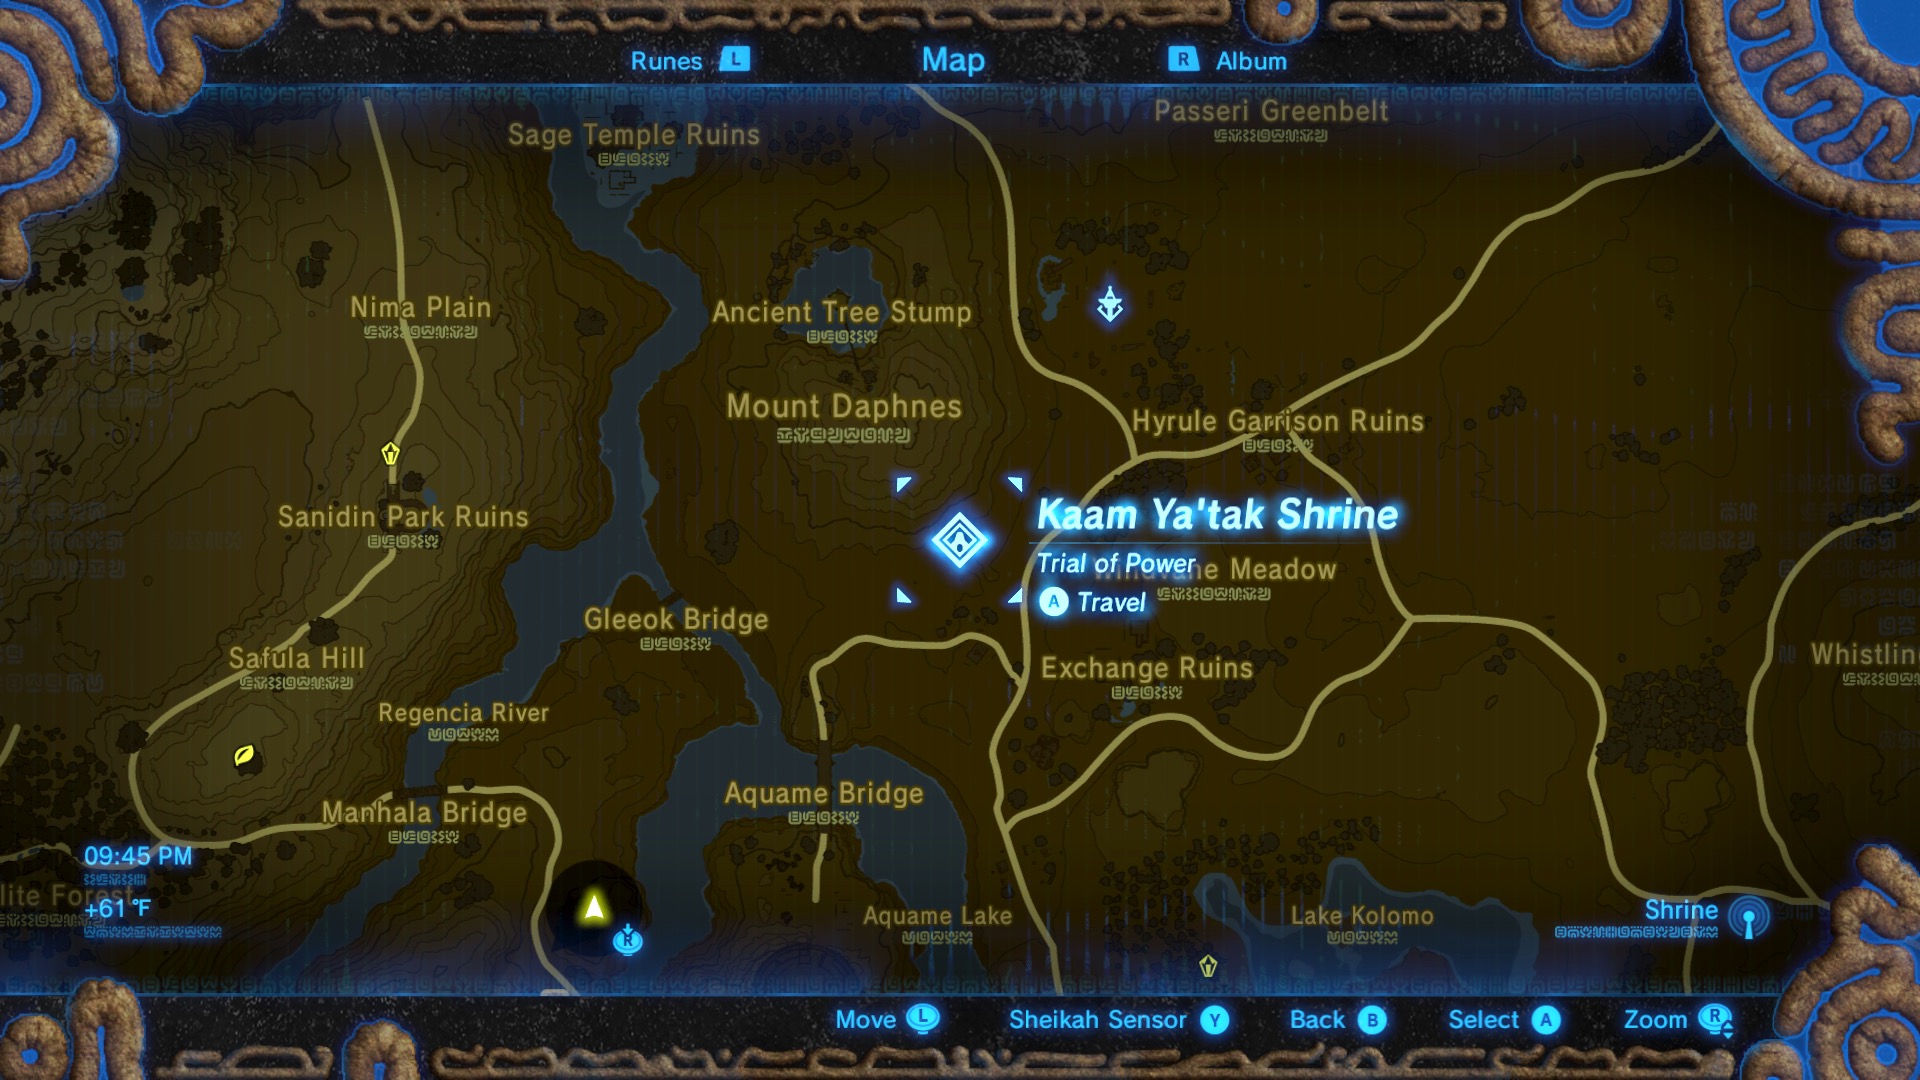
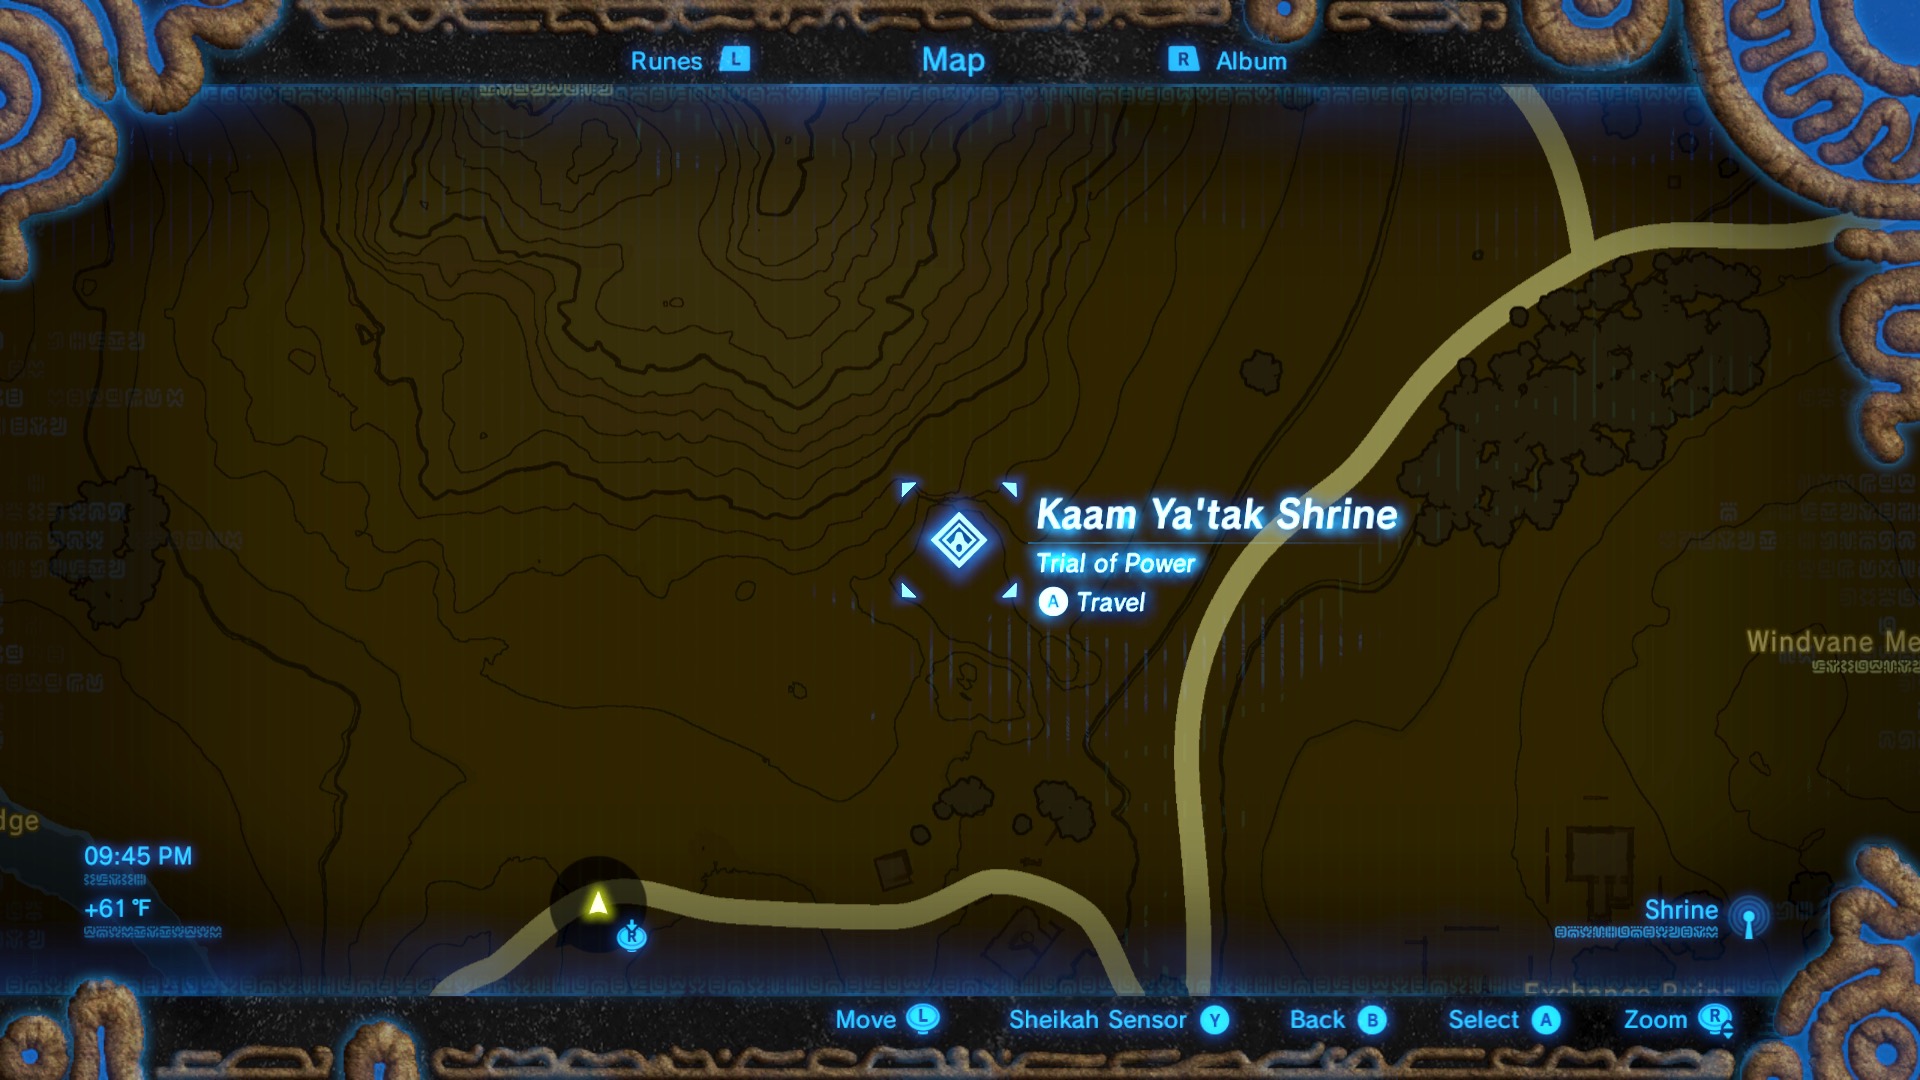
Kaam Ya'tak shrine is located southwest of Central Tower. Use the gallery above to see the exact position.
Kaam Ya’tak shrine walkthrough
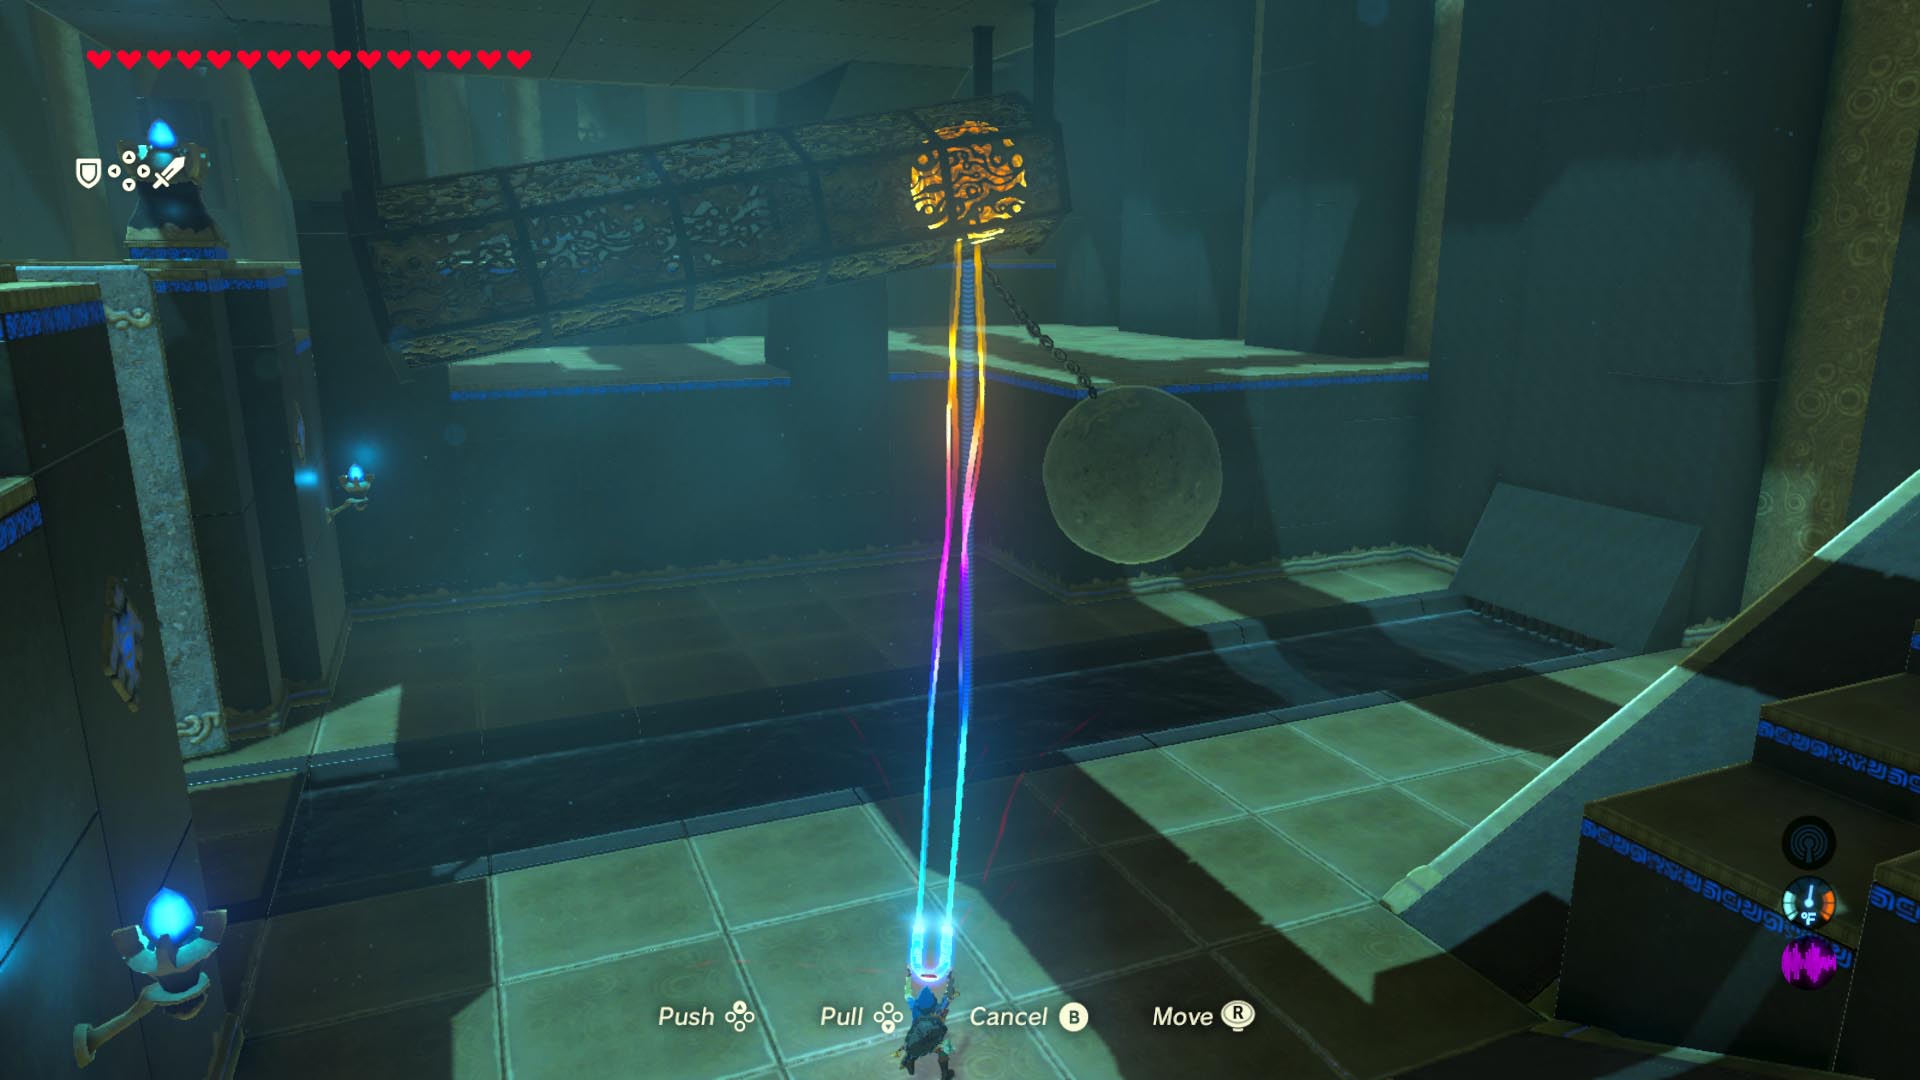


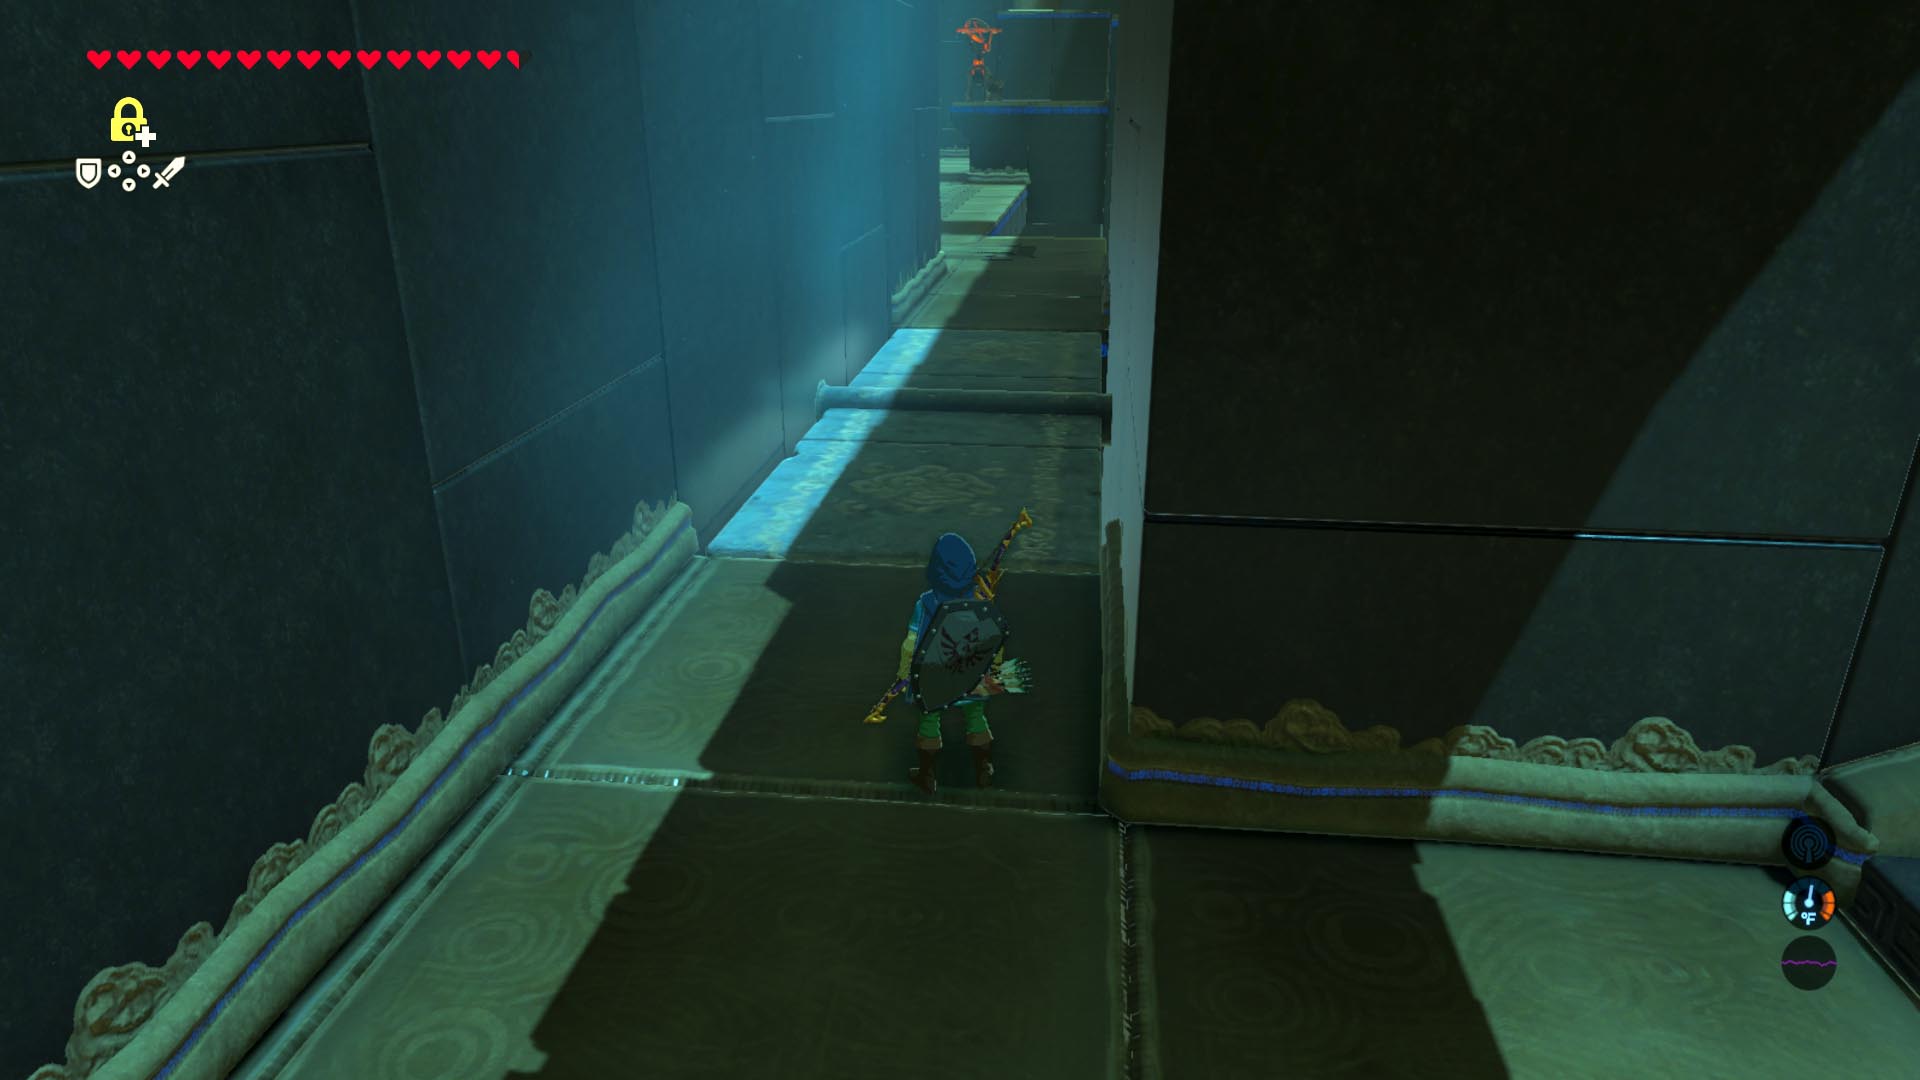


- Use magnesis to move the boulder in a tube to the opposite side of where it’s resting. Let go, and the boulder on a chain will smash into and open the door.
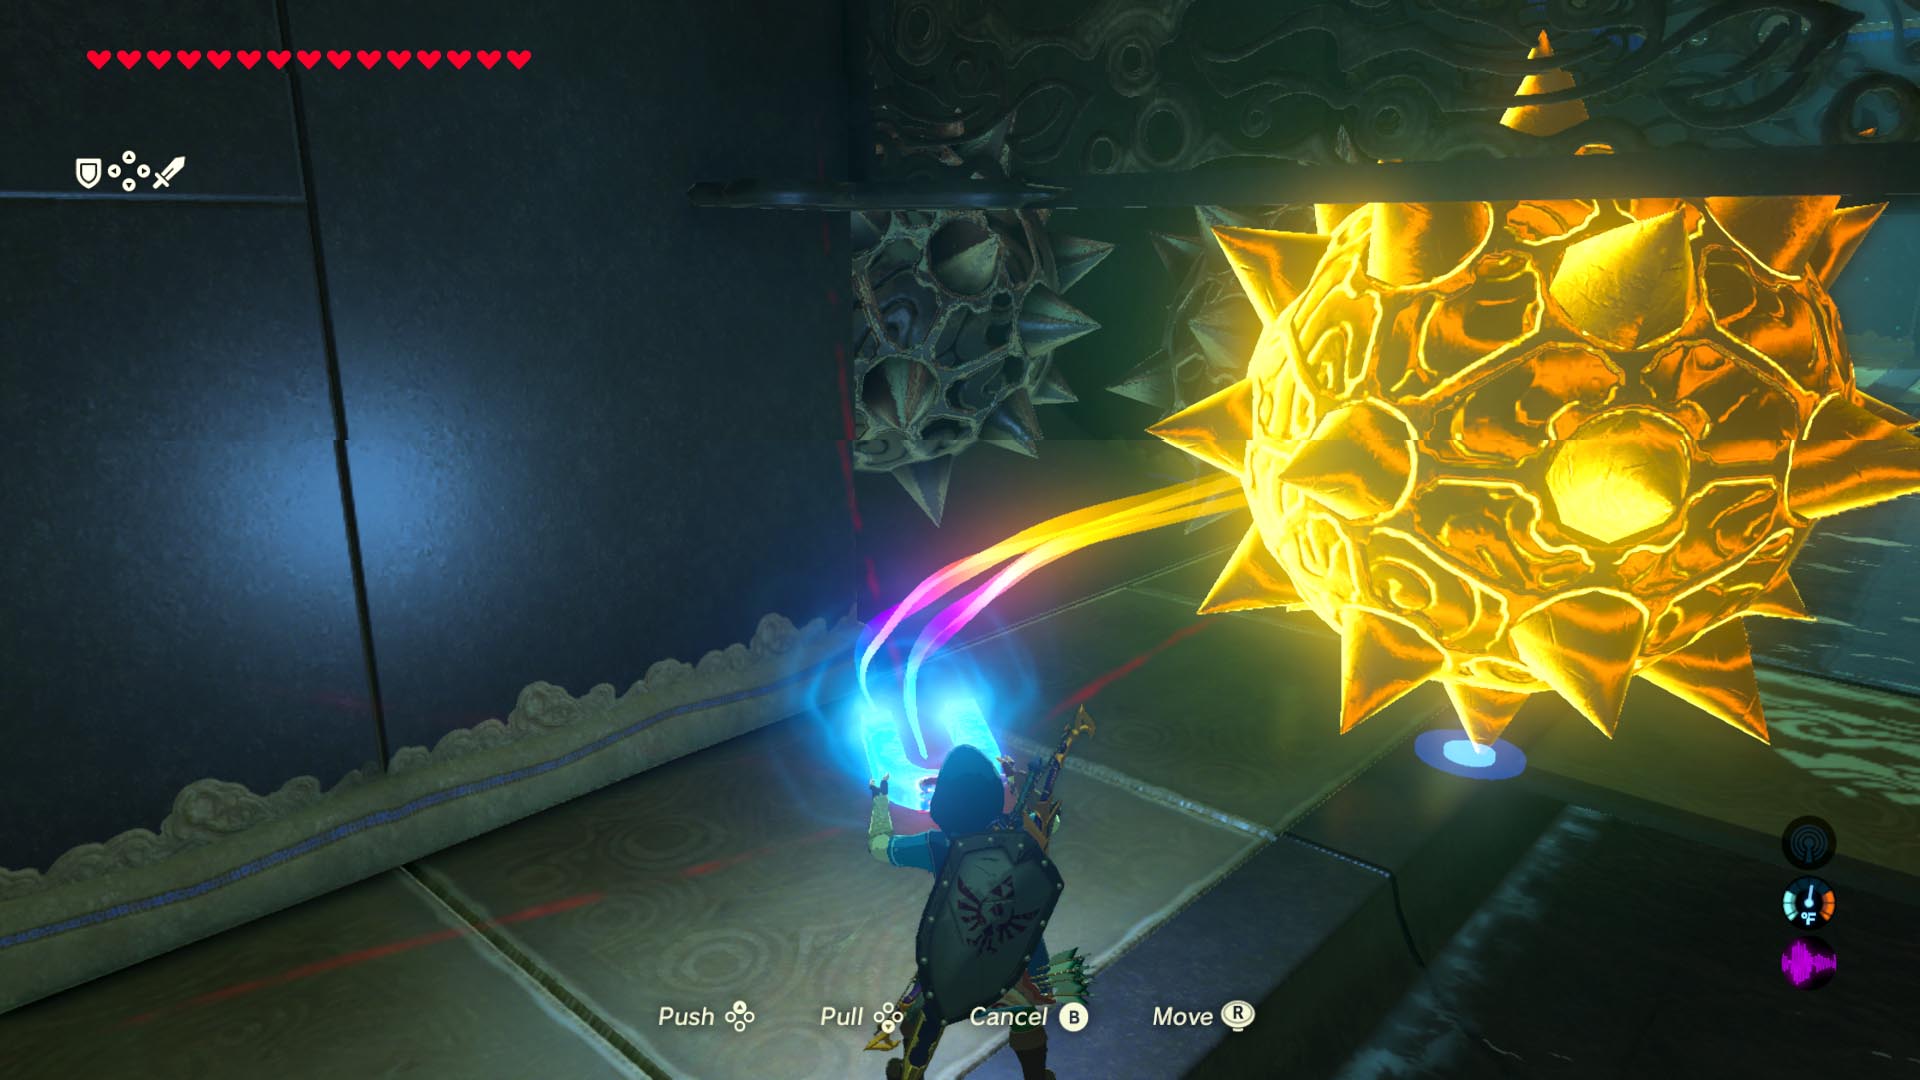
- Run through the next section, using stasis as necessary to avoid the spiked boulders.
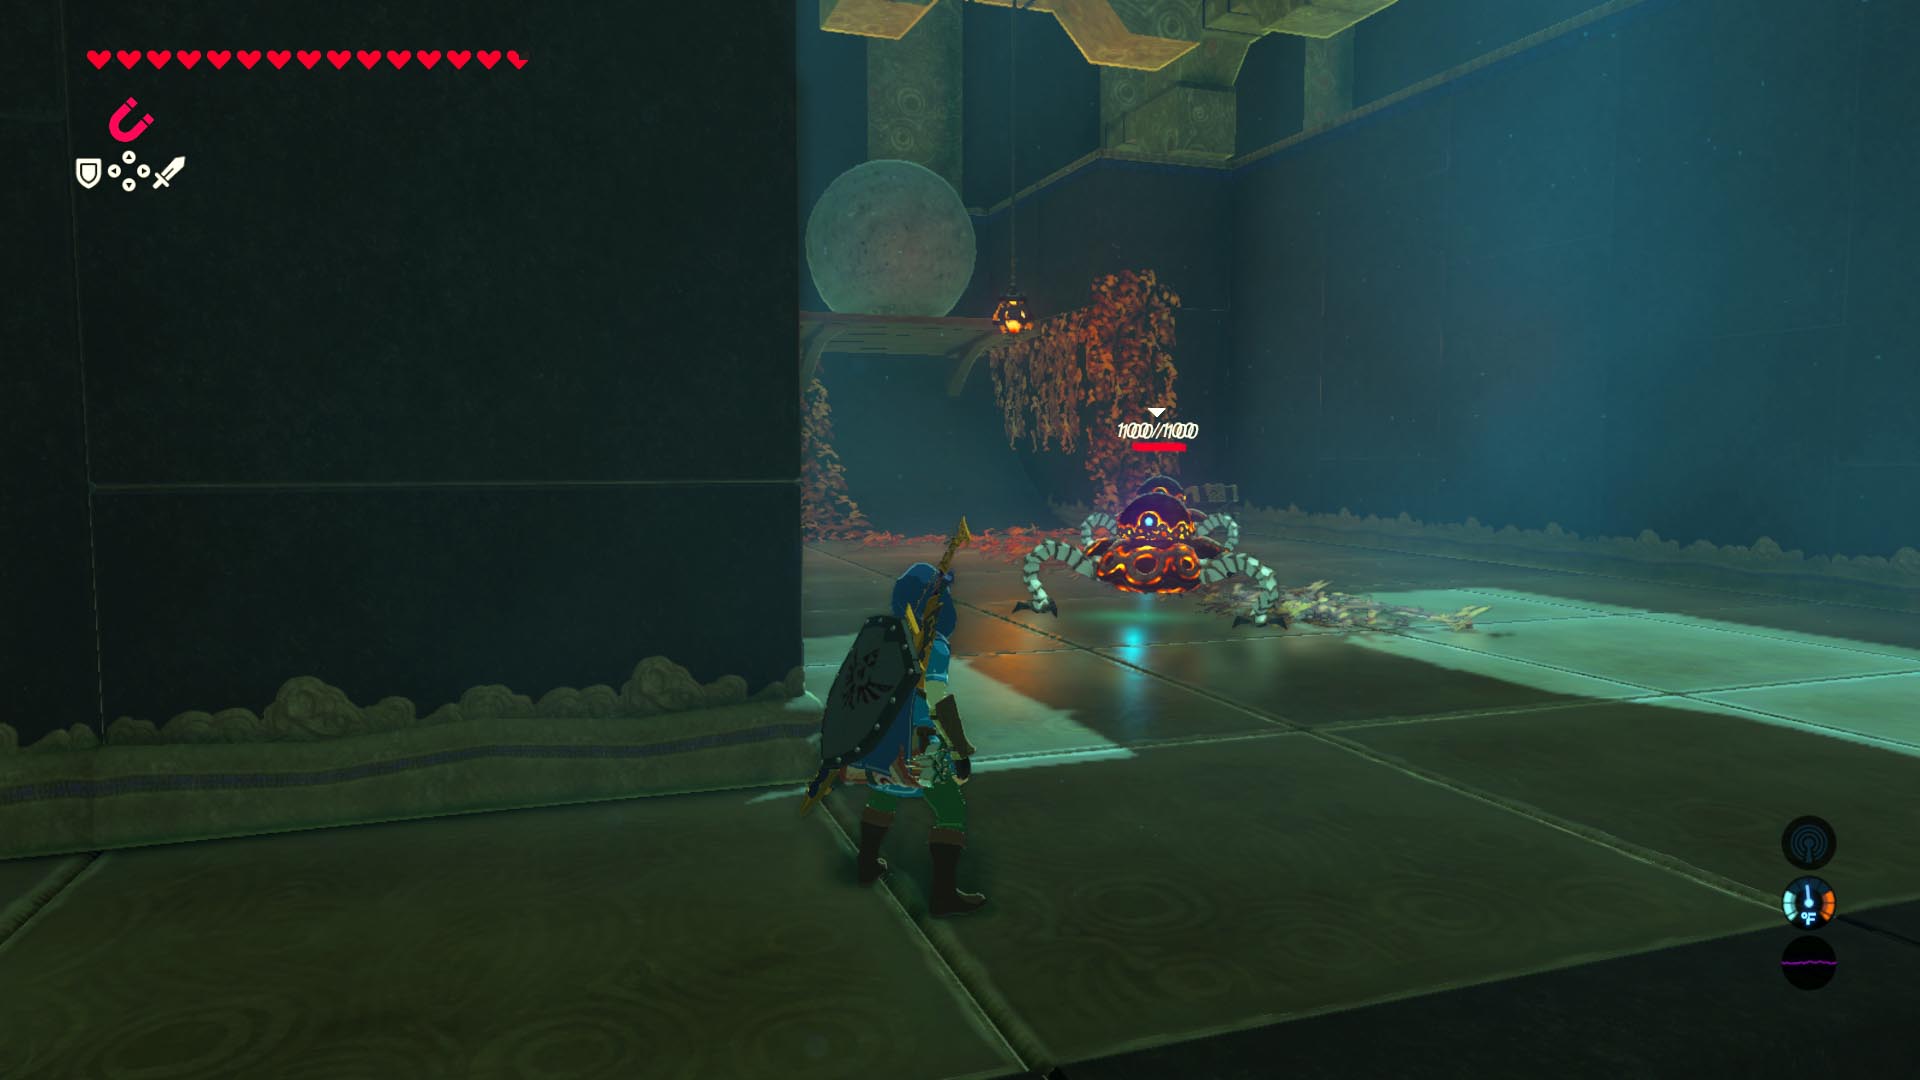
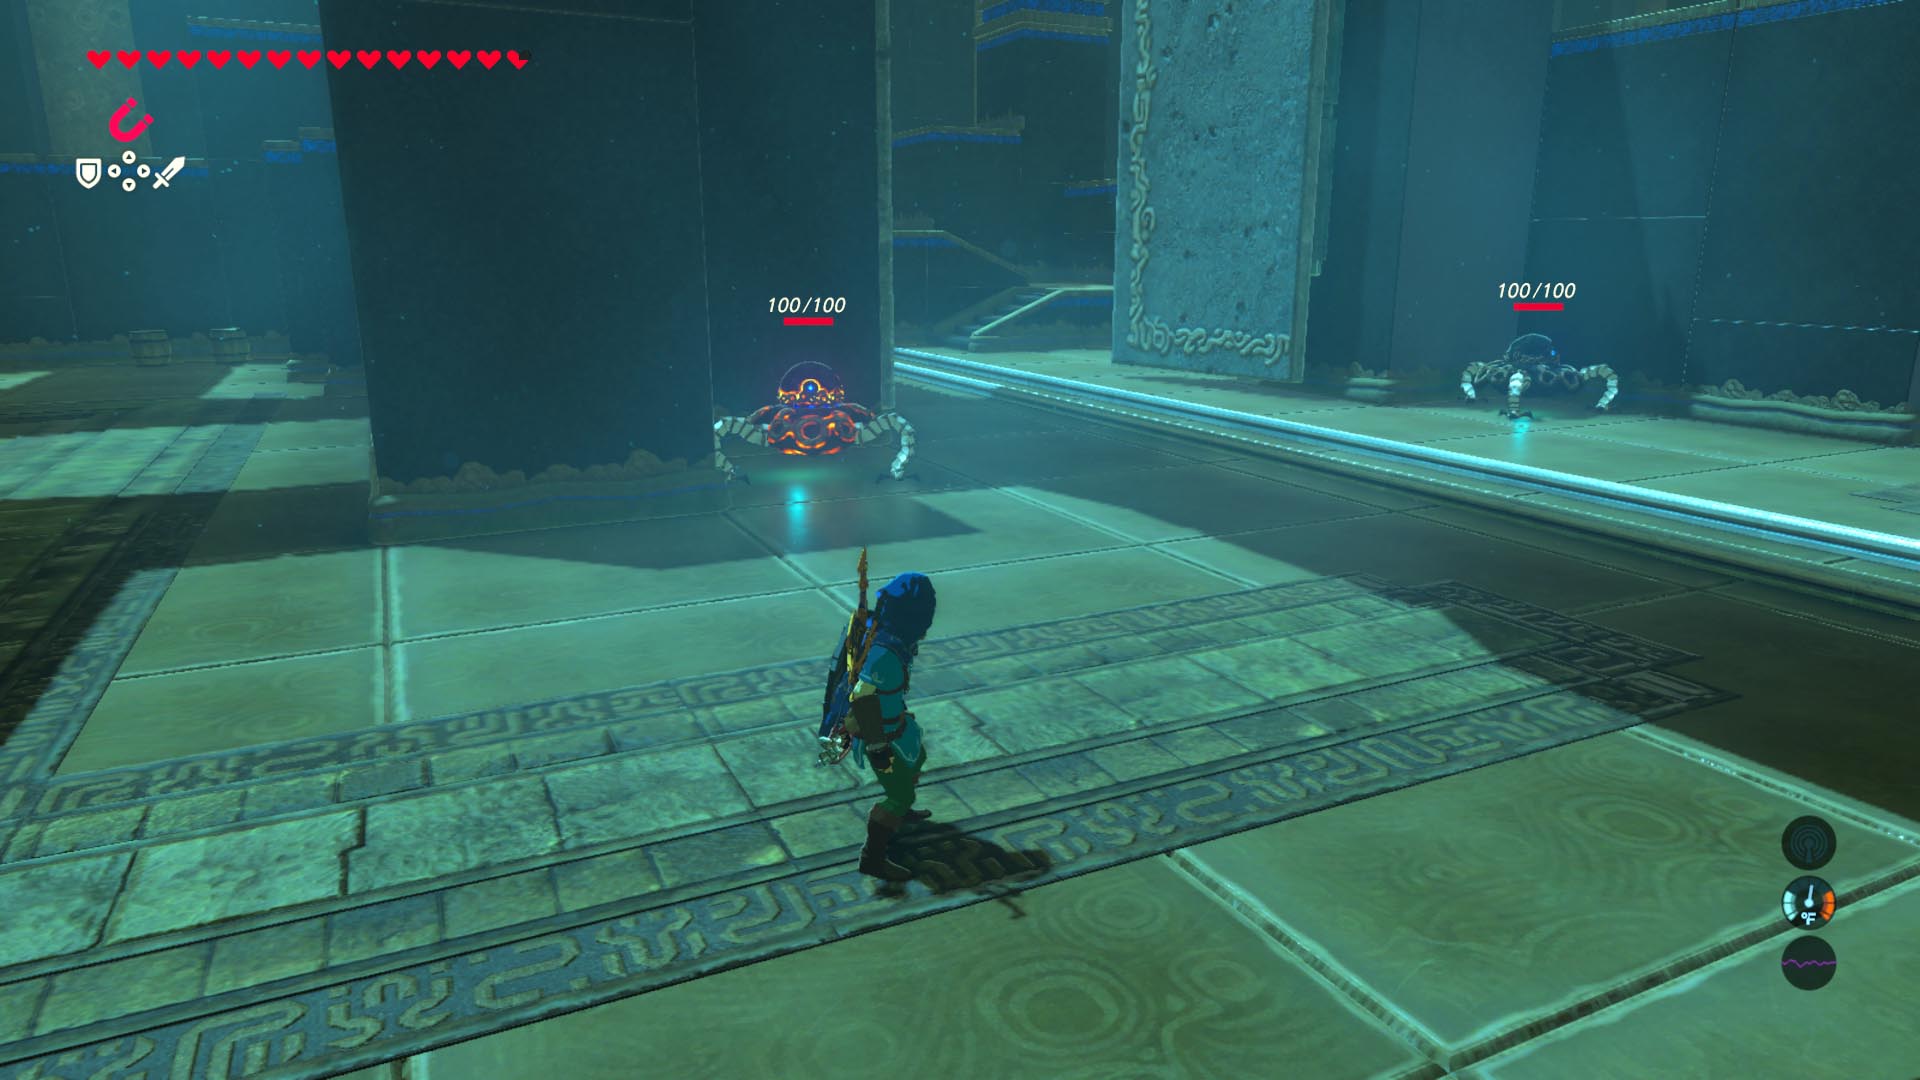
- Kill the Guardian Scouts.
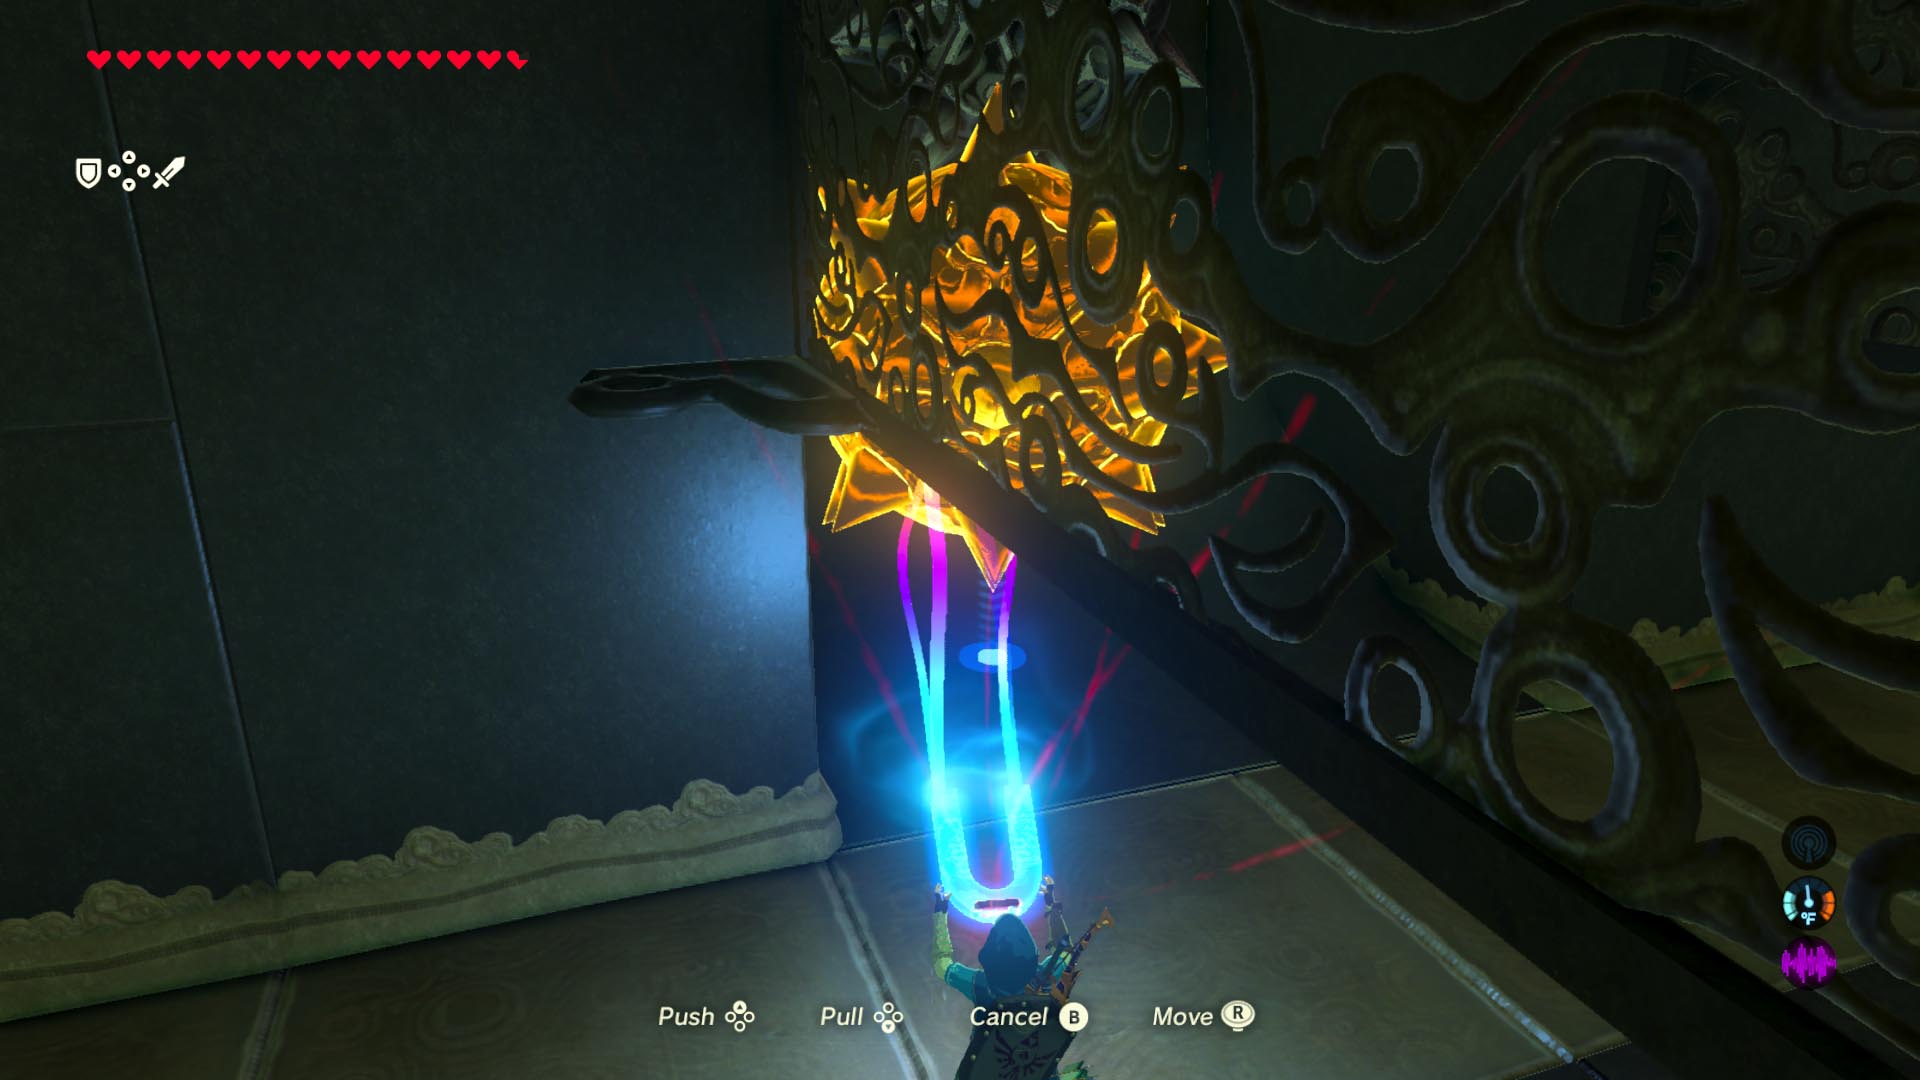
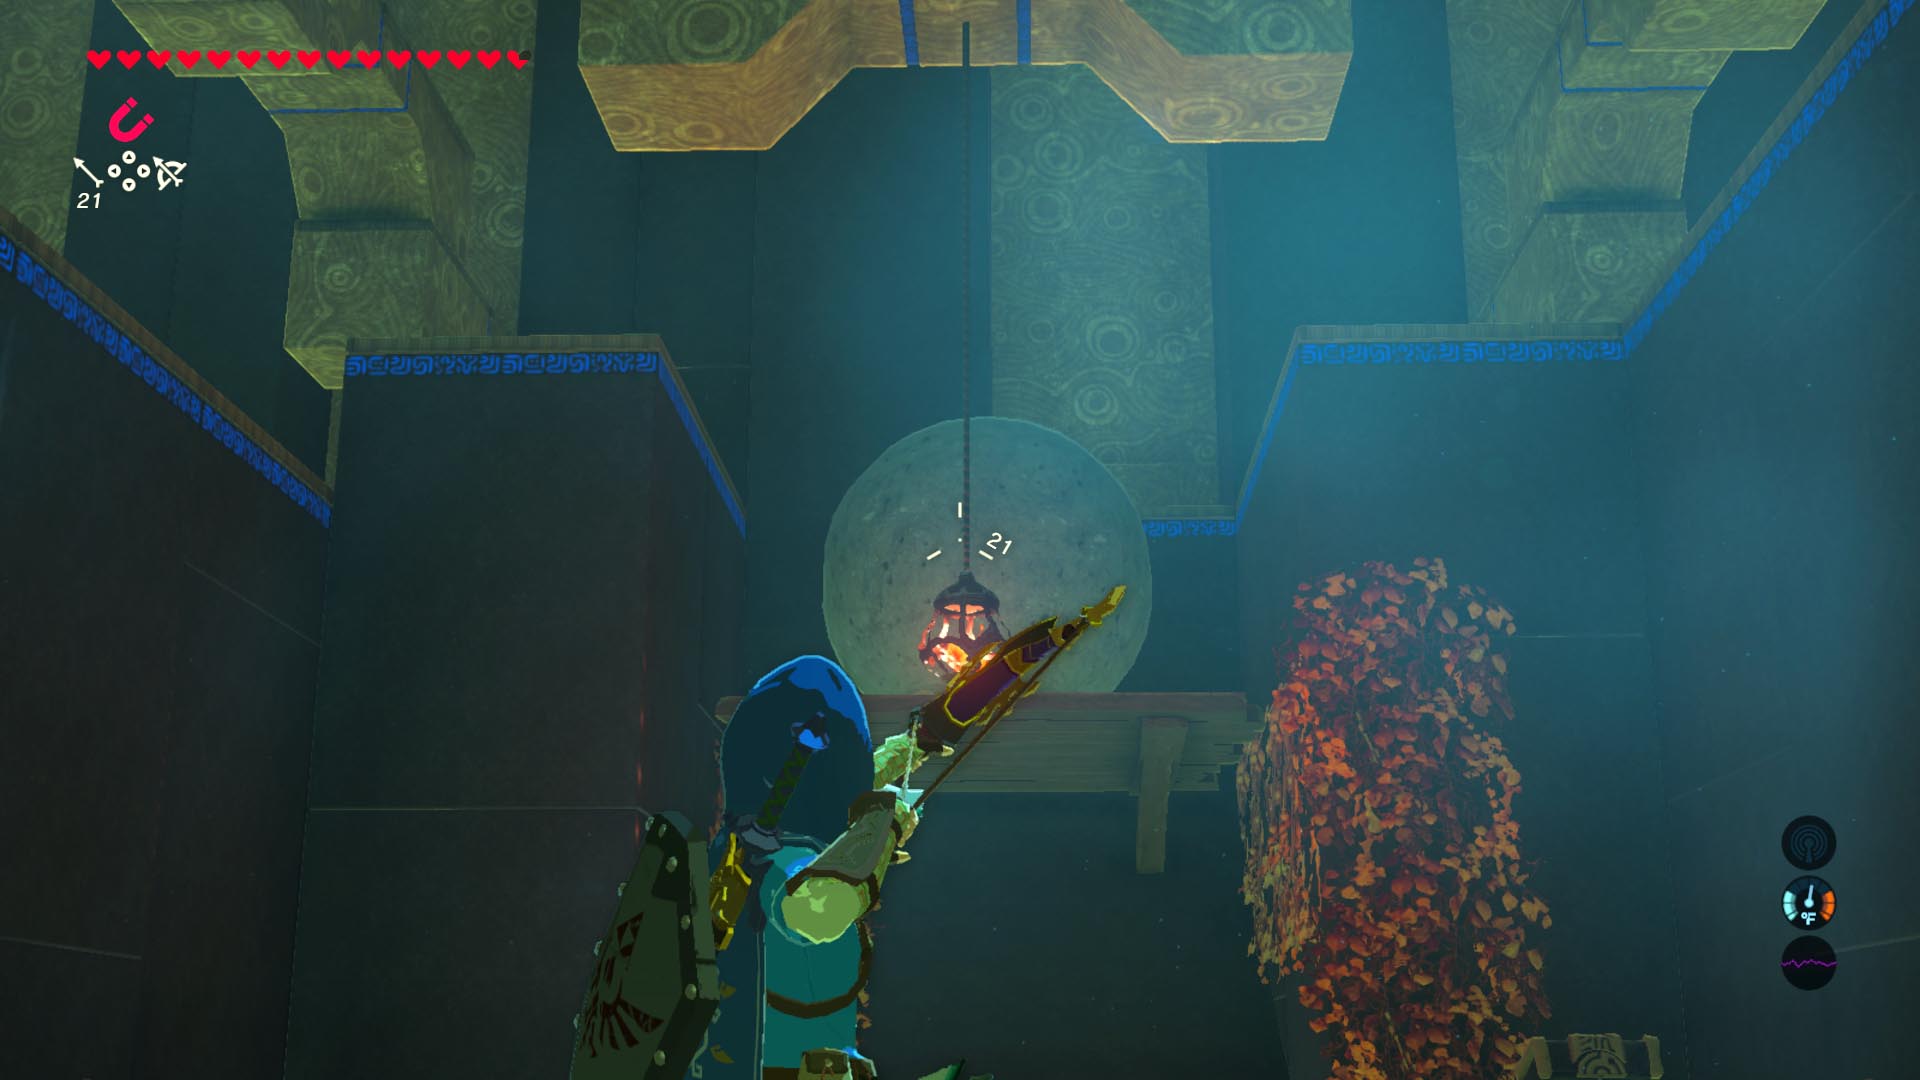
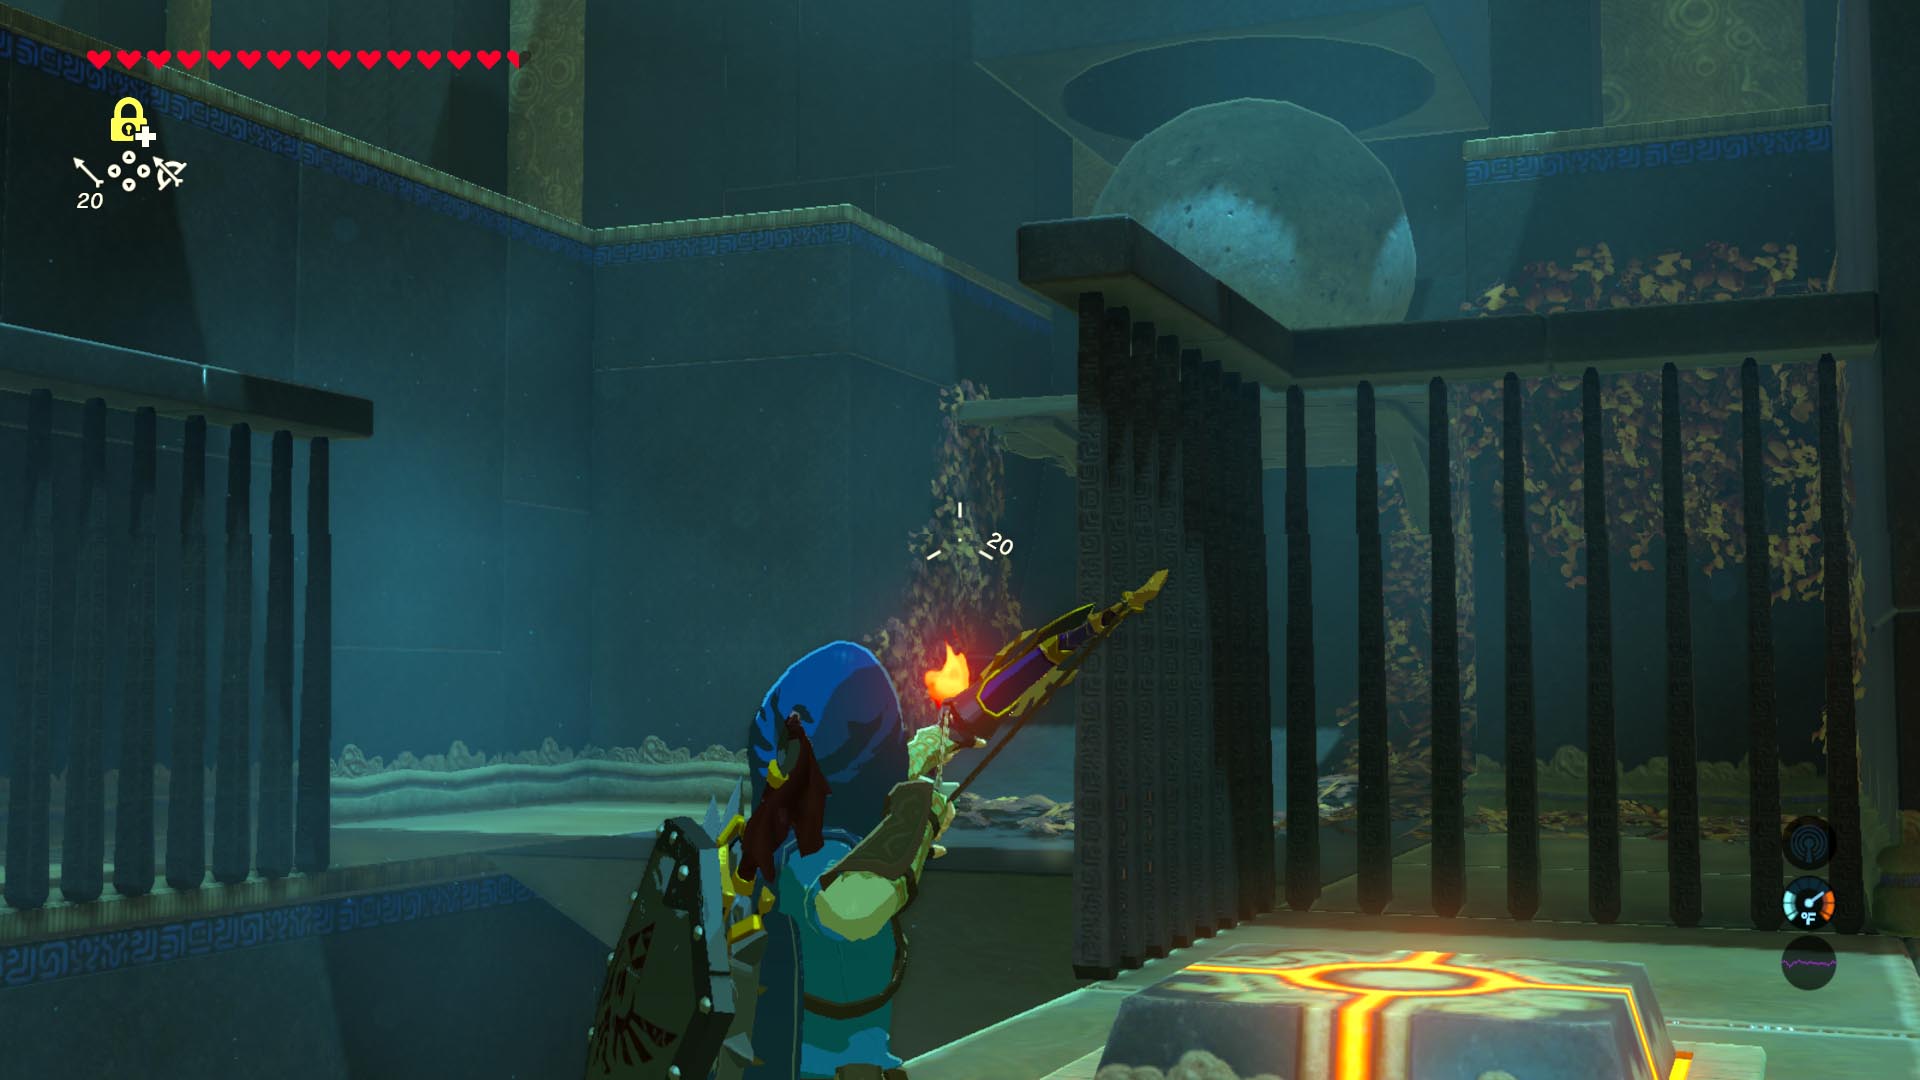
- Use your bow and arrow to cut the rope holding the lantern, so it falls and ignites the foliage. (Or you can ignite a regular arrow on the torch to create a fire arrow and launch that at the foliage.) That’ll burn the platform on which the boulder sits, causing it to roll and open a door to the next area.
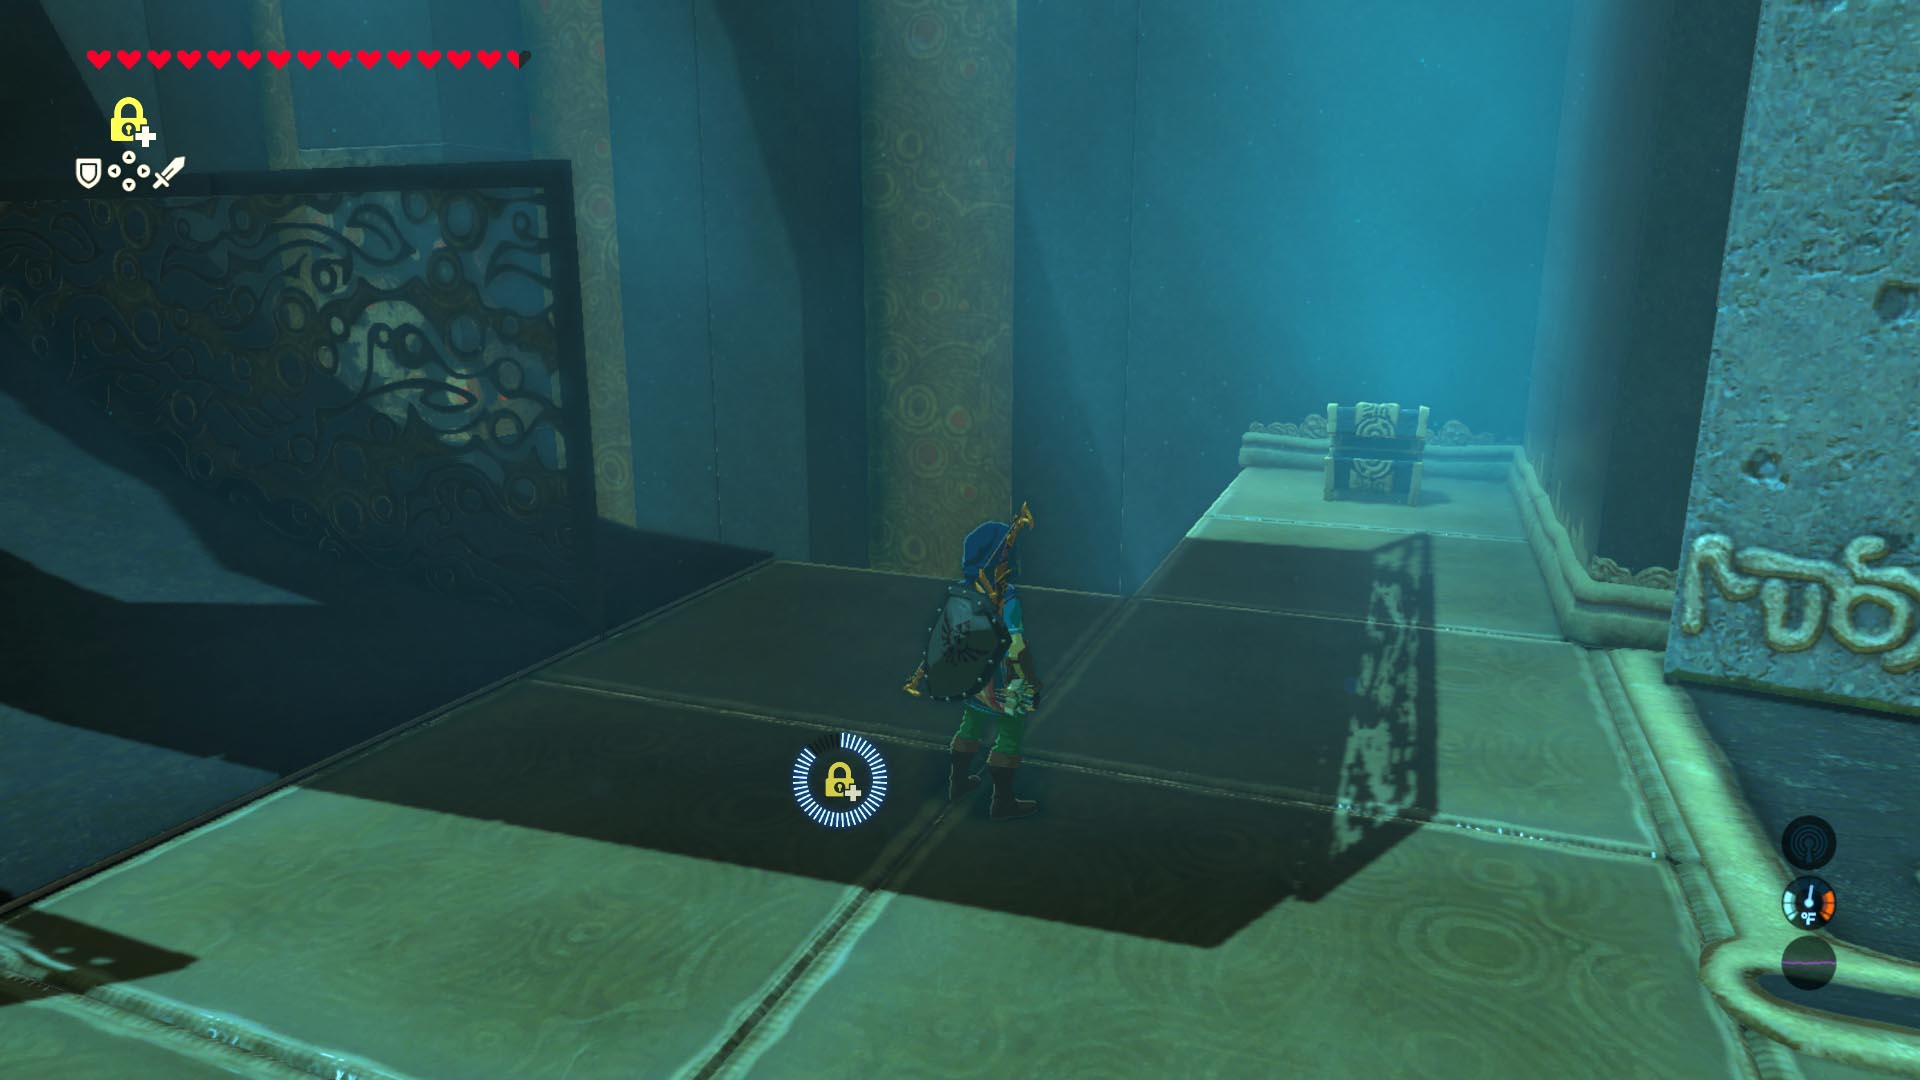
- Before you run away, open the treasure chest near the boulder’s platform.
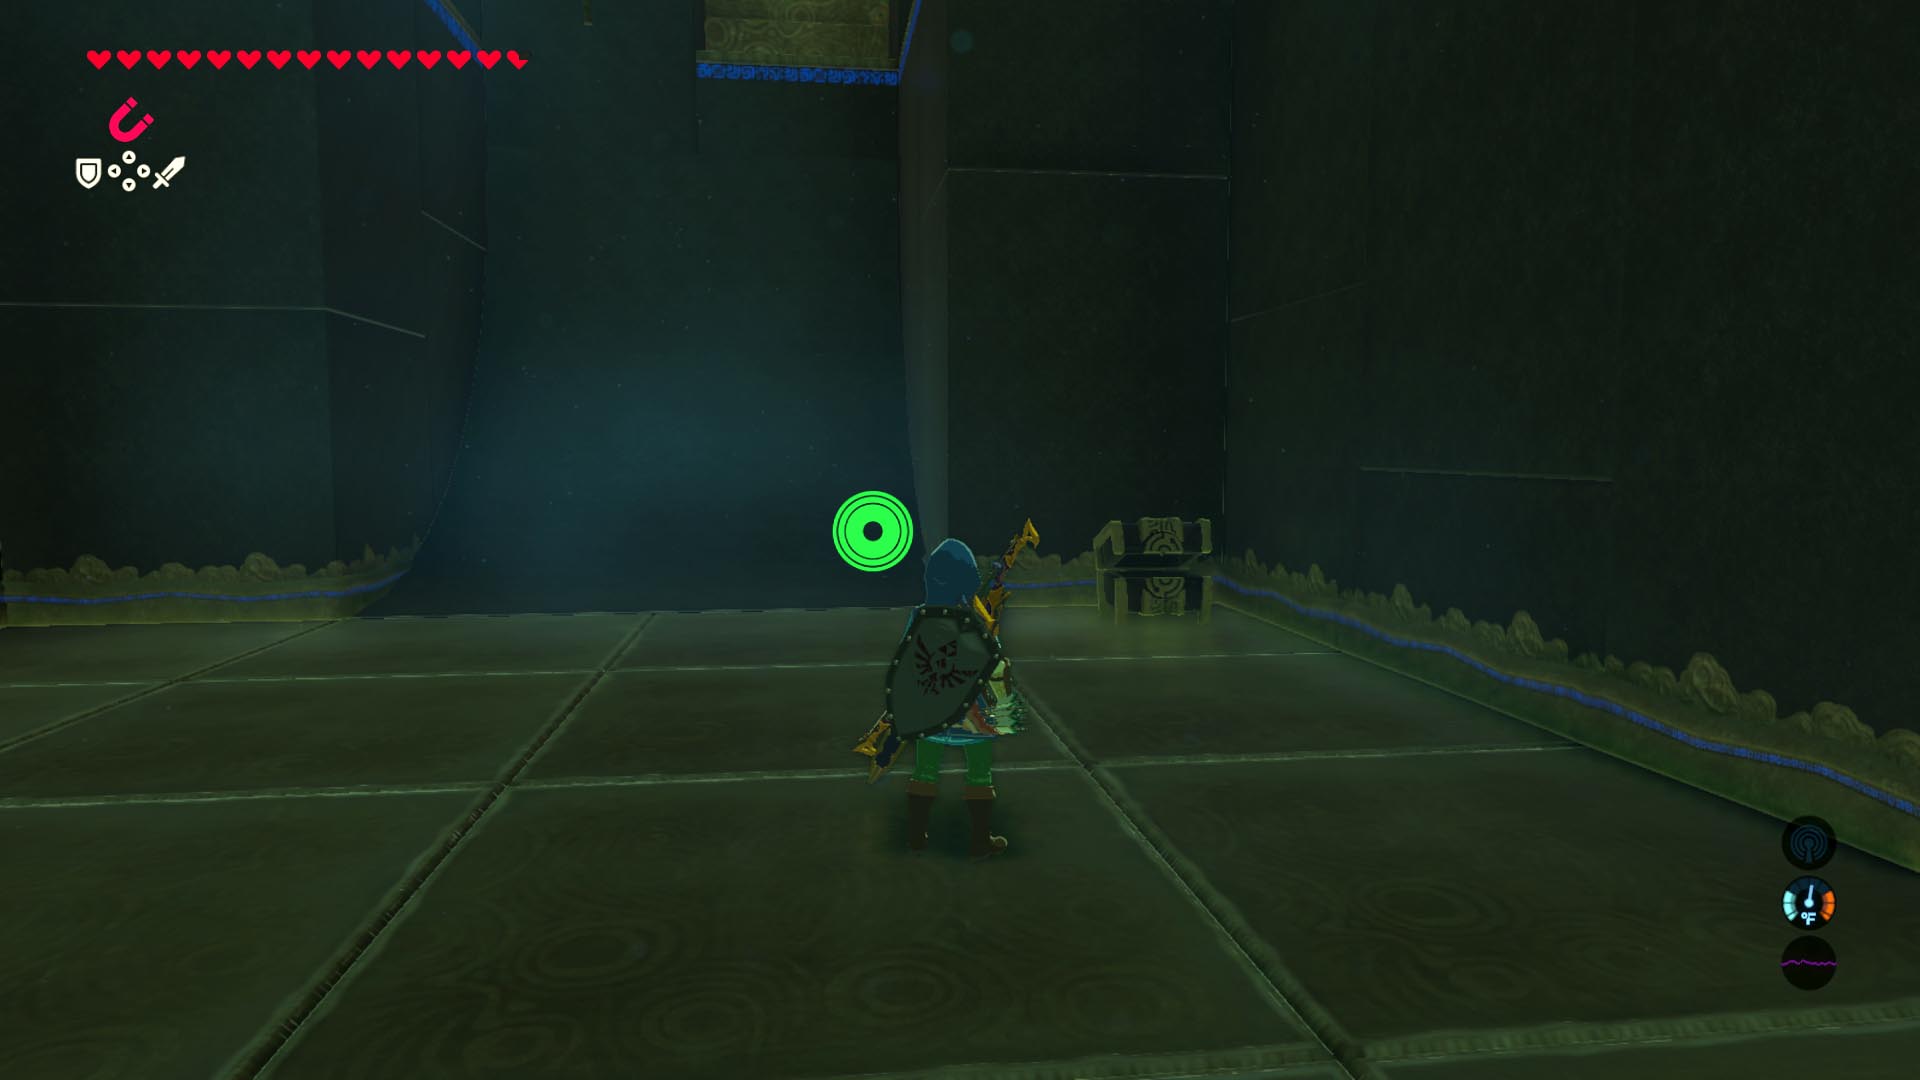
- Walk through the doors that opened, turn left and open the next treasure chest.
- Follow the only path available to you, defeat two more Guardian Scouts, and use stasis on the seesaw part of the floor that will give way if you try to walk across it.
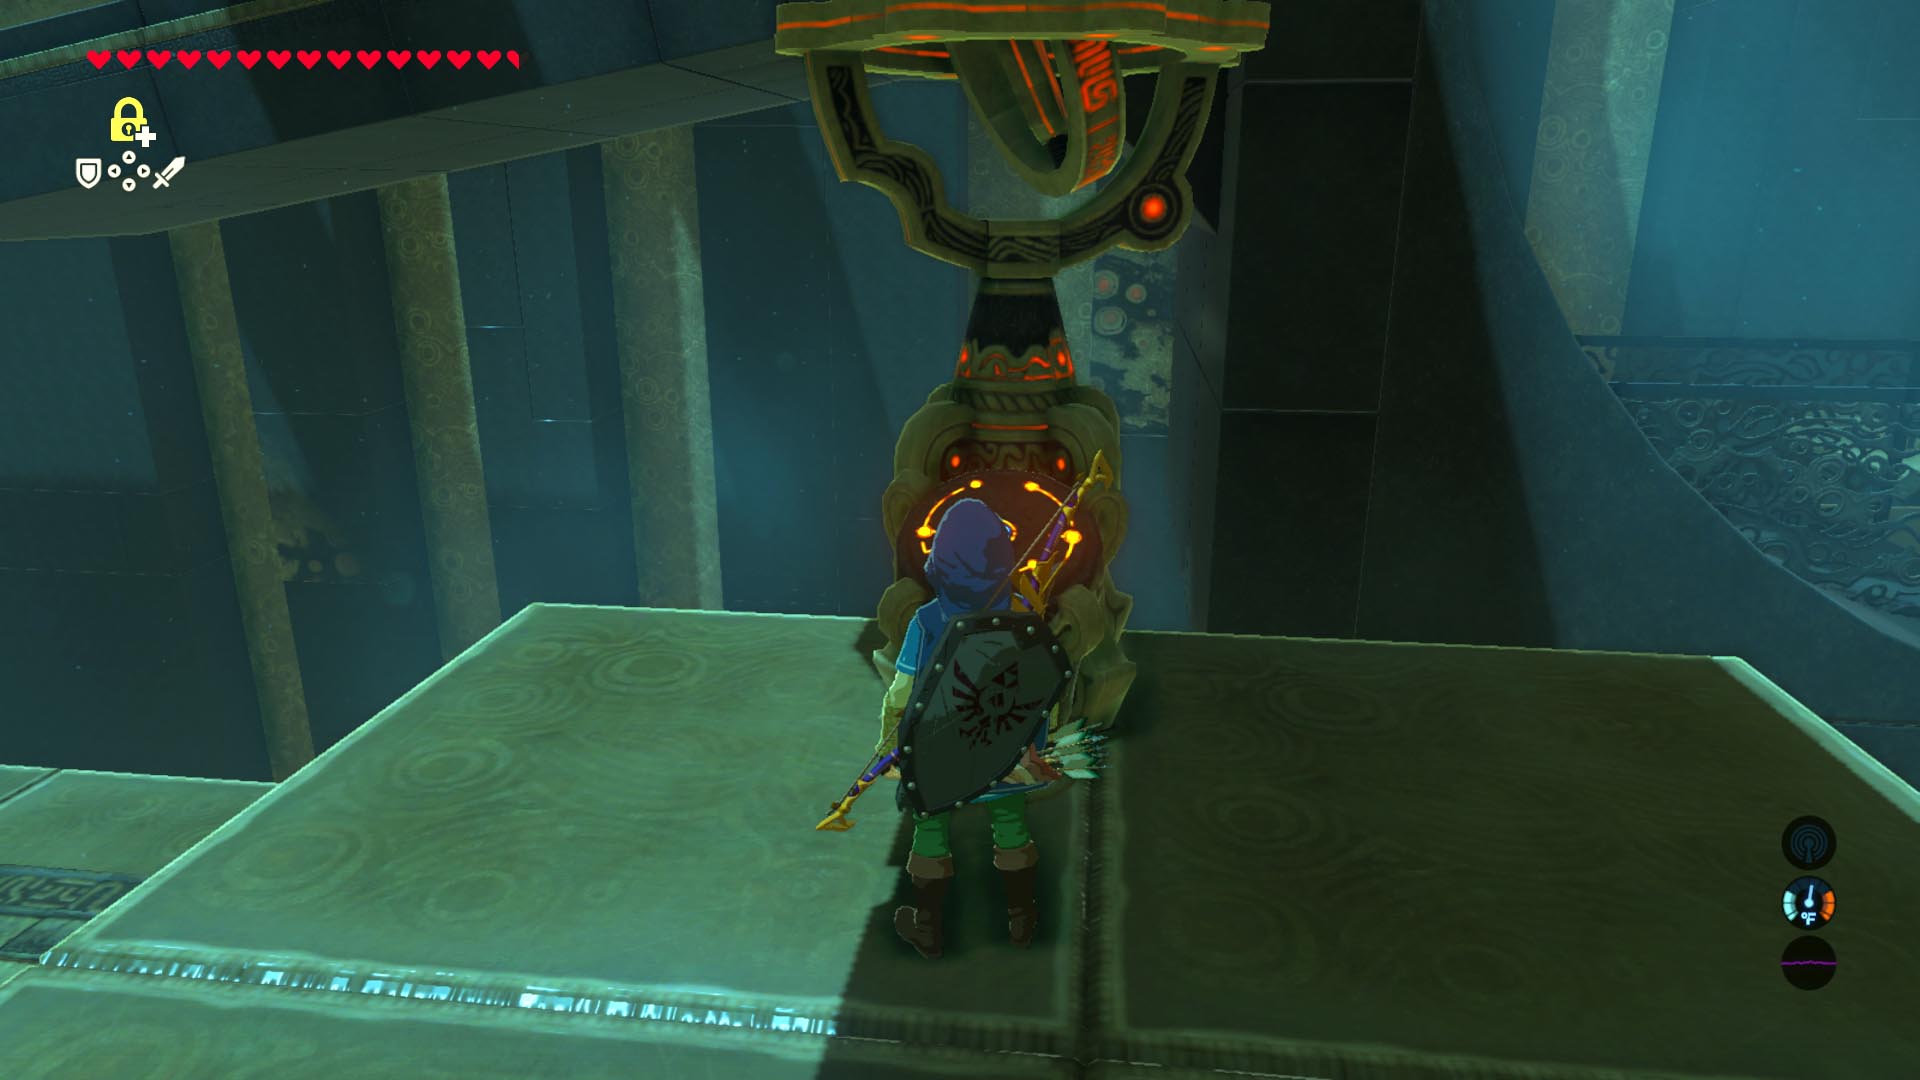
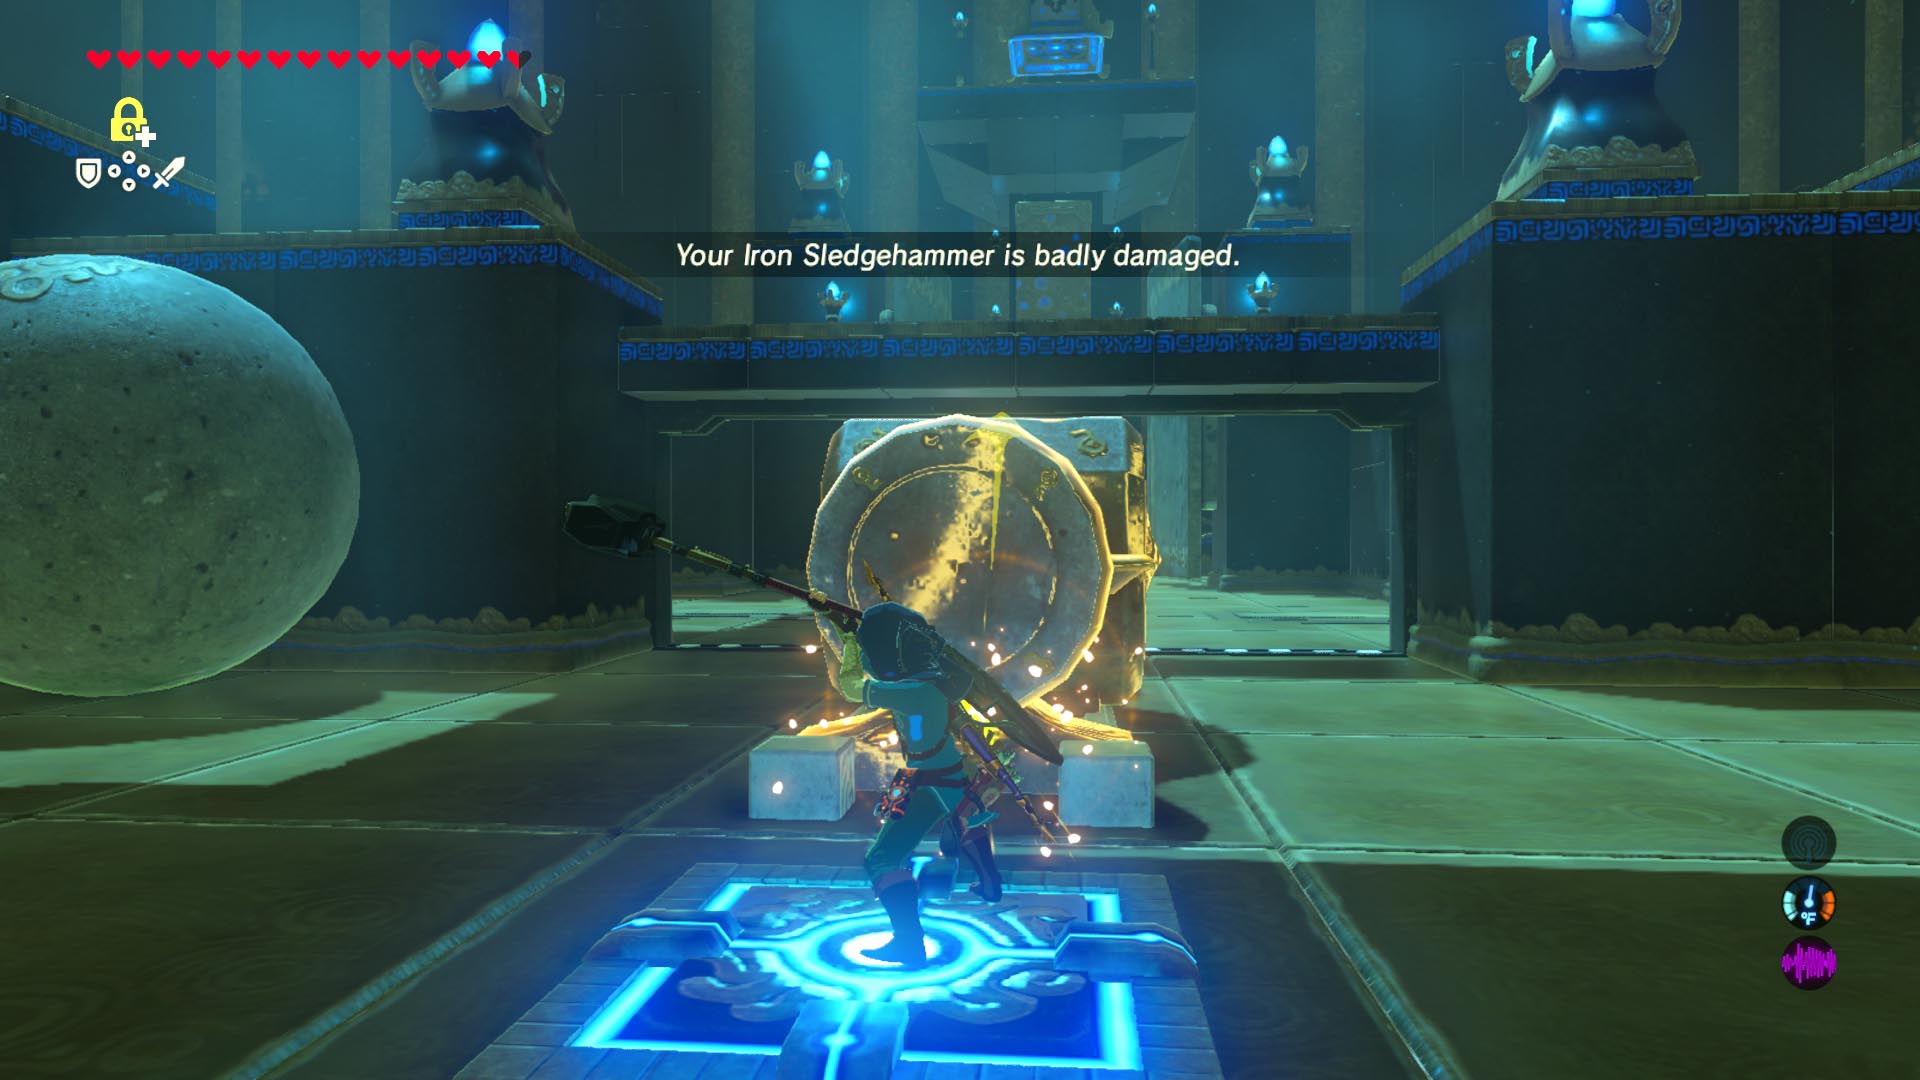
- Interact with the Sheikah slate terminal, and use motion controls to slam the hammer into the boulder. It’ll fall down the ramp and open the next doors.
- Before you leave, open the treasure chest near the terminal.
- Continue down the path, use stasis on the seesaw and walk across it to the other side.
- Use an arrow to burn the foliage (and therefore the platform) on which the boulder rests. (There’s a torch here you can use to ignite your arrow.)
- Cast stasis on the seesaw again, and step on the pressure plate to lift the ramp and cause the boulder to fly across the gap, roll across the seesaw and open yet another door.
- Stand on the pressure plate to open the gate, and use stasis on the battering ram on rails. It’ll fly and open the last set of doors.
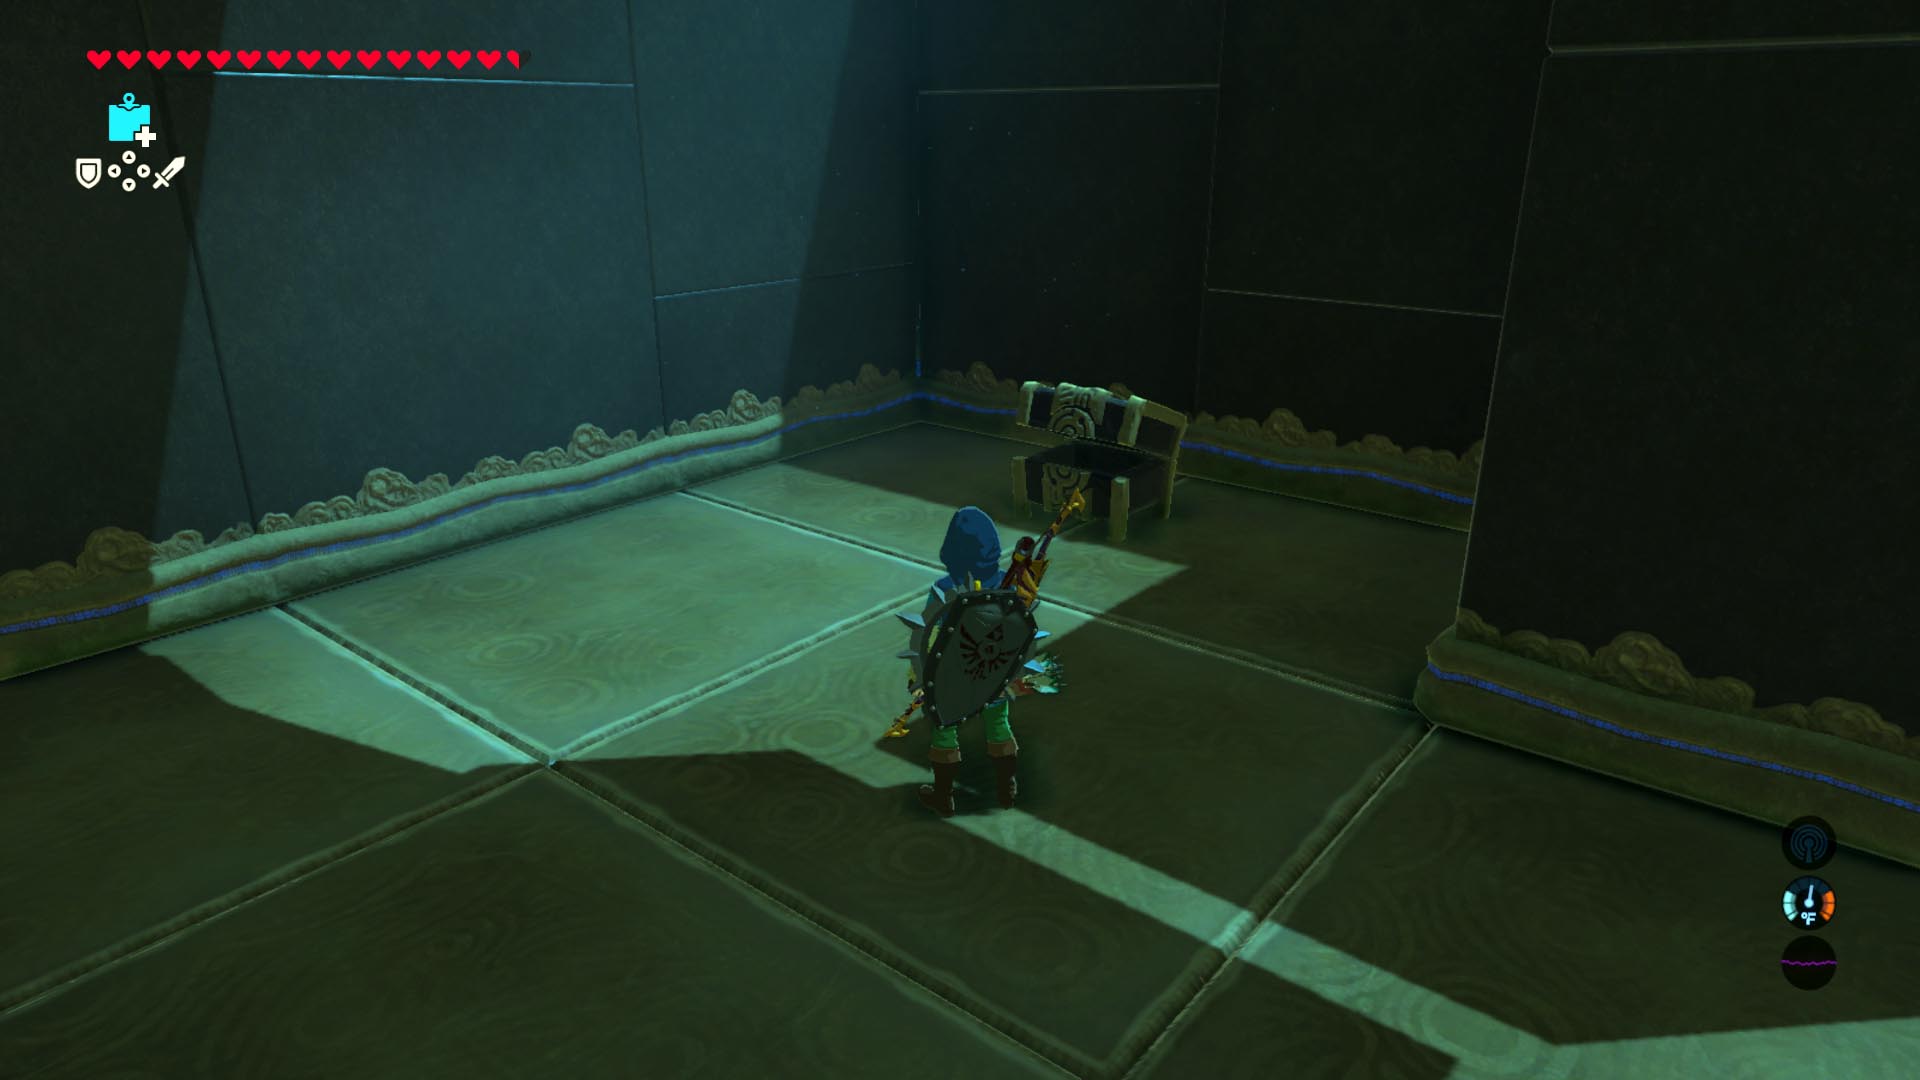
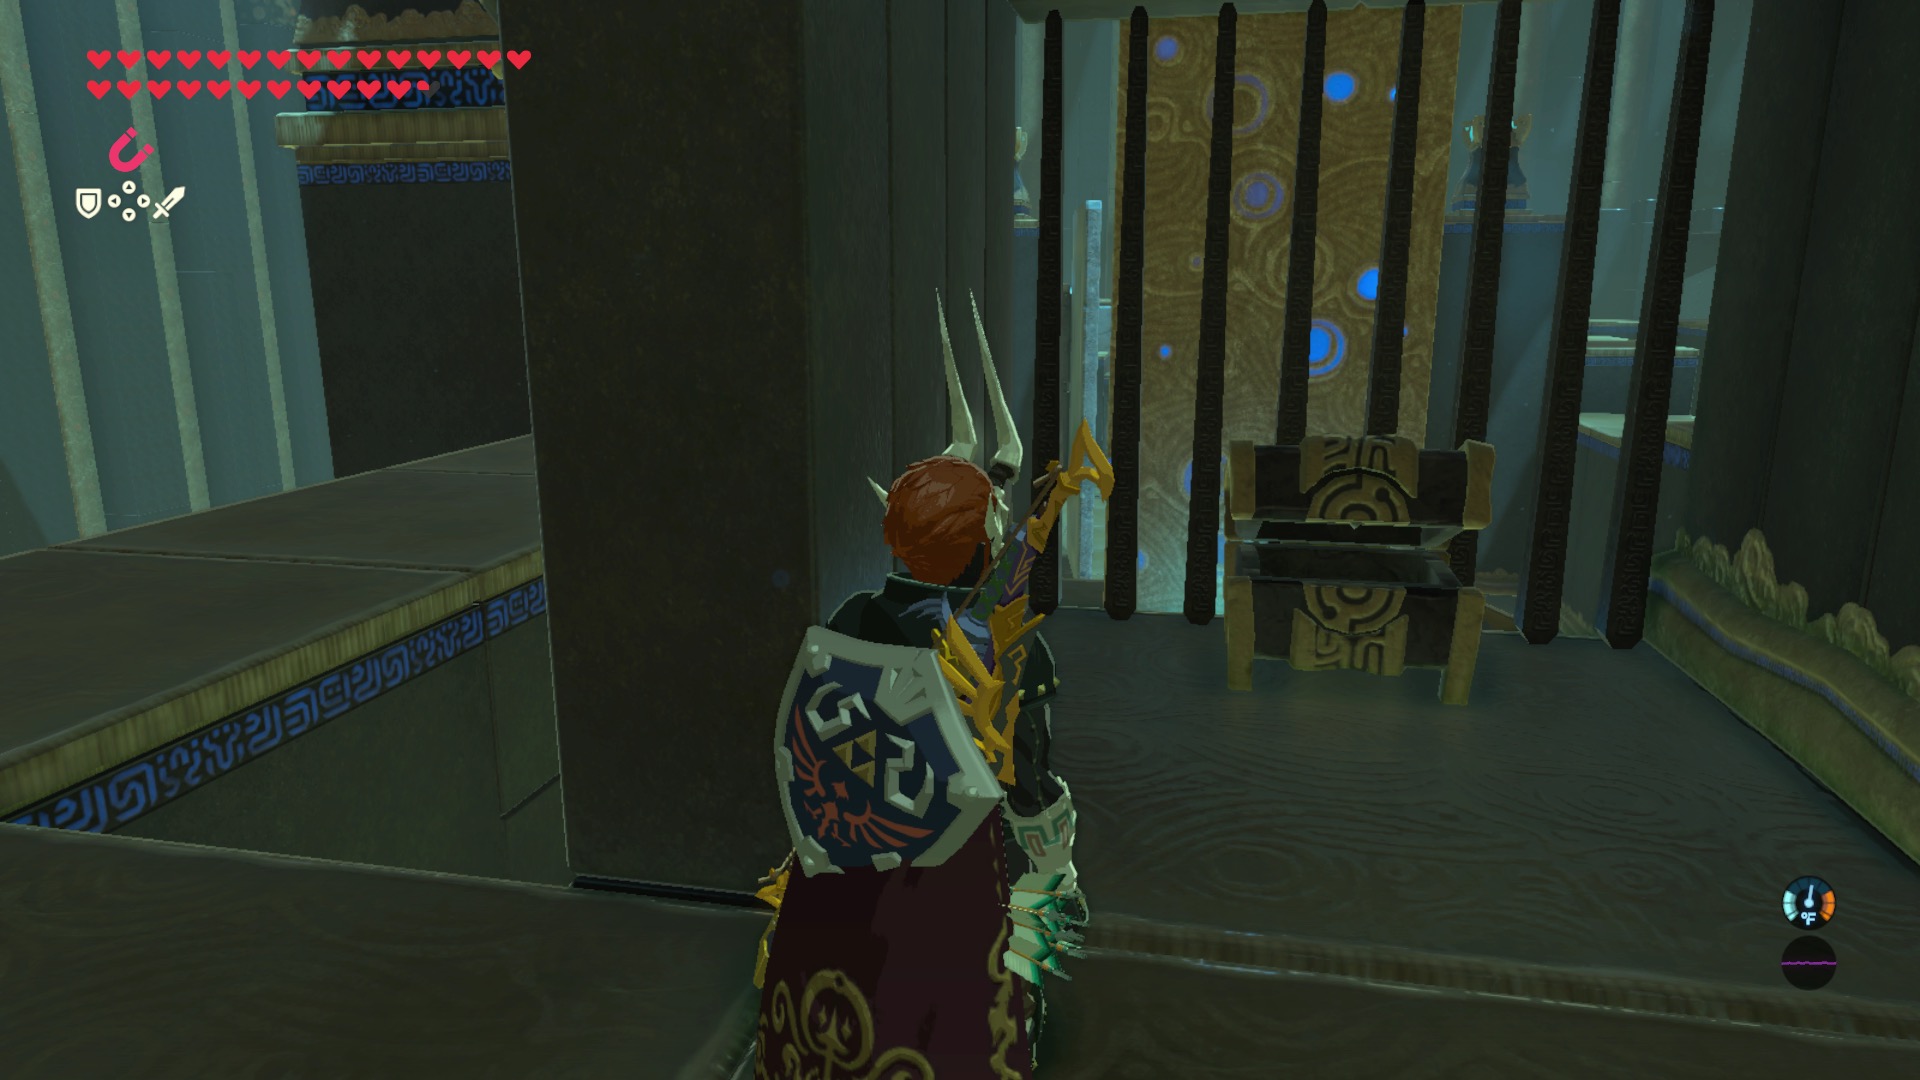
- Before you leave the area, look for a wall of cracked blocks. Destroy them with a remote bomb to uncover the last treasure chest.
- Walk through the last set of doors, stand in front of the switch, and hit it with your weapon. You’ll fly into the air, and you can paraglide to the exit. But before you do that, read on to get another treasure chest.
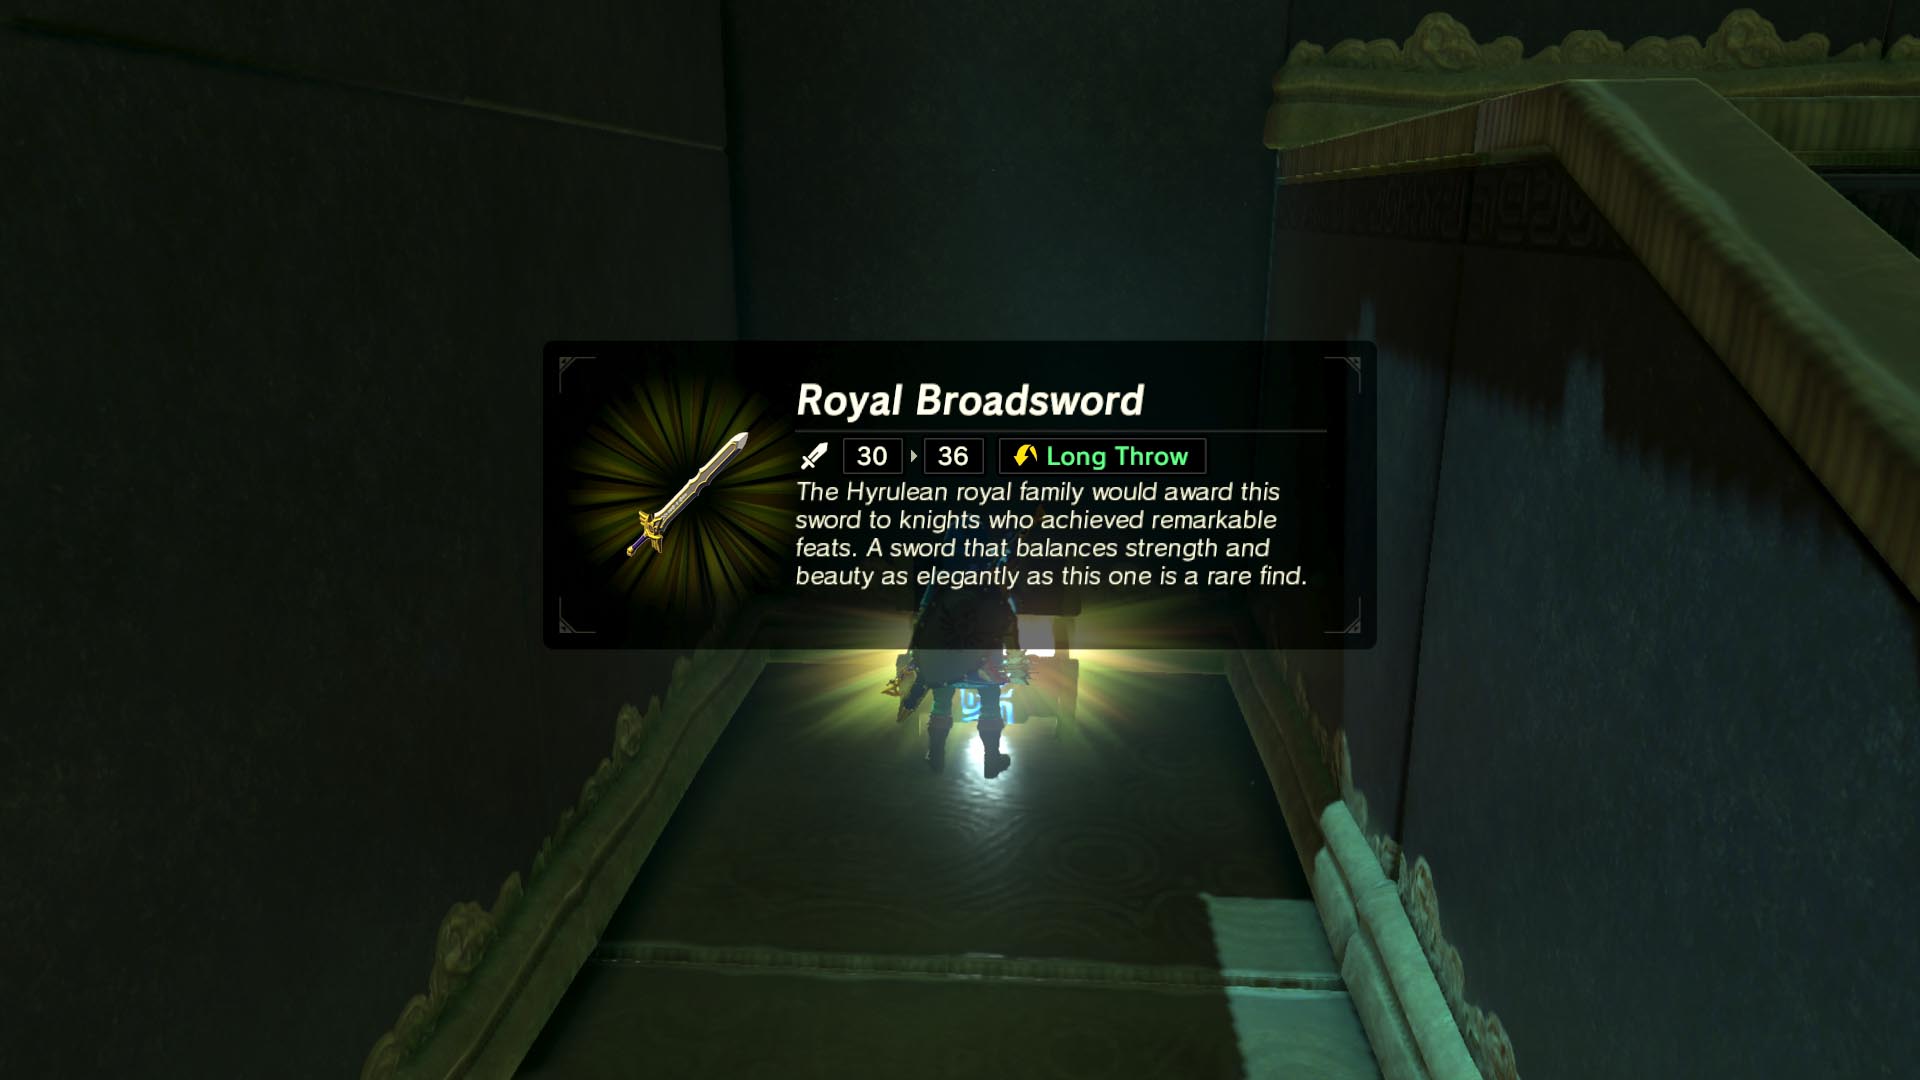
- Hit the crystal switch with a weapon, and instead of gliding to the exit, glide onto the area that’s higher than where the switch is but not as high as the column on which the monk sits. Walk around to the back, and you’ll find a treasure chest with a diamond. (You can see your destination in the last couple of images in the gallery above. Thanks to Polygon reader Christopher who directed us to this chest.)
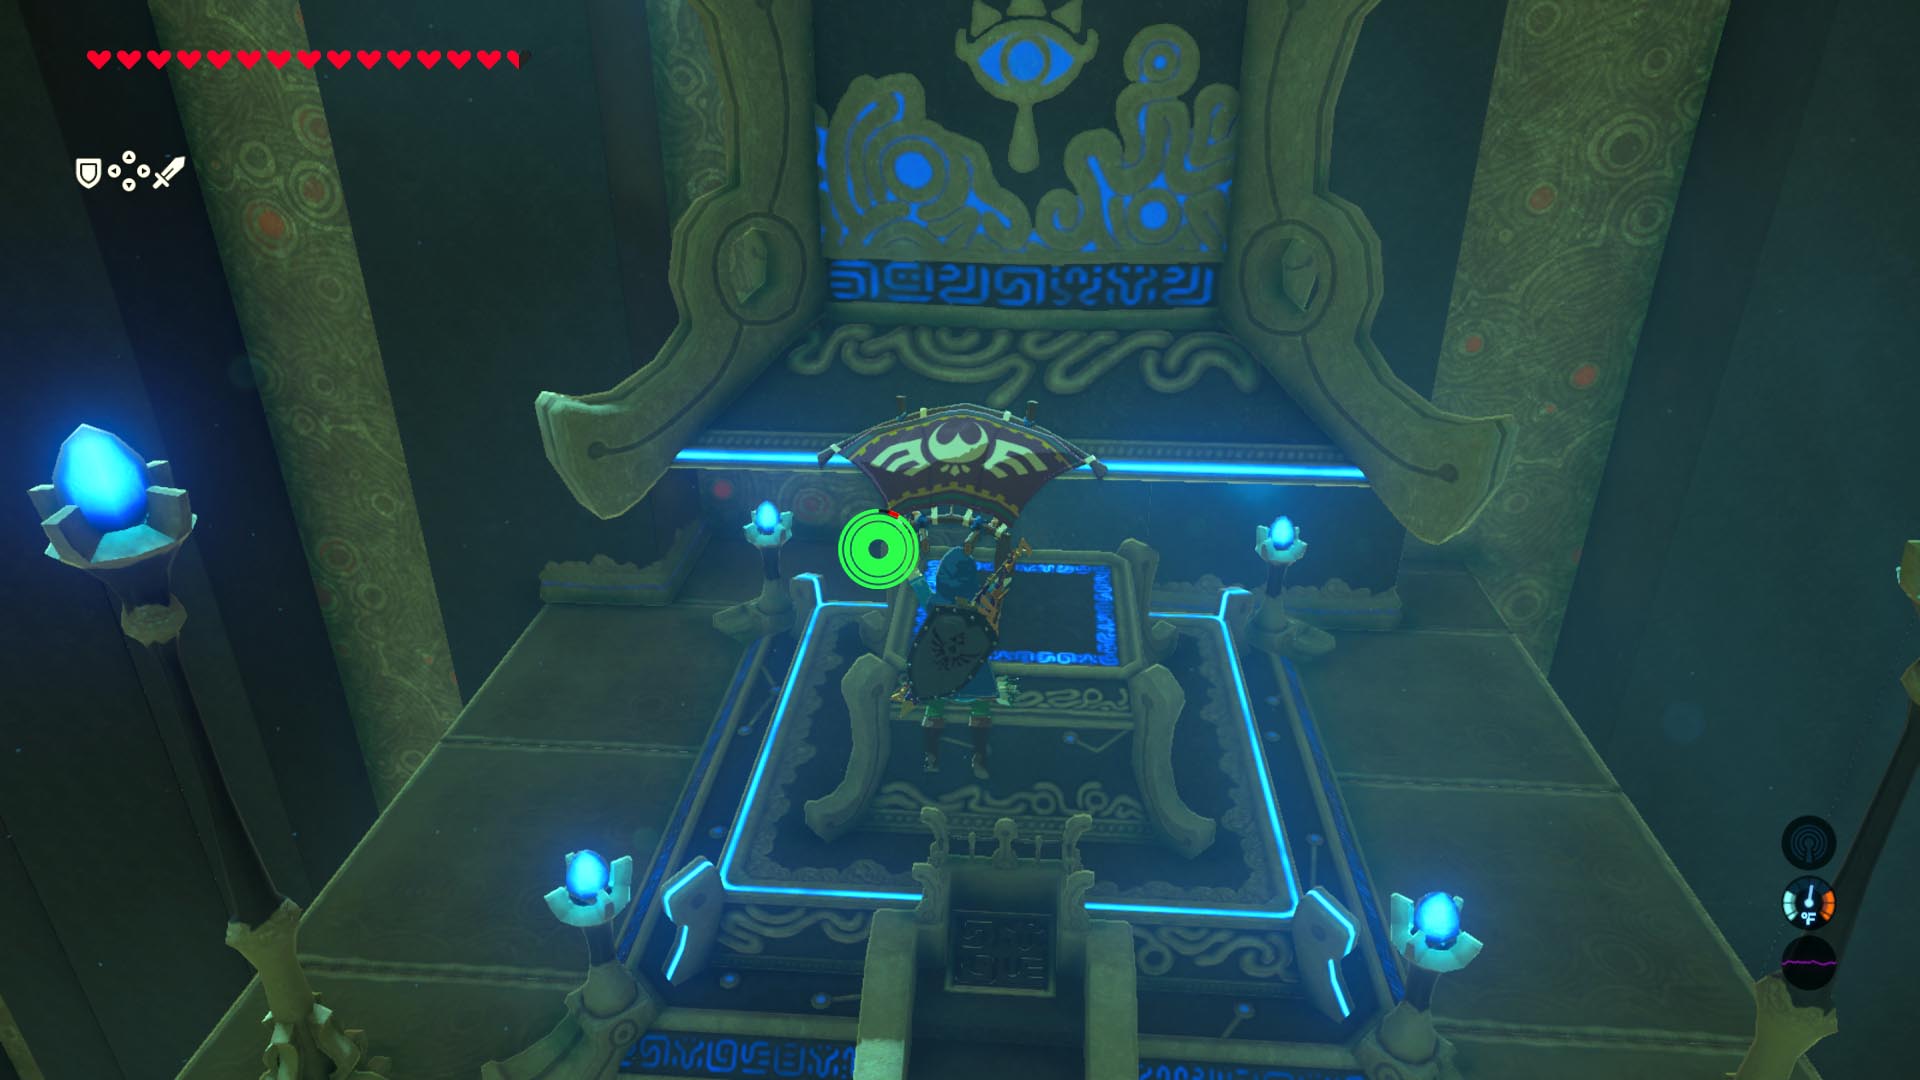
- Hit the crystal switch again to catapult up, glide to the top of the highest column, meet Kaam Ya’tak and collect your spirit orb.
The next level of puzzles.
Take a break from your day by playing a puzzle or two! We’ve got SpellTower, Typeshift, crosswords, and more.


