

Introduction: Secret Drawer Lock
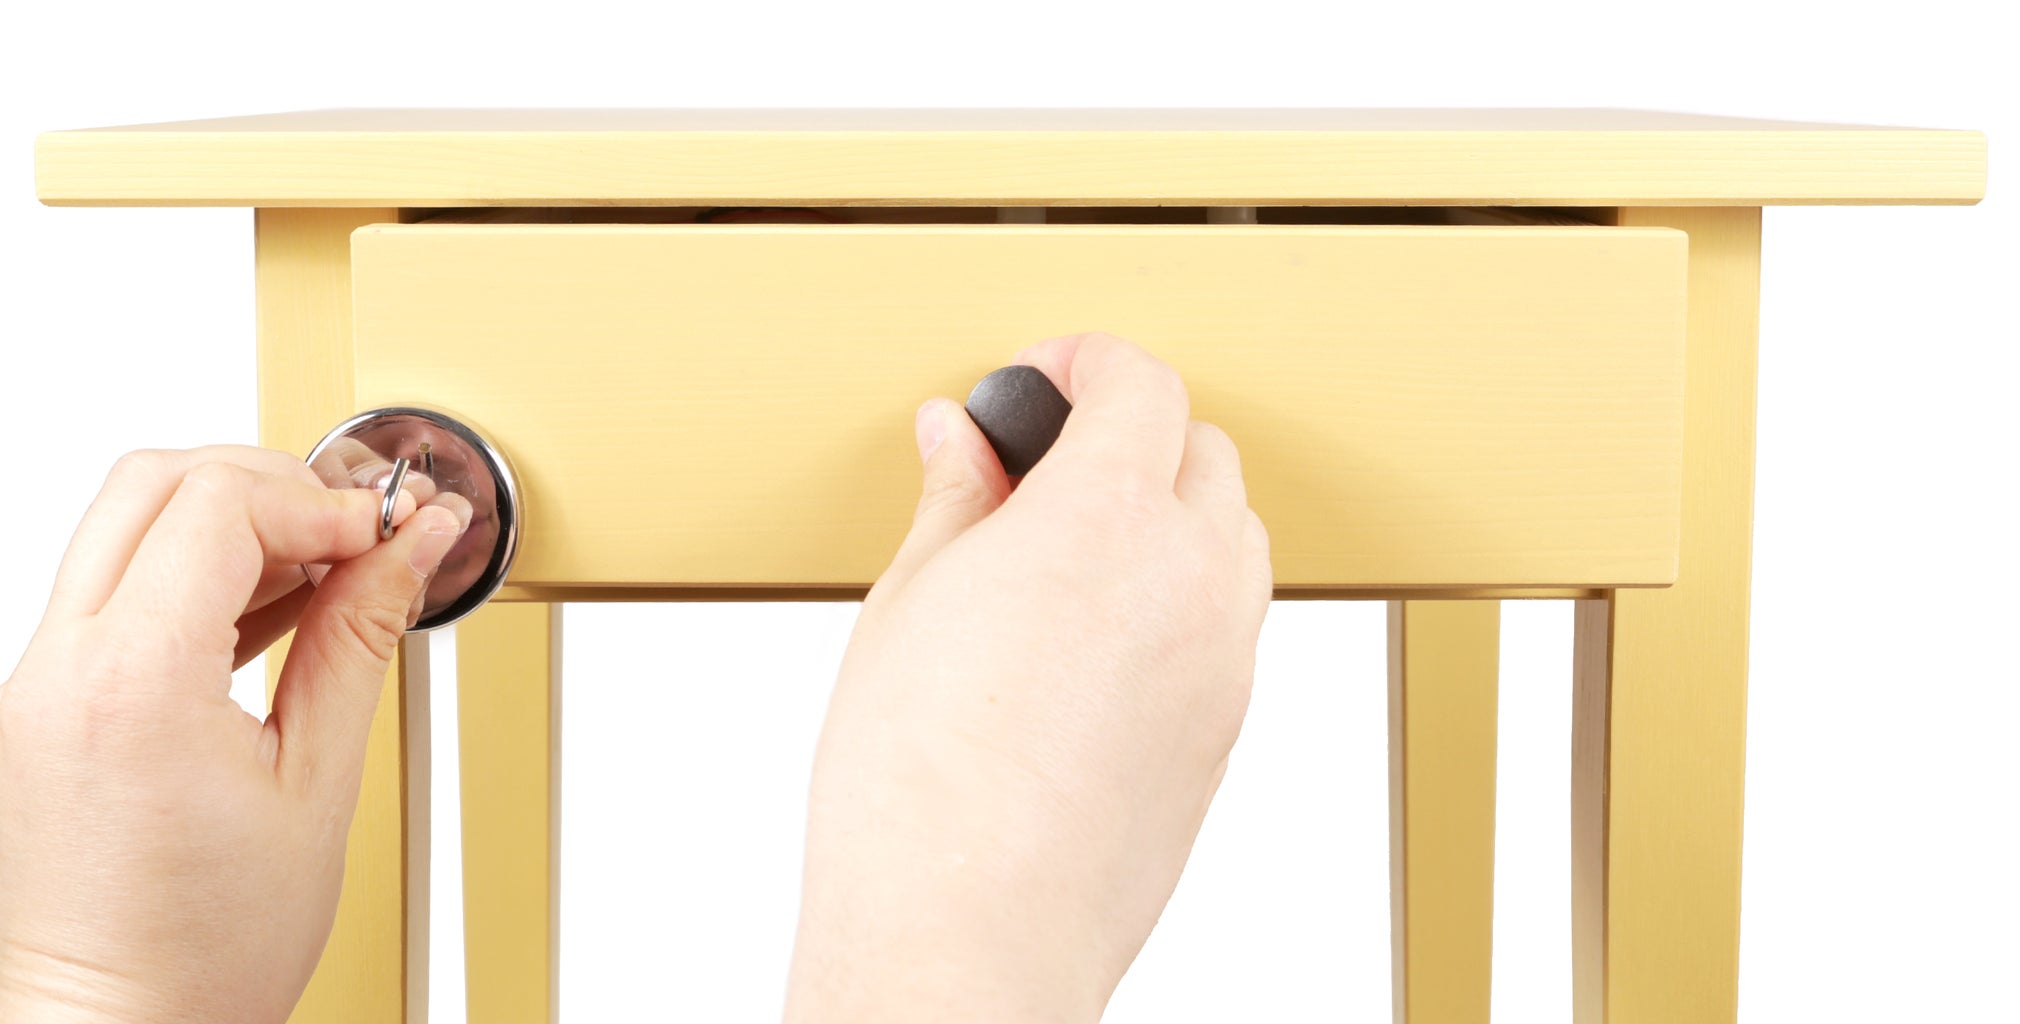


The Secret Drawer Lock provides invisible high tech security to a dresser, or cabinet drawer. It uses a spring-loaded solenoid lock mechanism that is powered when a reed (magnet) switch is activated. It is very simple to build and rather effective. It uses a battery to power the lock mechanism, but I have also included a (optional) power port on the bottom of the drawer to be able to plug it in and activate it even if the battery dies.
Step 1: Materials

To make a Secret Drawer Lock you will need:
(x1) Solenoid lock mechanism
(x1) Reed alarm switch
(x1) 12V rechargeable DC battery
(x2) Crimp-on quick disconnects
(x1) Lock strike plate
(x2) 1/4" x 1/4" spacers (or appropriate for your project)
(x2) 1" wood screws
(x4) 3/4" wood screws
(x1) power jack (optional)
(x1) High-strength magnet hook
Please note that some of the links on this page contain affiliate links. This does not change the price of any of the items for sale. However, I earn a small commission if you click on any of those links and buy anything. I reinvest this money into materials and tools for future projects. If you would like an alternate suggestion for a supplier of any of the parts, please let me know.
Step 2: Wire Connectors


Strip the ends of a piece of red and a piece of black stranded wire and crimp on two quick disconnects onto the ends of the wire. These will attach the circuit to the battery.
Step 3: Extend the Wires


Solder the other ends of the red and black wire to the two wires coming from the lock mechanism and insulate each with shrink tube. It is not remarkably important which color wire gets connected to which on the lock.
Step 4: Mount the Lock
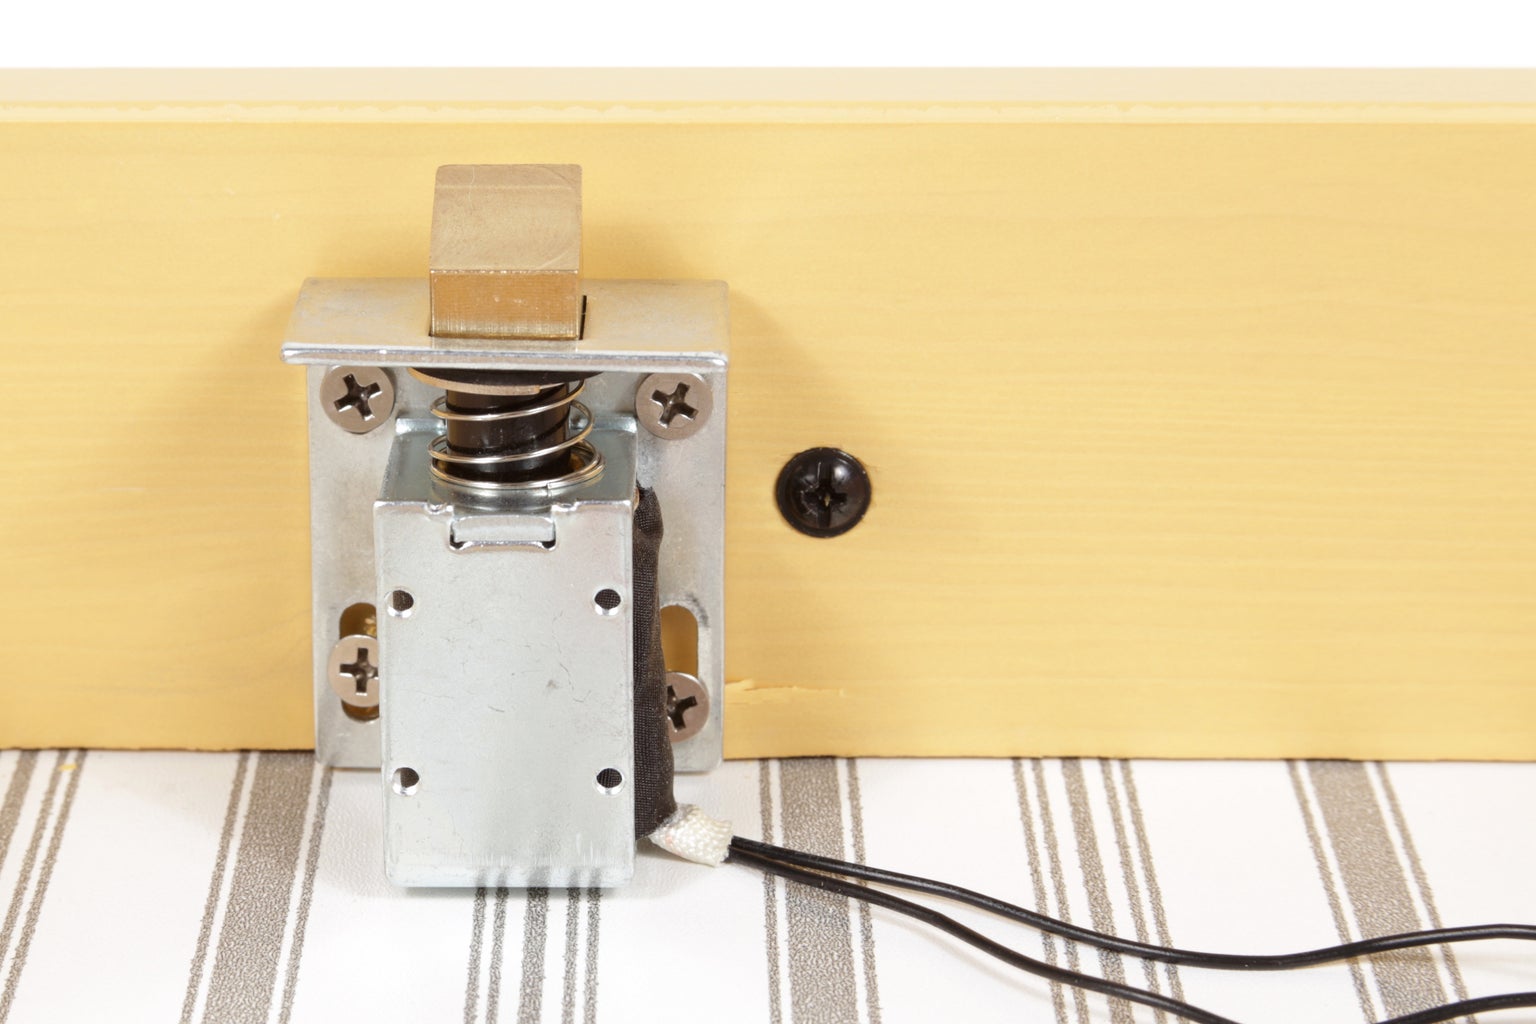

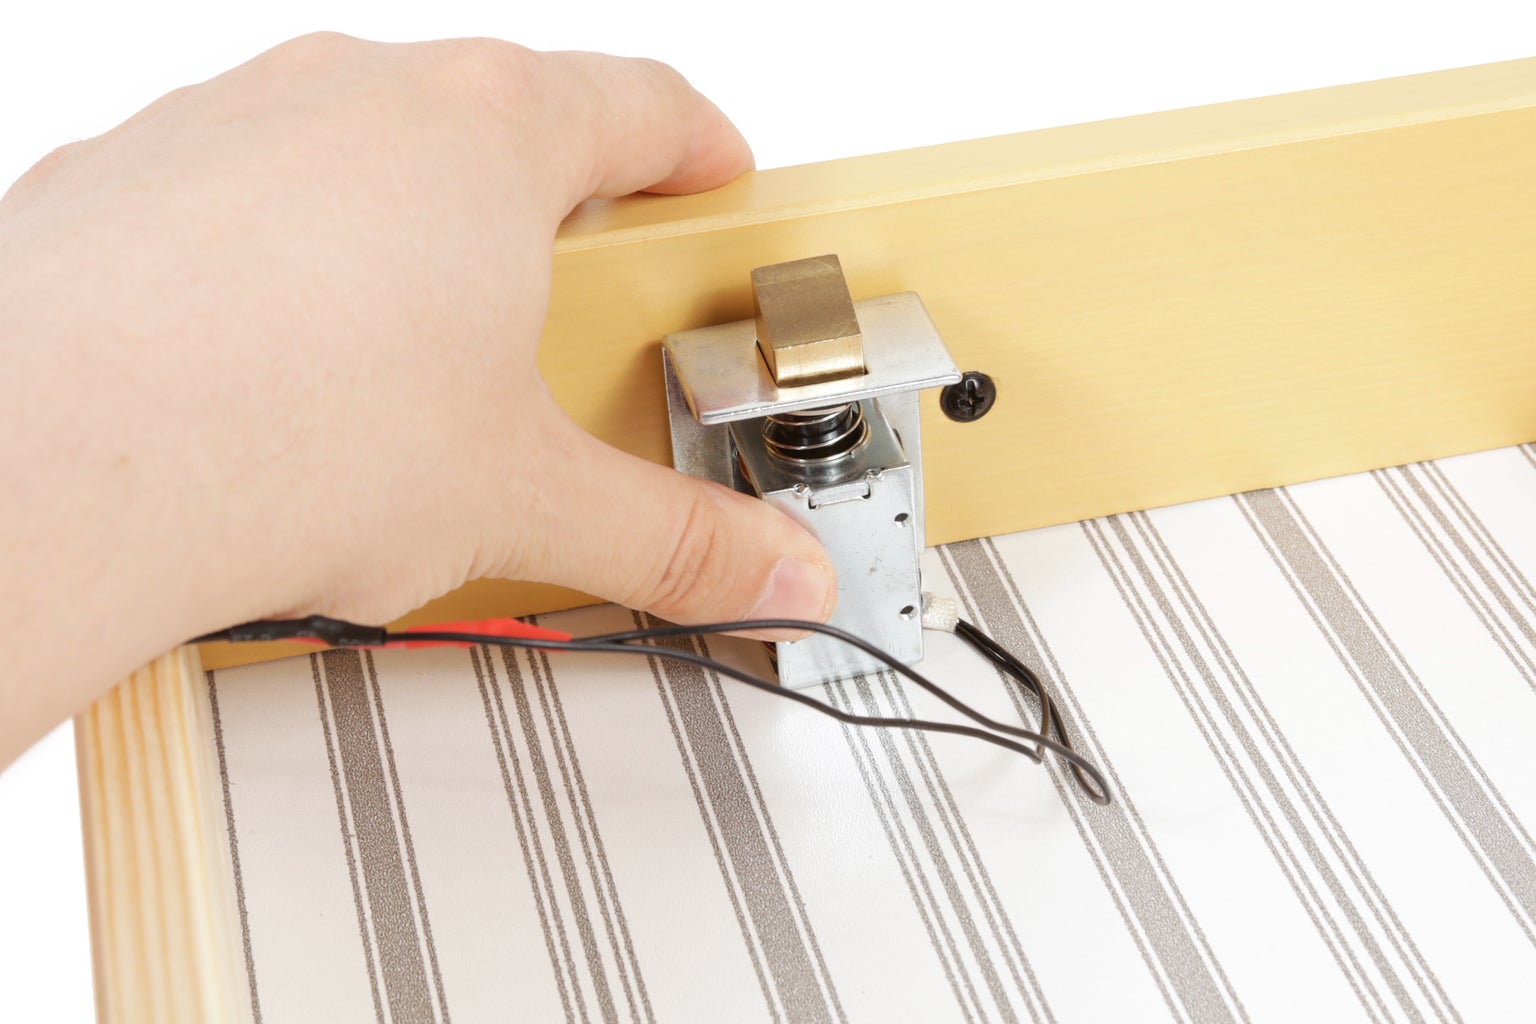

Fasten the lock to the front inside edge of the drawer facing up.
The lock mechanism needs to be lower than the top of the drawer for this to work.
Step 5: Attach the Switch


Place the reed switch in one of the corners of the inside of the drawer close to the front.
In
most cases it's best to have it backed off just a little bit because
from the front of the drawer because this will make it a little bit
harder to trigger. This means that you will need to have the magnet in
just the right spot.
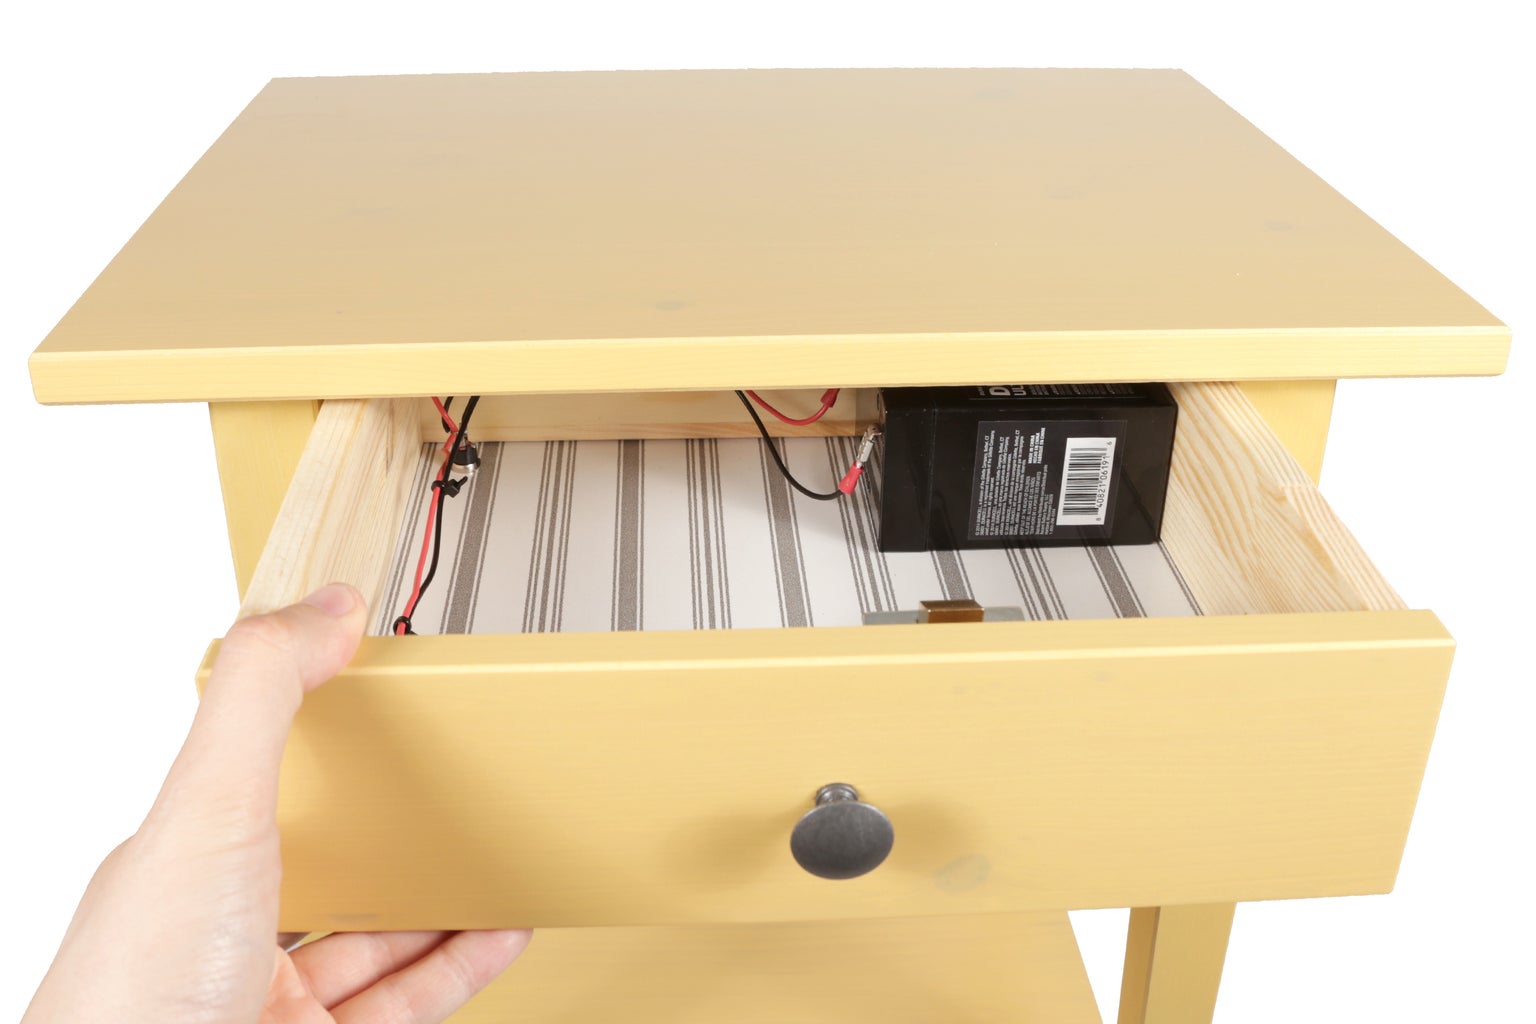
Step 6: Plug in the Battery


Connect the quick disconnect attached to the black wire to the black ground terminal on the battery.
Connect the quick disconnect attached to the red wire to the red power terminal on the battery.
You
can now use a magnet to test to make sure it works. If it doesn't, try
moving the reed switch closer to the front of the drawer. If it still
doesn't work, try getting a larger magnet or checking if the battery is
charged.
Step 7: Power Jack (optional)


You don't need to do this part, but I recommend it. Should the battery ever die, the drawer won't be able to open. This plug provides a
'backdoor' to allow you to briefly apply power to open the drawer, get
the battery out, and recharge it.
To wire it up, first unplug the battery. You are in for a shock (both figuratively and literally) if you don't!
Next, cut the wires that connect to the battery in half. Solder the black wires each to one of the respective outer terminals.
Solder the two red wired together to the center terminal.
Step 8: Install the Power Jack (optional)


Drill a 1/4" hole through the bottom of the drawer, and install the power plug from the inside out.
Fasten it tightly in place with the plug's mounting hardware.
Keep
in mind the power jack is installed to provide a backup power source
using only a 12V plug with a positive tip connection. It is not
recommended to charge the battery through the jack. You should unplug it
and connect it to a charger when necessary.
Step 9: Measure to the Edge

Figuring out where to mount the strike plate is a little bit tricky. You need to figure out where to position it so that the latch catches it when the drawer
gets pushed in.
Fortunately, this can be solved with some careful
measuring. Measurements tend to differ from drawer to drawer, but this
is my general process.
I simply pushed the drawer all the way in and measured the distance from the inside of the drawer to the edge of the surface I am mounting the strike
plate to. In this case, it is the underside of the top surface of the
end table.
Step 10: Determining Strike Plate Position


Next I needed to figure out where to mount the strike plate in relation to the inside edges of the drawer.
To do this I centered the strike plate atop the lock and measured the distance from the inside front edge of the drawer to the center of this
pairing. While I was at it, I also measured the distance from the side
edge to the center of the lock.
Step 11: Mark for Mounting


Once I knew all of the positioning information, I added together the first measurement with the measurement of the inside front edge to the center
of the lock for a distance we will call "D". I flipped the end table
over and drew a line along the underside of the top (the upward facing
side) at distance "D" parallel to the front edge. This line indicates
where the center of the lock will be once pushed in.
Finally, I measured over from the edge to figure out where the strike plate needed to be mounted along this line so that it would land in the center of the lock. Once I was sure, I marked the strike plate's mounting holes.
Step 12: Mount the Strike Plate


Insert the drawer, and push it halfway closed.
Mount the strike
plate using wood screws and 1/4" (or appropriately sized) spacers to
bump it up a little from the surface of the drawer. The idea is that it
should be spaced to the right height to catch the latch from the lock.
Step 13: Close the Drawer

To be on the safe side, get a magnet and test it one last time before you close it. If you close it before it works, you likely won't get it
back open (without some furniture surgery).
When you are sure it is working, close the drawer.
Step 14: Hang the Magnet Hook

Hang the magnet hook somewhere nearby and disguise it by hanging something from it. No one will suspect this is the key to the drawer.
Step 15: Keep Things Safe

Keep your things secret. Keep them safe.
When the time comes to unlock it, go pull the magnet hook from wherever it is hanging and unlock the drawer.

Did you find this useful, fun, or entertaining?
Follow @madeineuphoria to see my latest projects.


