Parallel Clamp Rack
Article - October 30, 2012
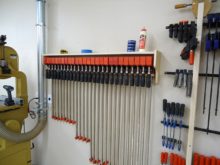
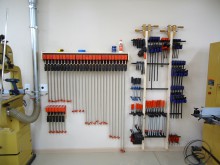
In case you haven’t noticed, I’m a big fan of parallel clamps. Even way back in 2007 you could see that I was a fan of both the Jet and Bessey Parallel Clamps. Over the years, my collection has grown considerably and as a result, storing them can sometimes be a challenge. My assembly area in the new shop is located near the wall, so a wall-mounted solution is ideal for me once again. I took a close look at the hanger brackets I have been using for the last 6-7 years and decided I could do even better. Instead of just attaching the hanging system directly to the wall, I wanted to build a shelf unit around the hanging system that would not only look good, but also assist in my quest to create more place to put stuff. And when it comes to assembly, there are typically things like tape, dead blow hammers, tape measures, glue, spray bottles of water, bench cookies, etc.. that are nice to have nearby. So why not create a storage space where one didn’t previously exist?
I did a few web searches and came across a thread in the BT3Central Forum that gave me the exact inspiration I was looking for. So I went to the shop, took some measurements, and came up with a quick and dirty plan for my new parallel clamp rack.
The Back and The Shelf
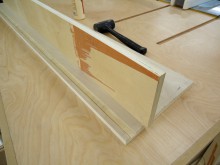 Back – 11″ Wide x 52 7/8″ Long (variable)
Shelf – 6 1/8″ Wide x 52 7/8″ Long (variable)
The length of the rack is completely adjustable for as many clamps as you own. Mine is built to hold 26 clamps. You might consider making extra space for future additions to the family. In my case, I was reusing my old clamp rack so I simply based my total length off of it. The first step was to cut the back and shelf pieces. The shelf sit in a 3/8″ dado cut about 1/2″ from the top of the back piece.
Side Pieces
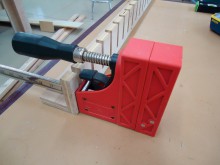 Sides – 6 1/2″ Deep x 11″ High
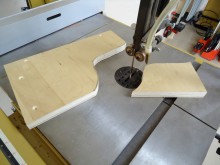
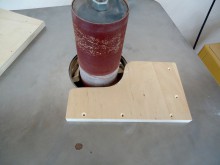
To determine the size of the side pieces, I used my existing rack with a clamp in place to take some measurements. I also decided to cut some curvature in the sides for additional hand clearance a more attractive look. I rough cut the curve at the bandsaw and cleaned things up using the oscillating spindle sander.
Assembly
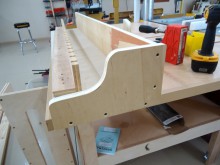
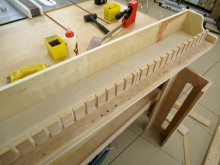
Assembly is a piece of cake! Simply glue the shelf into the dado and secure with screws from the back. The sides are pre-drilled for countersunk screws and then attached using glue and standard square drive wood screws. The final part of the assembly was to simply glue and screw the old rack into the new shelf system.
The Inner Rack
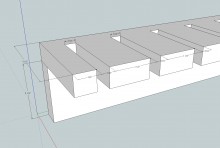 Obviously, the inner rack system is vital to the design of this piece and although I made mine years ago, I can give you a general idea of how it’s made. As you can see in the SketchUp drawing to the left, all you need are two pieces of 3/4″ plywood. The top piece receives numerous cutouts for the clamp bars. You can easily figure out the location of these cutouts by putting a few clamps side by side with a little bit of space between them. Essentially, position them exactly how you want them to sit in the rack and take your measurements. But just to save some time, you can see the measurements I used in the SketchUp Image. To make the cutouts, I recommend drilling a hole at the back of each slot and using a jigsaw or bandsaw to establish the sides. These don’t need to be perfect so draw yourself some guidelines and go for it.
Mount on the Wall
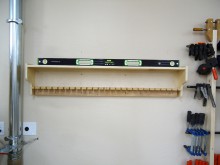 Nothing too fancy going on here. Simply find your studs and screw the unit to the wall. Of course, you want to make sure the shelf is nice and level before driving the screws home. The end result is a perfectly functional clamp rack with a bonus shelf. Once you think about it, it’s kind of a no-brainer. Now, pretty much everything I need for project assembly can be found in one place! Using this outside the box thinking, I bet we can find tons of other places where we can incorporate new-found storage! Any suggestions?
