Happy Monday you guys!!!
Too perky? Should we go with just one ! ?
I’ve been traveling for a solid week and I am THRILLED to be back home and in the swing of things! If you’ve hung around Vintage Revivals for a little bit you know that waaaaayyyy back in 2012 I got the idea to draw on my walls with a Sharpie paint pen. It has since spurred a whole new DIY revolution, the Sharpie wall. I’ve done a few since then and love each one more than the last. Its such an easy inexpensive way to get the look of high end detailed metallic wallpaper without the cost. And by without the cost, I mean this project will cost you $8. Booyah!
Ready to get started? He’res what you you need:
Oil Based Sharpie Paint Pen
(for a wall this size I used 2 but I recommend if you can to overbuy and take back the ones that you don’t use.) Please note that’s is NOT a regular Sharpie marker. If you use a Sharpie marker you will have a heck of a time repainting your walls because it will keep bleeding through.
Straight edge
I LOVE clear fabric rulers for this project because you can see exactly where everything lines up.
Level
Tape Measure
Pencil
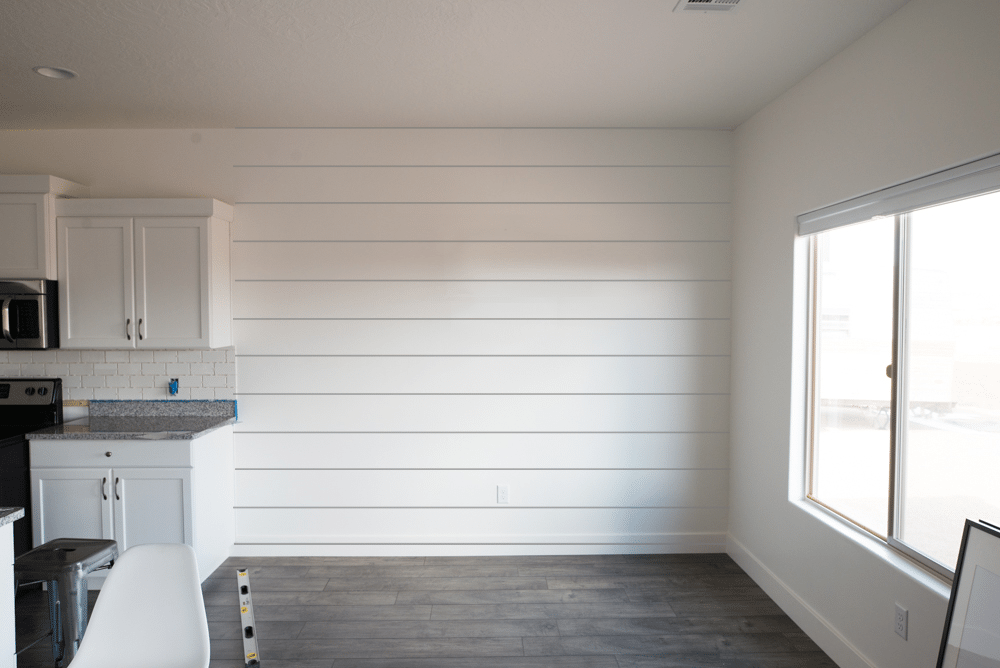
Start by lightly drawing level lines on your wall with a pencil. They should be 10″ apart. (the horizontal lines in this tutorial are photoshopped, they aren’t actually that dark! ;))
Easy enough?
The next step is to mark where your diamonds are going to be. My diamonds are 14″ wide so to get the pattern spaced right I started against the wall.
(I did the following step on pictures with the diamonds already drawn so you could actually see why you’re doing what you’re doing! You won’t have diamonds drawn at this point!) On every other line you are going to mark the corner, then 7″, the corner, then 7″, etc.
Then from that point forward you are going to measure and mark 14″ on all of the marks.
When you’re done you should have a very light version of this:
The next step is to use you’re straight edge to connect the dots (lalalala)
Last its time to add the detail inside the diamonds.
Measure and mark 2″ and 4″ from either side of your diamond. (the gray lines running across the diamonds are where you’re pencil line is!)
Draw a line by connecting that mark to the top and bottom of your diamond.
So good, so cheap, so fooling everyone.
PSSSST!! Love that print? You can snag the download at its introductory price (and save $20!) here!!
Check out the rest of the projects from Aspyn’s room here!
The post DIY Gold Sharpie Wall appeared first on Vintage Revivals.
via Mandi at DIY Gold Sharpie Wall