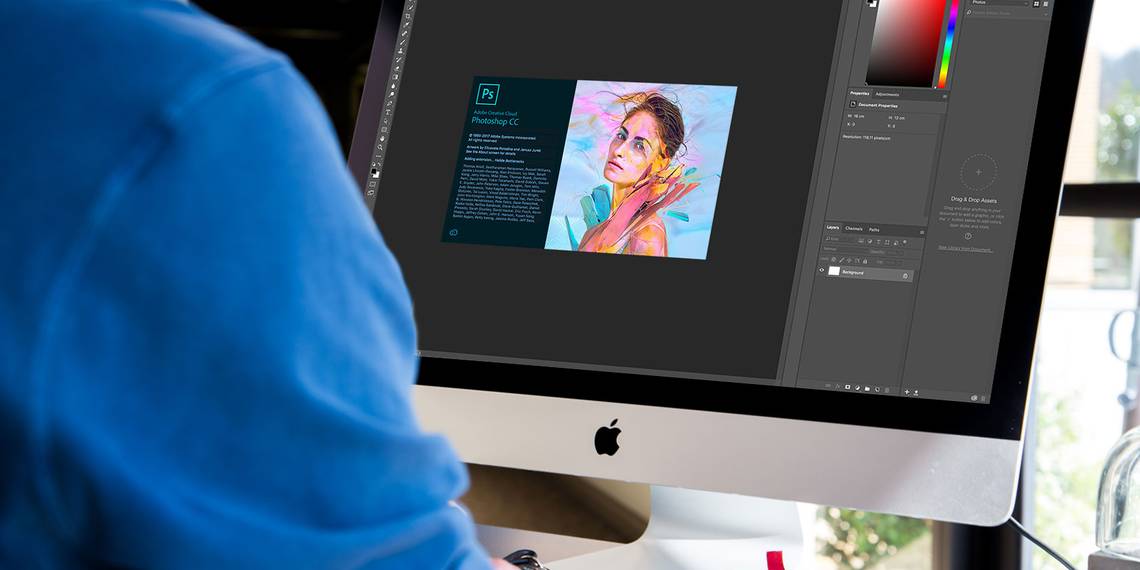
There's been a lot of buzz about Photoshop CC 2018, the latest version of Adobe's venerable design powerhouse, and for good reason. Adobe has put a ton of new Photoshop features in CC 2018 that have photographers and designers alike excited.
1. Select and Mask Improvements
Adobe's Select and Mask functions can be used to change the background of an image. Photoshop CC 2018 has improved the feature (though you'll still have to spend time cleaning up the final product).
Open the image you want to edit and go to Select > Select and Mask. Use the Quick Selection Tool (keyboard shortcut W) to select the part of the image you want to preserve and the Refine Edge Brush Tool (keyboard shortcut R) to clean up the edges of the image.
To see the process in action, and to see a comparison with the previous version of the feature, check out the video below:
2. Color and Luminance Range Masking
Hipsters rejoice! Photographers shooting in raw mode can now take advantage of Adobe Camera Raw's new Color and Luminance Range Masking.
With the luminance feature, you can selectively darken or lighten parts of your image. With the color feature, you can selectively adjust the saturation of a specific color in your photo. The feature, which is non-destructive, is also available in Lightroom.
It just got a lot easier to selectively desaturate colors in Photoshop CC 2018 for that down-toned hipster look. To access the feature, you'll need to open up a RAW photo. If you haven't taken any, you can find free, RAW photos on Wesaturate.
To see the feature in action (and to see a subtle use of selective desaturation) check out the video below:
3. Access Lightroom Photos in Photoshop
Adobe has finally made it easier to access your Lightroom photos from Photoshop without having to actually stop tweeting long enough to endure the tedium of opening up Lightroom -- but there's a catch.
Adobe will no longer be supporting the standalone version of Lightroom, and has instead rolled two version of the program into the Creative Cloud subscription. If you're among those who are justifiably upset by this move, be sure to check out this list of the best subscription-free Lightroom alternatives.
So what are we getting instead? Lightroom as you know it is now called Lightroom Classic CC and is available to all Creative Cloud subscribers. This version is not integrated into Photoshop.
The second and newer option, Adobe Lightroom CC, is a cloud-based version of the program, and will be integrated with Photoshop. Lightroom CC also lets you upload photos directly to your cloud account by visiting lightroom.adobe.com or using a mobile app.
Lightroom CC is available to personal Creative Cloud users and those on the basic Photography plan. If you're using a team Creative Cloud subscription, you're going to have have to pay extra for the app itself. Lightroom CC along with 1TB of storage will cost you $9.99 each month. Each additional terabyte of storage costs another $10.
To get a sense of how Lightroom's cloud version works and to understand the difference between the two Lightroom versions, check out the video below:
So back to actual Photoshop integration. When you first open up Photoshop, you will see three options for opening existing files: Recent, CC files, and LR Photos. Click LR Photos to access your Lightroom files.

To access your Lightroom photos after you've clicked away from the Start screen, use Photoshop CC 2018's search function. Go to Edit > Search (or Ctrl + F) to search for Lightroom images from within Photoshop.
The search function brings up photos based on their visual content even if you haven't tagged them. (For reasons unknown, at the time of this writing, Windows users running the 64-bit version of the OS don't have access to the search function.)
4. New Properties Panel
Several panels have been streamlined in Photoshop CC 2018. And while these changes are pretty utilitarian, they could save you a ton of time when it comes to repetitive tasks.
The new Properties Panel saves you time by putting a whole bunch of features at your fingertips. You can now adjust text and character settings like leading, tracking, color, font, and size.
While this may seem like a pretty minor update, it saves screen real estate for Photoshop users using a smaller screen by having fewer panels open. It also streamlines your workflow by keeping some key settings in the same spot on your screen at all times.
5. Brushes Panel
In a move that's more confusing than Klingon Scrabble, the Brushes panel has been renamed the Brush Settings panel and the Brush Presets panel is now called Brushes.
In the new Brushes panel, you can see all your installed brushes (including those you've custom-made yourself). Photoshop CC 2018 also gives you access to new brushes created by Kyle Webster. The new brushes include dry media, wet media, and special effects brushes. Adobe has a bunch of other free brushes, too.
There are a lot of small but convenient time-saving changes to the Brush panel. For example, when you have the Brush tool selected, rather than have to open the Brush panel or go to the Brush picker took in the menu at the top of the screen, right clicking on an image will open up a Brush panel that allows you to select a different brush or adjust the size and hardness of your brush.

If you already have a huge library of brushes installed on your computer, Adobe has finally made it easy to drag and drop those brushes into individual groups. The groups can also be nested.
You can scale brushes up and down to view more or less brushes in the panel, and you can also adjust the view setting to view the brush stroke, tip, and name all in the panel. (You can selectively toggle each of these views on and off.)
6. Copy and Paste Shortcut
It's hard to believe that you couldn't do this before. In the latest version of Photoshop you can finally copy and paste layers between documents using the standard keyboard shortcuts (Ctrl/Cmd + C and Ctrl/Cmd + V).
Rather than dragging layers around (which is particularly painful if you're using a slow computer) or toggling your tabs to a tabbed view, you can just use a keyboard shortcut. If you want to paste the layer in the exact same location as in the first document, just use the keyboard shortcut Ctrl/Cmd + Shift + V.
7. Variable Fonts
Variable fonts offer designers the opportunity to find the perfect typeface for their designs. With any compatible fonts, you can adjust the weight, width, and slant of the letters to the exact setting you want.
This is where that new Properties panel will come in handy. Select your text and pull up the Properties panel (Window > Properties). Then use the sliders to adjust each of these settings.

There are a few variable fonts that come with Photoshop CC 2018, but as this feature becomes more common, we imagine you'll be able to download your own variable fonts from your favorite font foundries.
You can see how the feature works in the video below:
8. Step-by-Step Tutorials
Photoshop CC 2018 has introduced a brand new panel called the Learn Panel. To open it up, go to Windows > Learn. This new panel is great for newbies who are just getting started with Adobe Photoshop. The software can be pretty overwhelming at first, and this new feature gives users the opportunity to learn how to use the program without ever having to leave Photoshop.
While there are tons of great tutorials on sites like Lynda and on the Adobe website itself, this is just another way in which Photoshop has become a lot more intuitive with the 2018 release.

The guided tour lessons are divided into four categories: photography, retouching, combining images, and graphic design. There are only a handful of lessons per category and the tutorials currently available are extremely basic. But given that the feature was just rolled out, we're expecting Adobe will be adding a lot more.
When you select a tutorial, the app will guide you through using the latest Photoshop features. It provides practice files as well. All you have to do is click a button to get started and Photoshop will do the rest.
In addition to the Learn Panel, Photoshop has also added Rich Tooltips. These can be a little annoying for the seasoned Adobe user, but if you're new to Photoshop they might come in handy.
When you hover over a tool in the Tool Panel, Photoshop will display a popup window with a tutorial on how to use it. Luckily, for those of you who don't need this tutorial, the popup will display twice and then disappear into the ether.

9. Curvature Pen Tool
A much-needed addition for those who struggle with the Pen tool, Photoshop CC 2018's new Curvature Pen Tool makes it much easier to draw or trace curved shapes. The tool is incredibly intuitive when it comes to creating curved paths.
The Curvature Pen tool is available in the regular Pen tool menu. You can create a curve just by clicking, rather than having to click and drag as you do with the pen tool. You can see just how easy it is to create a path on a photo in the video below:
In addition to easily creating paths in photos, illustrators can also take advantage of this feature in their drawings. Using a path in Photoshop makes it easier to create scaleable images that won't lose quality as you enlarge them.
Photoshop CC 2018: For Photographers and Designers
There are lots of othernew features that will come in handy, including editing 360-degree panoramic images, brush smoothing, expanded sharing features, support for Microsoft Surface dial users, and intelligent upscaling.
This is one of the biggest upgrades Adobe has released in a while, and there's a ton to dig into for photo editors, graphic designers, and Photoshop newbies. It's a streamlined and more efficient Adobe experience.
If you've been hesitant about upgrading to the latest version of Photoshop, go for it. The wealth of new features make it absolutely worth it. And if you don't have Photoshop yet, be sure to grab a copy right away!
Make the most out of the software with our tutorial that shows you how to create a custom gradient in Photoshop CC.