Updated February 26, 2024
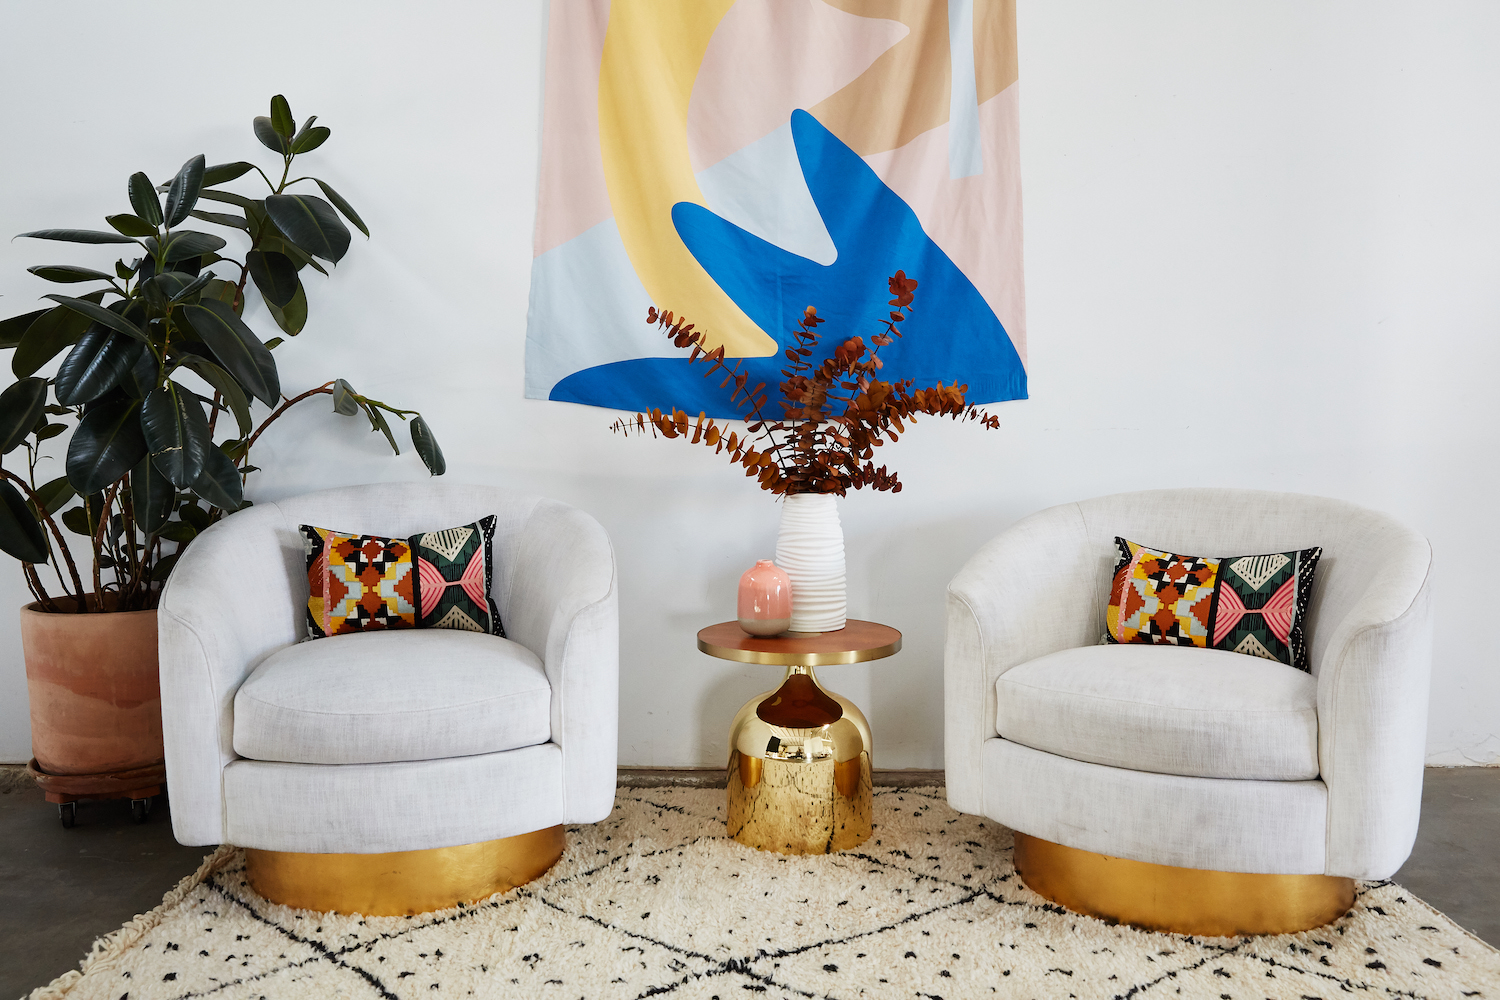
You’ve picked out the perfect wall tapestry, you’ve cleared a spot on your wall, and now you have literally no idea what to do next. Whether it’s a large tapestry that captures your adventurous spirit or a woven tapestry that adds a touch of sophistication, the way you hang it can significantly impact your room’s ambiance.
So, how do you get that beautiful drape from your hands to the wall so can have your Insta-worthy moment beneath it? In this guide, we’ll share a list of foolproof methods to hang a wall tapestry, ensuring it becomes a central piece of your home decor. Read on to learn how to hang a wall tapestry.
Option 1: Adhesive Hooks
Adhesive hooks, like 3M Command strips, offer an innovative, damage-free way to hang a wall tapestry, ideal for renters or anyone reluctant to mark their walls with holes. Adhesive hooks are especially effective for hanging light to medium-weight tapestries in a way that leaves no trace upon removal. Embrace the flexibility and ease of transforming your space without the worry of permanent alterations.
Tools required:
- 3M Command strips (or any other type of adhesive hooks)
- Level (optional)
Step-by-Step Instructions
1. Prep Tapestry Orientation: Decide on your tapestry’s orientation. The unique aspect of abstract art allows you the freedom to choose whichever direction resonates with you the most.
2. Attach First Command Strip: Select one top corner of your tapestry for the initial Command strip. Peel the backing off one side of the strip and press it firmly against the wall, ensuring it aligns with the corner of your tapestry.
3. Secure Tapestry to Wall: Remove the remaining backing from the Command strip to expose the adhesive. Align the corner of your tapestry with the strip on the wall, pressing firmly to secure it in place. For added stability, especially with heavier tapestries, consider applying additional Command strips along the top edge to evenly distribute the weight.
4. Repeat for the Second Corner: Follow the same process for the opposite top corner of your tapestry, ensuring it is level and aligned with the first strip for a visually pleasing and straight display.
Pro Tip: Leveraging a level during the placement of Command strips can greatly enhance the precision of your tapestry’s positioning, ensuring a perfectly horizontal artwork display.
Option 2: Hammer and Nail
The hammer and nail method provides a sturdy solution for hanging heavier tapestries. This approach is ideal for those who value a classic aesthetic and have tapestries that demand a more secure mounting due to their weight.
Tools required:
- Hammer
- Nails (2)
Step-by-Step Instructions
1. Position First Nail: Identify the location for the first nail at one of the upper corners of your tapestry. Hold the nail in place and use the hammer to drive it into the wall, leaving enough of the nail exposed to support the tapestry.
2. Align and Secure Tapestry: Hang one corner of the tapestry on the first nail to gauge the desired placement and tension. This step allows you to visualize how the tapestry will hang and make any necessary adjustments before securing the opposite corner.
3. Install Second Nail: Once satisfied with the tapestry’s position and appearance, proceed to hammer the second nail into the opposite upper corner. Ensure that the tapestry hangs as desired, adjusting the nail’s placement for optimal fabric tension and visual appeal.
Pro Tip: Before finalizing the placement of the second nail, carefully consider the overall look you wish to achieve. The distance between the nails can affect the tapestry’s drape, allowing you to opt for a more relaxed or taut presentation. Adjusting the tension can significantly impact the tapestry’s aesthetic, so take a moment to evaluate and modify it as needed for the perfect display.
Option 3: Push Pins
Push pins offer an effortlessly simple solution for hanging lightweight tapestries, ideal for those seeking temporary displays or living in rental spaces. This straightforward method bypasses the need for tools, ensuring a quick setup while leaving behind barely a trace on your walls
Tools Required:
- Push pins
Step-by-Step Instructions
1. Position Tapestry: Hold your tapestry against the wall to find the perfect position.
2. Secure Corners: Place push pins through each corner of the tapestry into the wall. Add more pins along the top edge for extra support, spacing them evenly.
Option 4: Velcro Hooks
Velcro tape presents a seamless, damage-free solution for hanging tapestries, making it a perfect match for renters or those looking for temporary display options. Its gentle yet secure grip is particularly adept at handling lightweight to medium-weight tapestries, ensuring your walls remain pristine.
Whether you’re transforming a dorm room, apartment, or any space where preserving the integrity of walls is paramount, Velcro tape stands out as an ingenious way to display tapestries without commitment or compromise.
Tools Required:
- Velcro tape (hook and loop)
- Scissors
- Level (optional)
Step-by-Step Instructions
1. Cut Velcro Tape: Measure the top width of your tapestry and cut an appropriate length of Velcro tape.
2. Attach Velcro to Wall: Remove the backing from one side of the Velcro tape and press it firmly against the wall where you want the top of your tapestry to hang. Use a level to ensure it’s straight.
3. Attach Tapestry: Stick the other side of the Velcro tape to the top edge of your tapestry. Then, carefully align the tapestry with the Velcro on the wall, starting from one end and pressing along to the other to secure it in place.

Option 6: Canopy Style
Transform your space into an enchanting retreat with a canopy-style tapestry hanging. This method weaves a tapestry of drama and coziness, casting a spell of warmth and intimacy over any room. Perfect for turning bedrooms into sanctuaries and reading nooks into hidden escapes, the canopy style invites you to step into a world where every corner is a personal haven.
Tools Required:
- Ceiling hooks
- Drill or adhesive hooks (if preferred)
- Measuring tape
Step-by-Step Instructions
- Install Hooks: Determine the points on the ceiling where the tapestry will hang. Install ceiling hooks either by drilling or using adhesive hooks for a less permanent option.
- Hang Tapestry: Attach each corner of the tapestry to a hook, allowing the middle to sag slightly for the canopy effect. Adjust as necessary to achieve the desired drape.
Option 7: Threaded Rope
Infuse your space with a touch of rustic charm or bohemian flair by incorporating a rope or twine into your tapestry display. This simple addition transforms the hanging process into an art form, marrying the raw, earthy texture of the rope with the intricate beauty of woven tapestries.
Tools required:
- Tape measure
- Scissors
- Rope or twine
- Hammer
- Nails x2
Step-by-Step Instructions
1. Determine Slit Spacing: Begin by measuring the total width of your tapestry’s top edge to calculate the spacing for the slits. For instance, if the tapestry measures 50 inches wide and you plan to create ten slits, you’ll space them 5 inches apart. This initial step ensures even distribution across the tapestry’s width.
2. Create Slits: Using scissors, make a small incision at the predetermined intervals along the top edge of the tapestry. Start from one end, measuring 5 inches between each cut, and proceed across to the opposite end. Ensure each slit is made carefully to avoid damaging the tapestry beyond the intended cut.
3. Thread Rope or Twine: Take a length of rope or twine and weave it through the slits you’ve created, mimicking the functionality of a curtain rod. This step transforms the tapestry into a hangable piece without the need for an actual rod.
4. Prepare for Hanging: Select the wall location where you wish to hang the tapestry. Hammer a nail into the wall at the point where one end of the tapestry will be anchored.
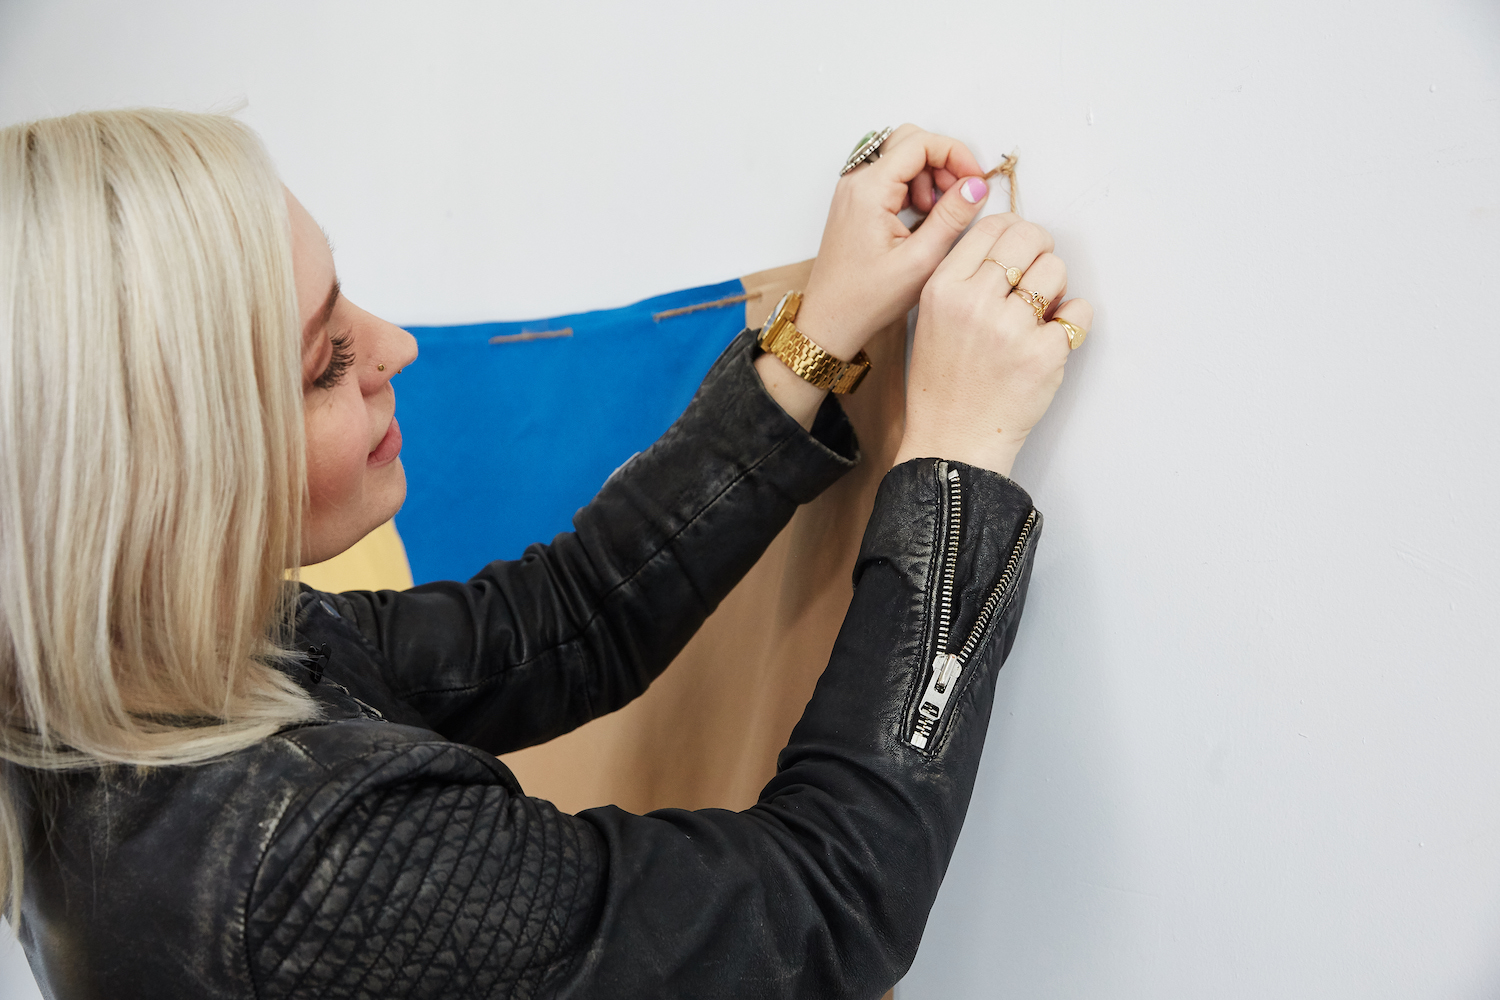
5. Secure Tapestry with Knots: Tie a knot at one end of the rope or twine, ensuring it is large enough to catch on the nail and hold the tapestry’s weight. Before tying the knot on the other end, hang the tapestry by the first knot to gauge the necessary slack for proper display.
6. Install Second Nail: With the tapestry’s desired tension and position in mind, hammer the second nail into the wall at the appropriate spot to support the other end of the tapestry.
7. Adjust for Centering: Finally, adjust the tapestry as needed to ensure it is centered and hangs beautifully on your wall. This may involve slight adjustments to the rope’s tension or the tapestry’s position on the nails.
Option 8: Frame It
Elevate your tapestry from a simple wall hanging to a masterpiece of home decor by encasing it in an elegant frame. This method not only safeguards your precious fabric art, preserving its beauty and intricacy, but also infuses your space with a sense of sophistication and grandeur. Ideal for those treasured tapestries, whether they’re family heirlooms, delicate handwoven treasures, or valuable collectibles, framing transforms them into focal points of your decor, commanding attention and admiration.
Tools Required:
- Large picture frame or shadow box
- Staple gun (optional)
- Hanging hardware
Step-by-Step Instructions
1. Frame Tapestry: Stretch the tapestry and place it inside the frame or shadow box. Use a staple gun to secure it to the frame back, if necessary.
2. Mount Frame: Attach hanging hardware to the frame, then hang it on the wall like any other artwork.
Option 9: Baseboard
Utilizing a baseboard or dowel for hanging tapestries merges rustic simplicity with practicality, ensuring your wall art remains pristine. This method is perfect for medium to heavy tapestries, offering robust support while enhancing your decor with an understated, earthy elegance. It’s a stylish, damage-free solution that beautifully showcases the timeless appeal of tapestries within a minimalist design framework.
Tools Required:
- Wooden baseboard or dowel
- Drill and screws (for wall mounting)
- Fabric glue or small nails (to attach tapestry)
Step-by-Step Instructions
1. Mount Baseboard: Secure the baseboard to the wall at the desired height, ensuring it’s level.
2. Attach Tapestry: Use fabric glue or small nails to attach the top edge of the tapestry to the baseboard. Ensure it’s centered and hangs smoothly.
Hang Your Tapestry in Style
With these methods and ideas, you can effectively hang your tapestry, creating a captivating wall decor statement that reflects your personal style and enhances your living space. Remember, the key to a stunning display lies in the details—so don’t hesitate to experiment with different techniques and accessories to find the perfect setup for your tapestry.
Need more inspiration for wall decor ideas? Explore our selection of wall decor. We have everything from stunning tapestries to unique art prints.
Comments