

Introduction: How to Build a Computer


If you're wondering how to build a computer, this is the Instructable for you! I will go over how to build a computer in this from start to end.
Step 1: Test Everything

The first thing you should do before you start building inside of your case, is start by testing out all of you components. You can do this by placing the motherboard on its box and then building everything off of that. If something doesn't work here it will be easier to take care of than inside of your computer.
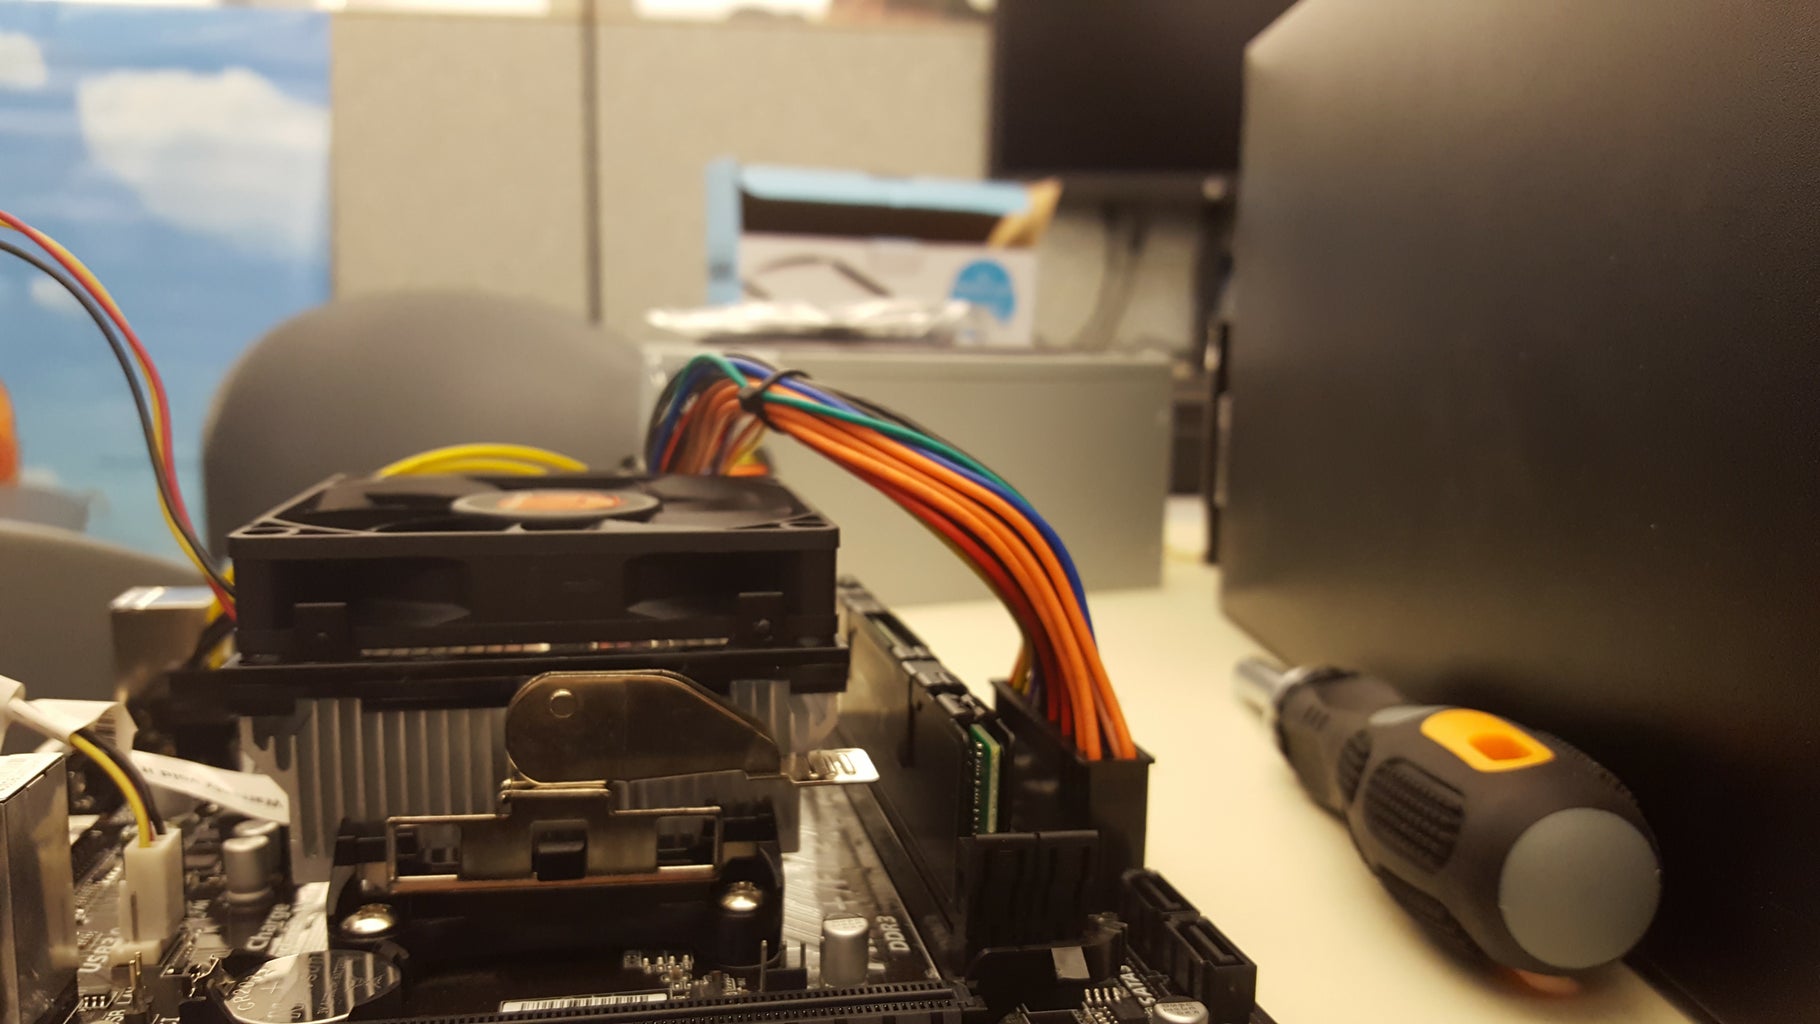
Step 2: Putting in the Processor and Heatsink

Before you put in the motherboard you should install the processor (CPU) to make it go easier. This involves adding a heatsink as well. Once you find the CPU slot you should line up the arrows on the CPU and the slot. Most modern processors need zero insertion force. If you have to use force, chances are you are doing something wrong. Once you have that in there pull down and latch the tension plate. Now you can add the heatsink. Begin by Adding a pea sized drop of thermal paste to the center of the processor. Next put the heatsink on top of that and then latch it to the mounting points. Some heatsinks may require a screwdriver to install them.
Step 3: Installing RAM
RAM is volatile memory. This means it is used to temporarily store data for the computer to access it quicker than the actual storage. To install the RAM you find the slots on your motherboard and then insert the sticks into the slots the notches on the RAM and in the slots line up. If you have multiple pieces of RAM install the sticks in matching colors before separate colors.
Step 4: Installing the Motherboard


To begin building in the case you should start with installing the motherboard. This will go into the case and should line up with the I/O shield and the standoffs. The standoffs are little metal pieces that the motherboard screws go into. They are used to keep the motherboard off the case metal to keep it from shorting.
Step 5: Adding an Expansion Card


To add an expansion card, you must first locate a PCIe slot. For this I added a graphics card (GPU). Take the gold connectors and insert them into the slot, lining up the keying on the motherboard and the GPU. Then press down until it is firmly seated in the slot and will not slip out. The bracket on the back should line up with the slots on the back of your case.
Step 6: Installing Storage

Installing a hard drive or solid state drive is one of the more simple tasks. To begin locate a drive bay that is sized to fit your storage device. You should then secure it with whatever device is used (most commonly screws). The next step is attaching the cables. First take your SATA cable from your motherboard and run it to the device and plug it into the keyed slot. Then run SATA power from your power supply to its slot on the device and you should be good to go.
Step 7: Installing the Power Supply

The power supply is the final component for your build. It is the part that gives everything else life. To install this part find the large hold in the back of the case where it fits. Place it there and screw it in to case. Once it is secure you can start plugging in all the cables. I recommend zipties or velcro straps to keep it tidy in your case.
Step 8: Tips and Tricks


- If you happen to accidentally shock one of your components with some static electricity, there is a chance it will kill that part and maybe even others. To prevent this you can use a cheap anti-static wristband or an anti-static mat. Either way you do it, you must clip the alligator clip to a piece of metal to ground it.
- A computer building tool kit is very handy to have as well. The one linked even comes with an anti-static wristband. They can come with tools that will help you out in a lot of situations. Small hands help as well.
- Installing the RAM and CPU before inserting the motherboard is the easiest way to go about the process. It will make the entire installation go easier.


