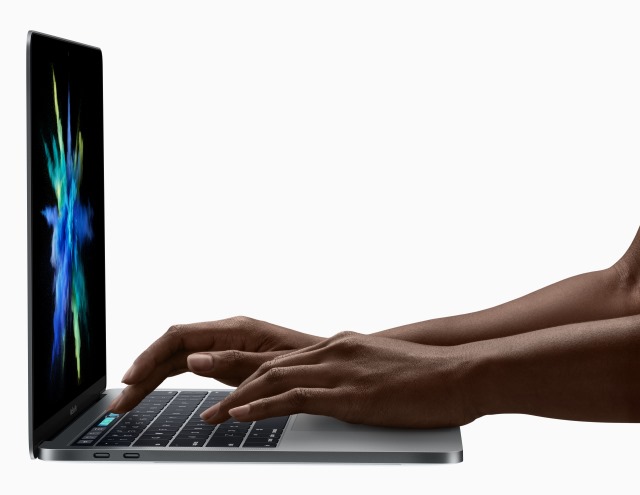
How to reset NVRAM on late-2016 MacBook Pro models
Things can go awry with any computer from time to time, and getting things back to normal is often just a matter of knowing the right trick. With a Mac, resetting NVRAM is a quick fix for a number of issues, and Apple has changed the way you go about doing this with the late-2016 MacBook Pro models.
One of the reasons for the change is that these latest models do not feature the startup sound, so timing the required key presses is a slightly different matter now. Here's what you need to do.
Previously, the trick was to press Command + Option + P + R after the start chime, and hold it until it sounded again. Now, rather than waiting for an audio cue, the initial press is really a matter of doing it as quickly as you can, and knowing how long to keep the keys held requires a little clock-watching.
Apple explains how to reset NVRAM on late-2016 MacBook Pro models:
Follow these steps to reset your Mac computer's NVRAM if you have a MacBook Pro (15-inch, Late 2016), MacBook Pro (13-inch, Late 2016, Four Thunderbolt Ports), or MacBook Pro (13-inch, Late 2016, Two Thunderbolt Ports).
- Shut down your Mac.
- Find Command (⌘), Option, P, and R on your keyboard.
- Turn on your Mac.
- Press and hold the Command-Option-P-R keys immediately after you turn on your Mac.
- Hold these keys down for at least 20 seconds to ensure that your Mac completes the process correctly.
- Release the keys.
After resetting NVRAM, you might need to reconfigure settings for speaker volume, screen resolution, startup disk selection, and time zone information.