

Introduction: Peggy - Arduino Portable RF Rain Tracker


My country mild climate lets the sun to shine for the greatest part of the year, then tumble driers are not widely used and so we often use to drain clothes in the sun.
What to do when a sudden rainfall comes?
This project has been made for anyone drain clothes in the sun or, simply, needs an alert when it starts to rain.
"Peggy" project is a simple portable rain traker that uses a rain sensor, 433 Mhz transmitter-receiver modules and Arduino.
Step 1: How It Works

This prototype basically do this:
When rain sensor detect rain over a predefinied treshold level, transmitter module sends a continue RF signal. A listening receiver module detect this data, when sent, and activate acoustic and visual alarm till you stop it shutting down the system.
Step 2: Parts Needed


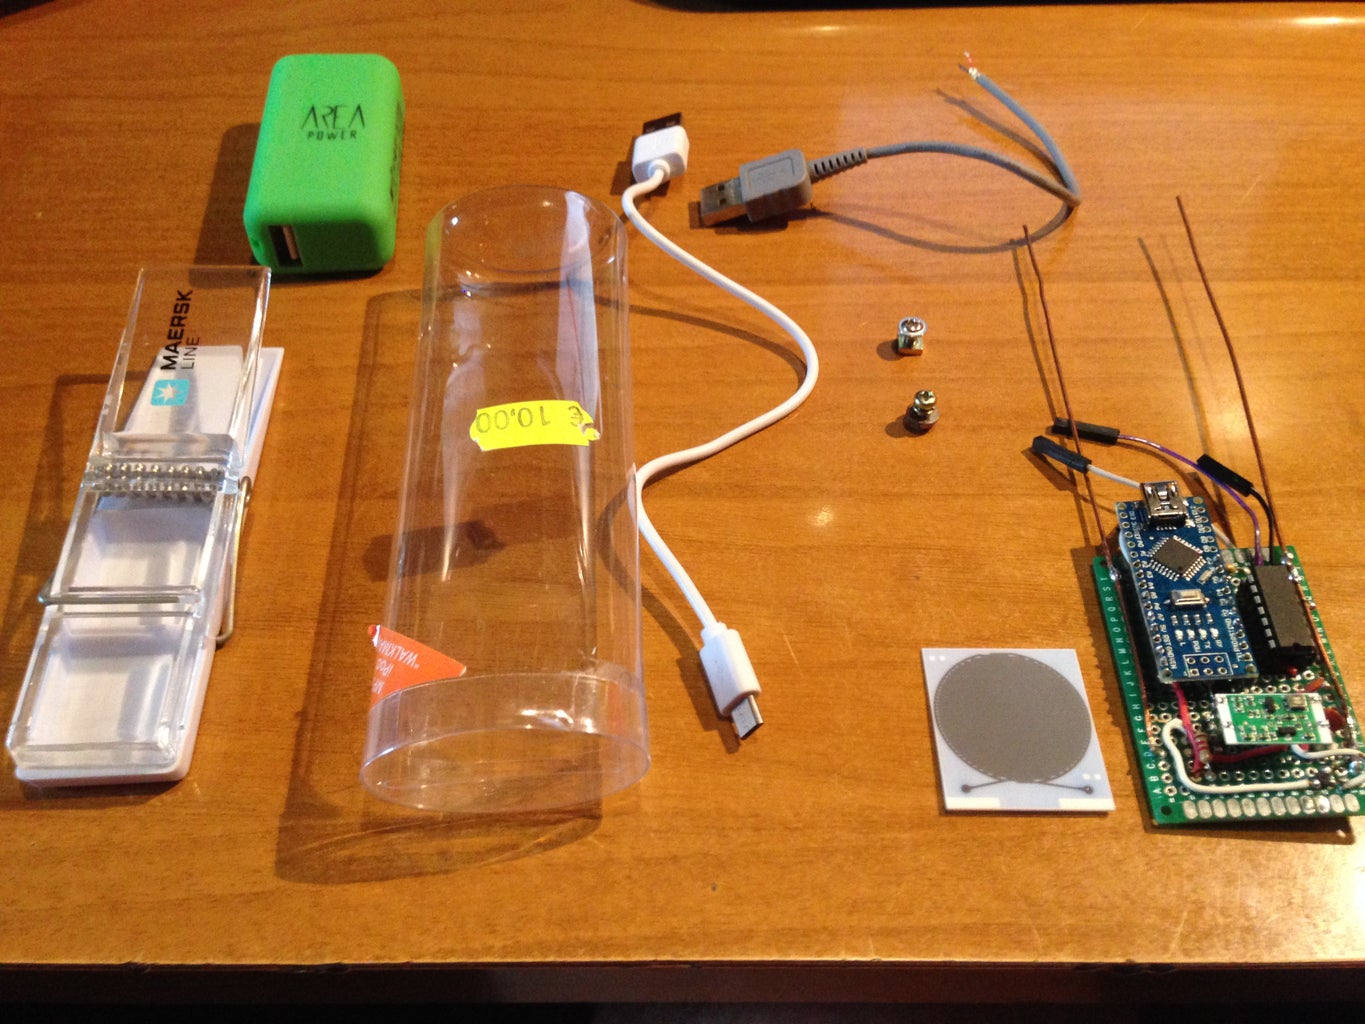


Main components for this project are from Telecontrolli . I wanted to try these hardware because i was not satisfied of the basic cheap chinese RF and rainsensor modules.
Trasmitter hardware :
- Arduino Nano
- Telecontrolli RT40 433Mhz transmitter module
- Telecontrolli sensitive rain sensor
- IC Schmitt trigger (HEF40106BP is six channels but you need only one)
- 5V 1A power bank
- 100/1K2/5K6/1M ohm resistors
- NPN general-purpose transistor (BC847 or BC337)
- led
- 2x100nF ceramic capacitors
- 15.5cm copper cable (for antenna)
- PCB
- USB type-A plug
- waterproof enclosure
Receiver hardware :
- Arduino Uno rev.3
- Telecontrolli RR10 433Mhz receiver module
- NPN general-purpose transistors (BC847 or BC337)
- 100/560/1K2/5K6 resistors
- 2x10nF ceramic capacitors
- 15.5cm copper cable (for antenna)
- PCB
- led
- buzzer
- 6xmale pins
common parts:
- jumpers
- wires
tools:
- solder
- drill
- hot glue
Finally:
- a plastic or wooden peg
Step 3: Rain Sensor

The rain sensor has a capacitive technology. This means that you can detect rain percentage level.
Circuit is on ceramic substrate and it is interfaced with Arduino through an inverting Schmitt trigger.
This sensor can do more. It integrates a thermistor, that lets read external temperature, and a heater resistor (12V operating) that's used to dry the sensor in case of night-time damp or morning frosts accumulations.
These last two functionalities are not used for this project.
Step 4: Transmitter and Receiver


RT-40 is a performing 433Mhz transmitter that gives a good coverage.
The signal transmitted easly cut through my reinforced concrete/brick walls. Transmitter board, together the power bank, must be inserted into a waterproof enclosure. For this scope i've adopted an earbuds plastic box sealed with hot glue.
RR10 receiver module is performing, too. It needs only to have a good shielding, for that i have installed a metal plate connected to the ground. For the receiver module i've easly created an Arduino Uno shield.
Step 5: Power Bank


A 5 euro power bank supply power to transmitter system. As people know, power banks supply power only when current drain goes over of a fixed milliampere treshold level. If there's not enough current drain, power bank shut down after few seconds. To avoid this, from positive and negative pole of power bank i've added a 100 ohm resistor and a led that is always on. This hack decreases power supply duration but let the power bank always on before the battery dies. 2000mA battery adopted let the trasmitter works for 3-4 hours.
Due to 5V power bank output, you have to connect it directly to Arduino nano 5V pin and common ground. Check polarity before connecting because Arduino pin doesn't have any protection.
Step 6: The Sketch
Transmitter sketch adopts two libraries, softwareserial (included into Arduino IDE) and RainSensor available here
It execute, at start up, sensor calibration in dry condition (100pF). Threshold level is setted to 110pF so, when sensor values becames wet over that value, Arduino sends via software serial to pin 3 a fixed byte value (see variable: rain), that's transmitted via RT40 module.
Receiver sketch, at the same time, listens with softwareserial on pin 3. If value read is the same of the one previously setted on the transmitter, led and buzzer alert starts.

Step 7: Acknowledgements

Stop being afraid of sudden rainfall !
Drain your clothes in the sun without worries !
Acknowledgements
Ms.Caterina Di Prisco (Telecontrolli quality dept.) for introducing me to the company.
Mr.Francesco Verolino (Telecontrolli CEO) for letting me visit Telecontrolli plant and for giving me the opportunity to test their products.
Mr.Raffaele Basile (Telecontrolli product enginner) for giving me valuable suggestions.

Second Prize in the
Automation Contest 2016

Participated in the
Outside Contest 2016


