So the costume making continues. Since MattP brought us fancy red and black site jackets for Empire, there is very little costuming that needs to be done for the game. I have a jacket, I have trousers, I have shirts, I can get on the field in kit. I don’t quite have enough to wear something clean each day, but that’s a minor problem.
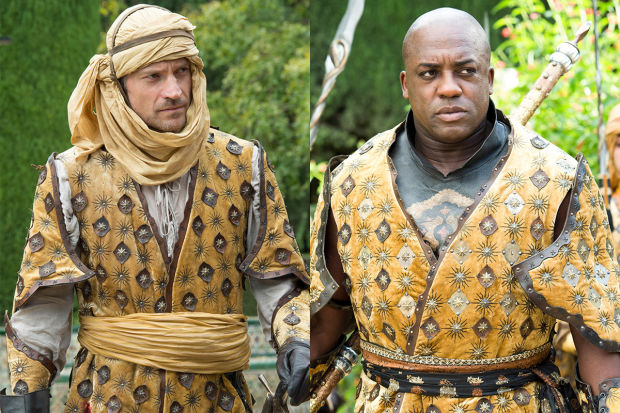
However with Odyssey there is no ‘site kit’ so I still need to make more of my own. This time, it’s a black tunic to hide the camera straps (which are also black).
I mentioned in my previous post that I enjoy making the finish of my kit as good as it can be and this piece is no exception. Actually I’m going all out on this one and spending time making it seriously nice. The good thing about being time-rich is that I can finish it to a standard that is higher than I can buy. Well, I probably could convince a trader to finish it as nicely as I’m planning to, except it would cost me an absolute fortune.
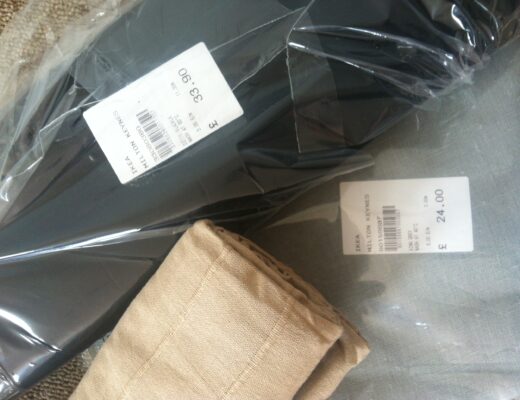
Costs:
Fabric: 1.15m of £3 per meter Ditte from Ikea – £3.45
Trim: Ceolred Monger, £7.50 for 4m, I think – £5.63
Total: £9.08
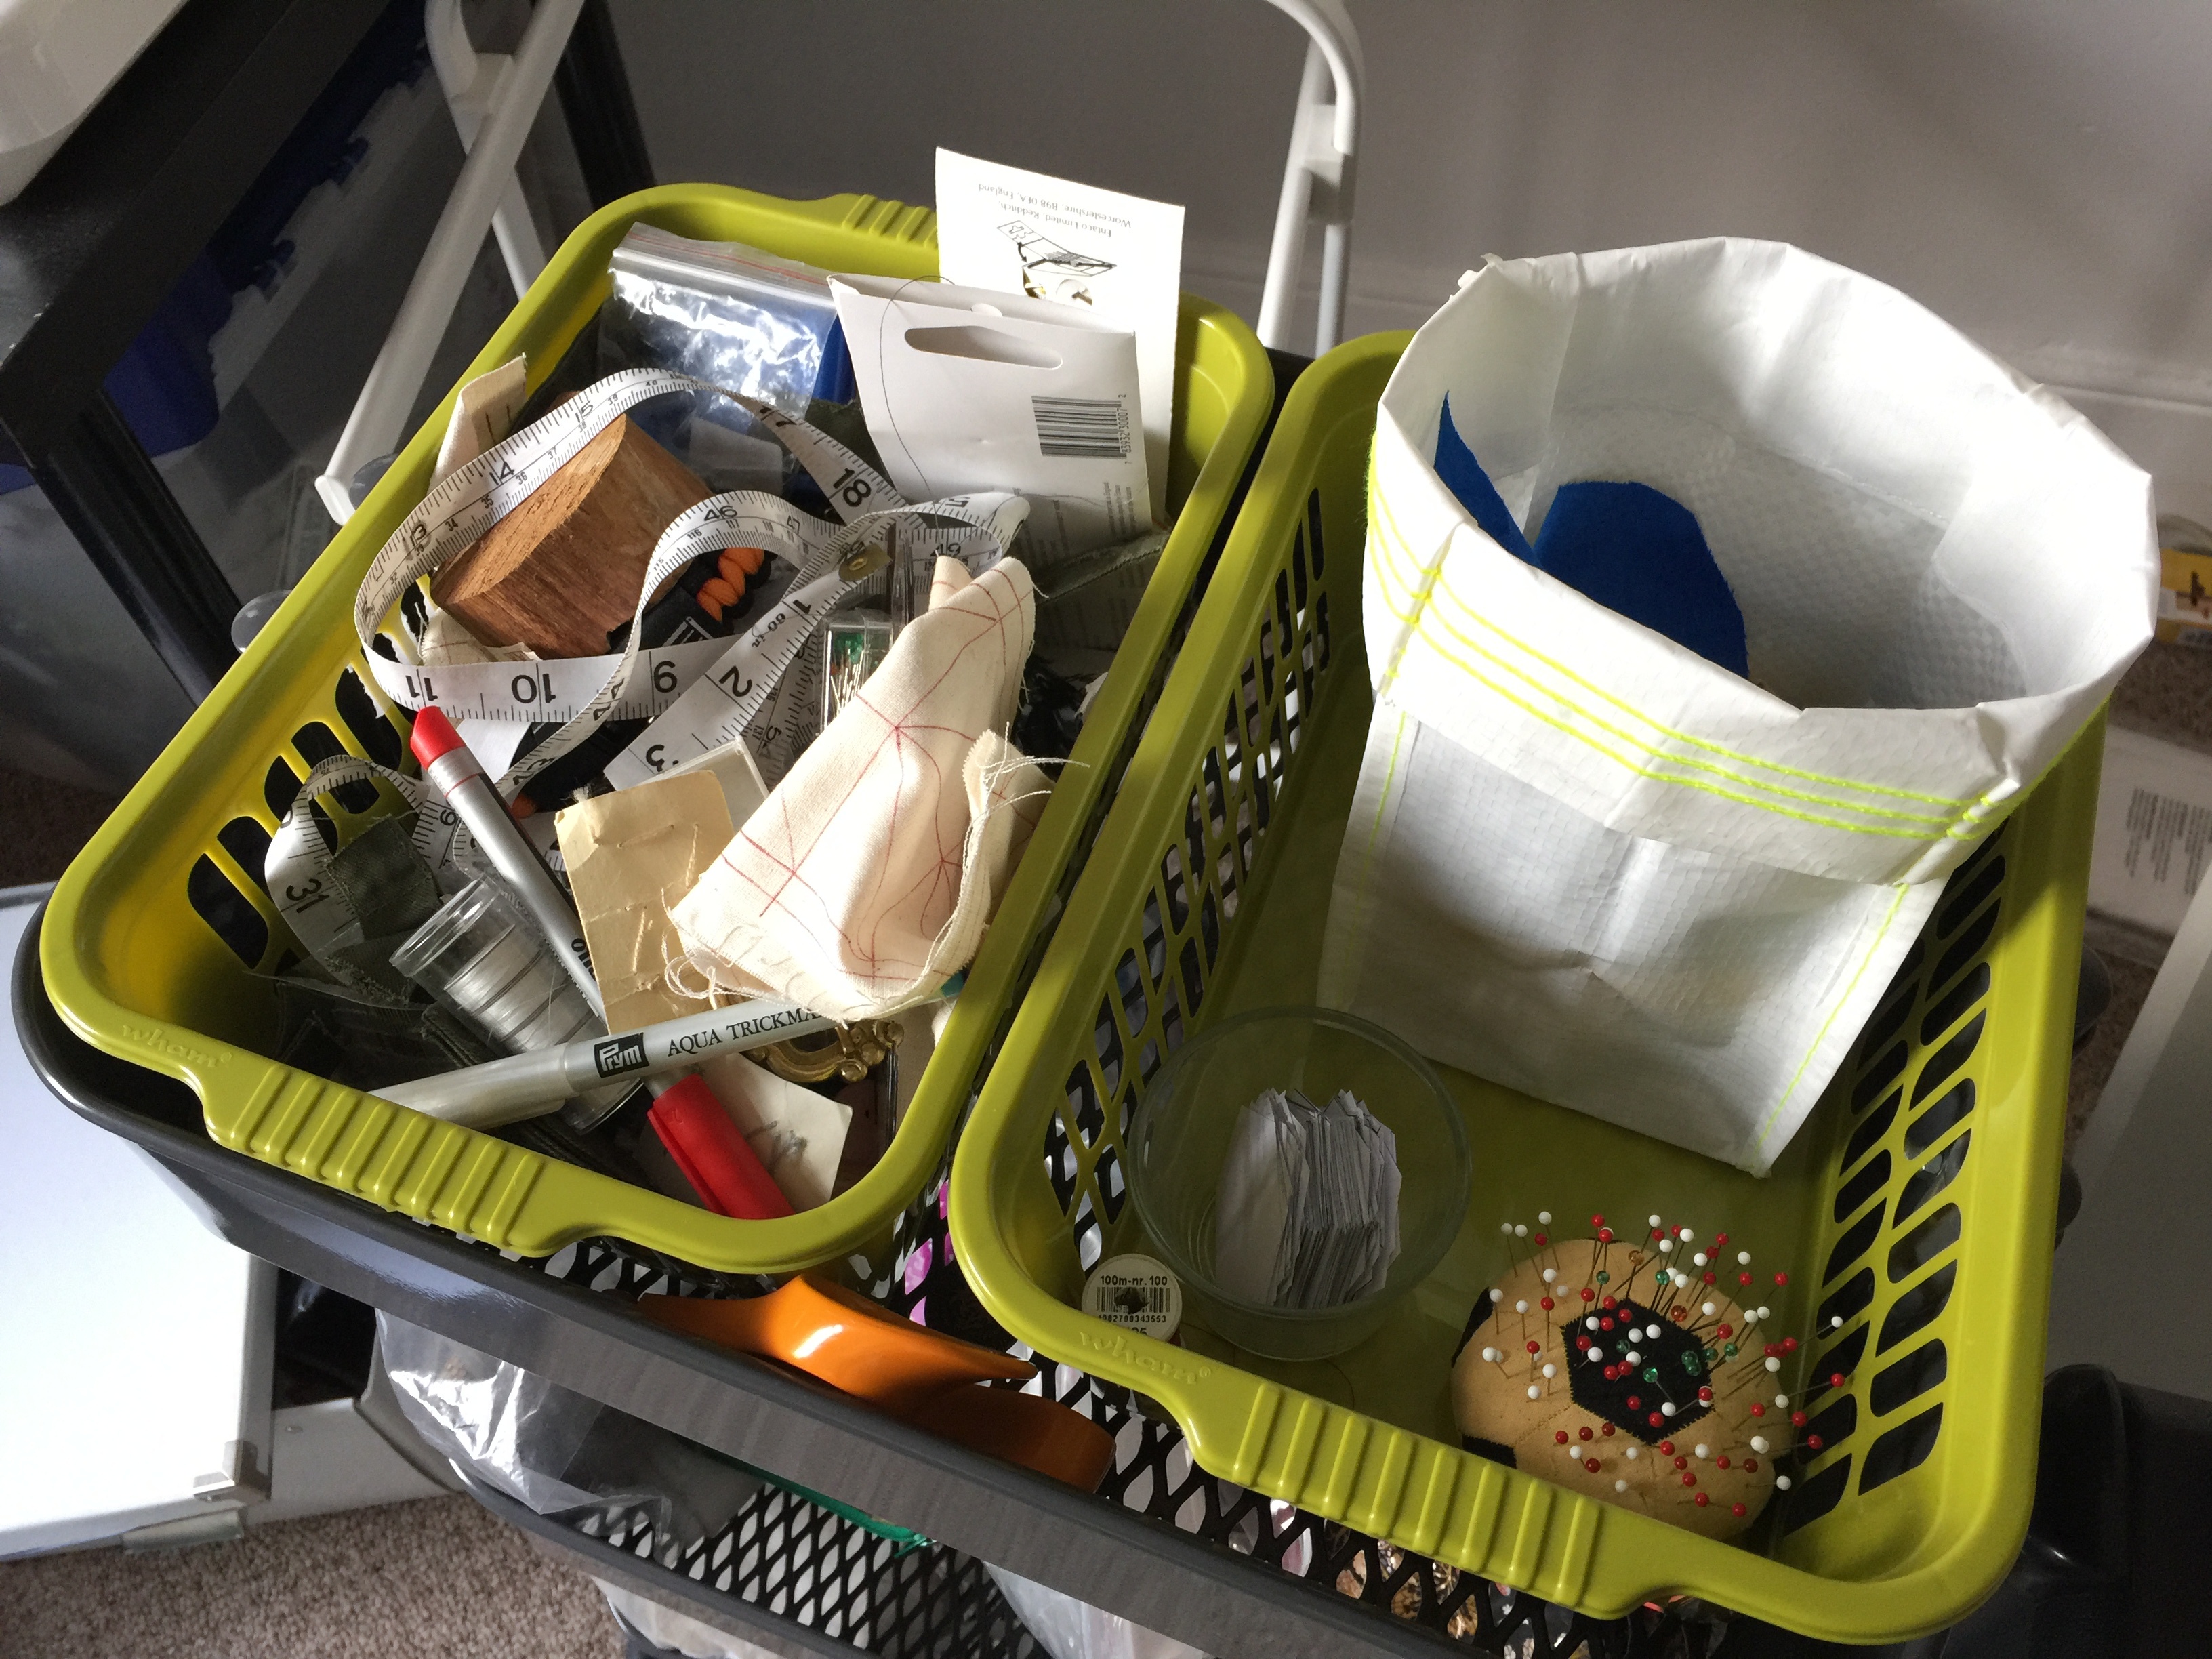
Illiani asked me on FB to break down the process I was using to finish the kit, so this is picture and explanation heavy.
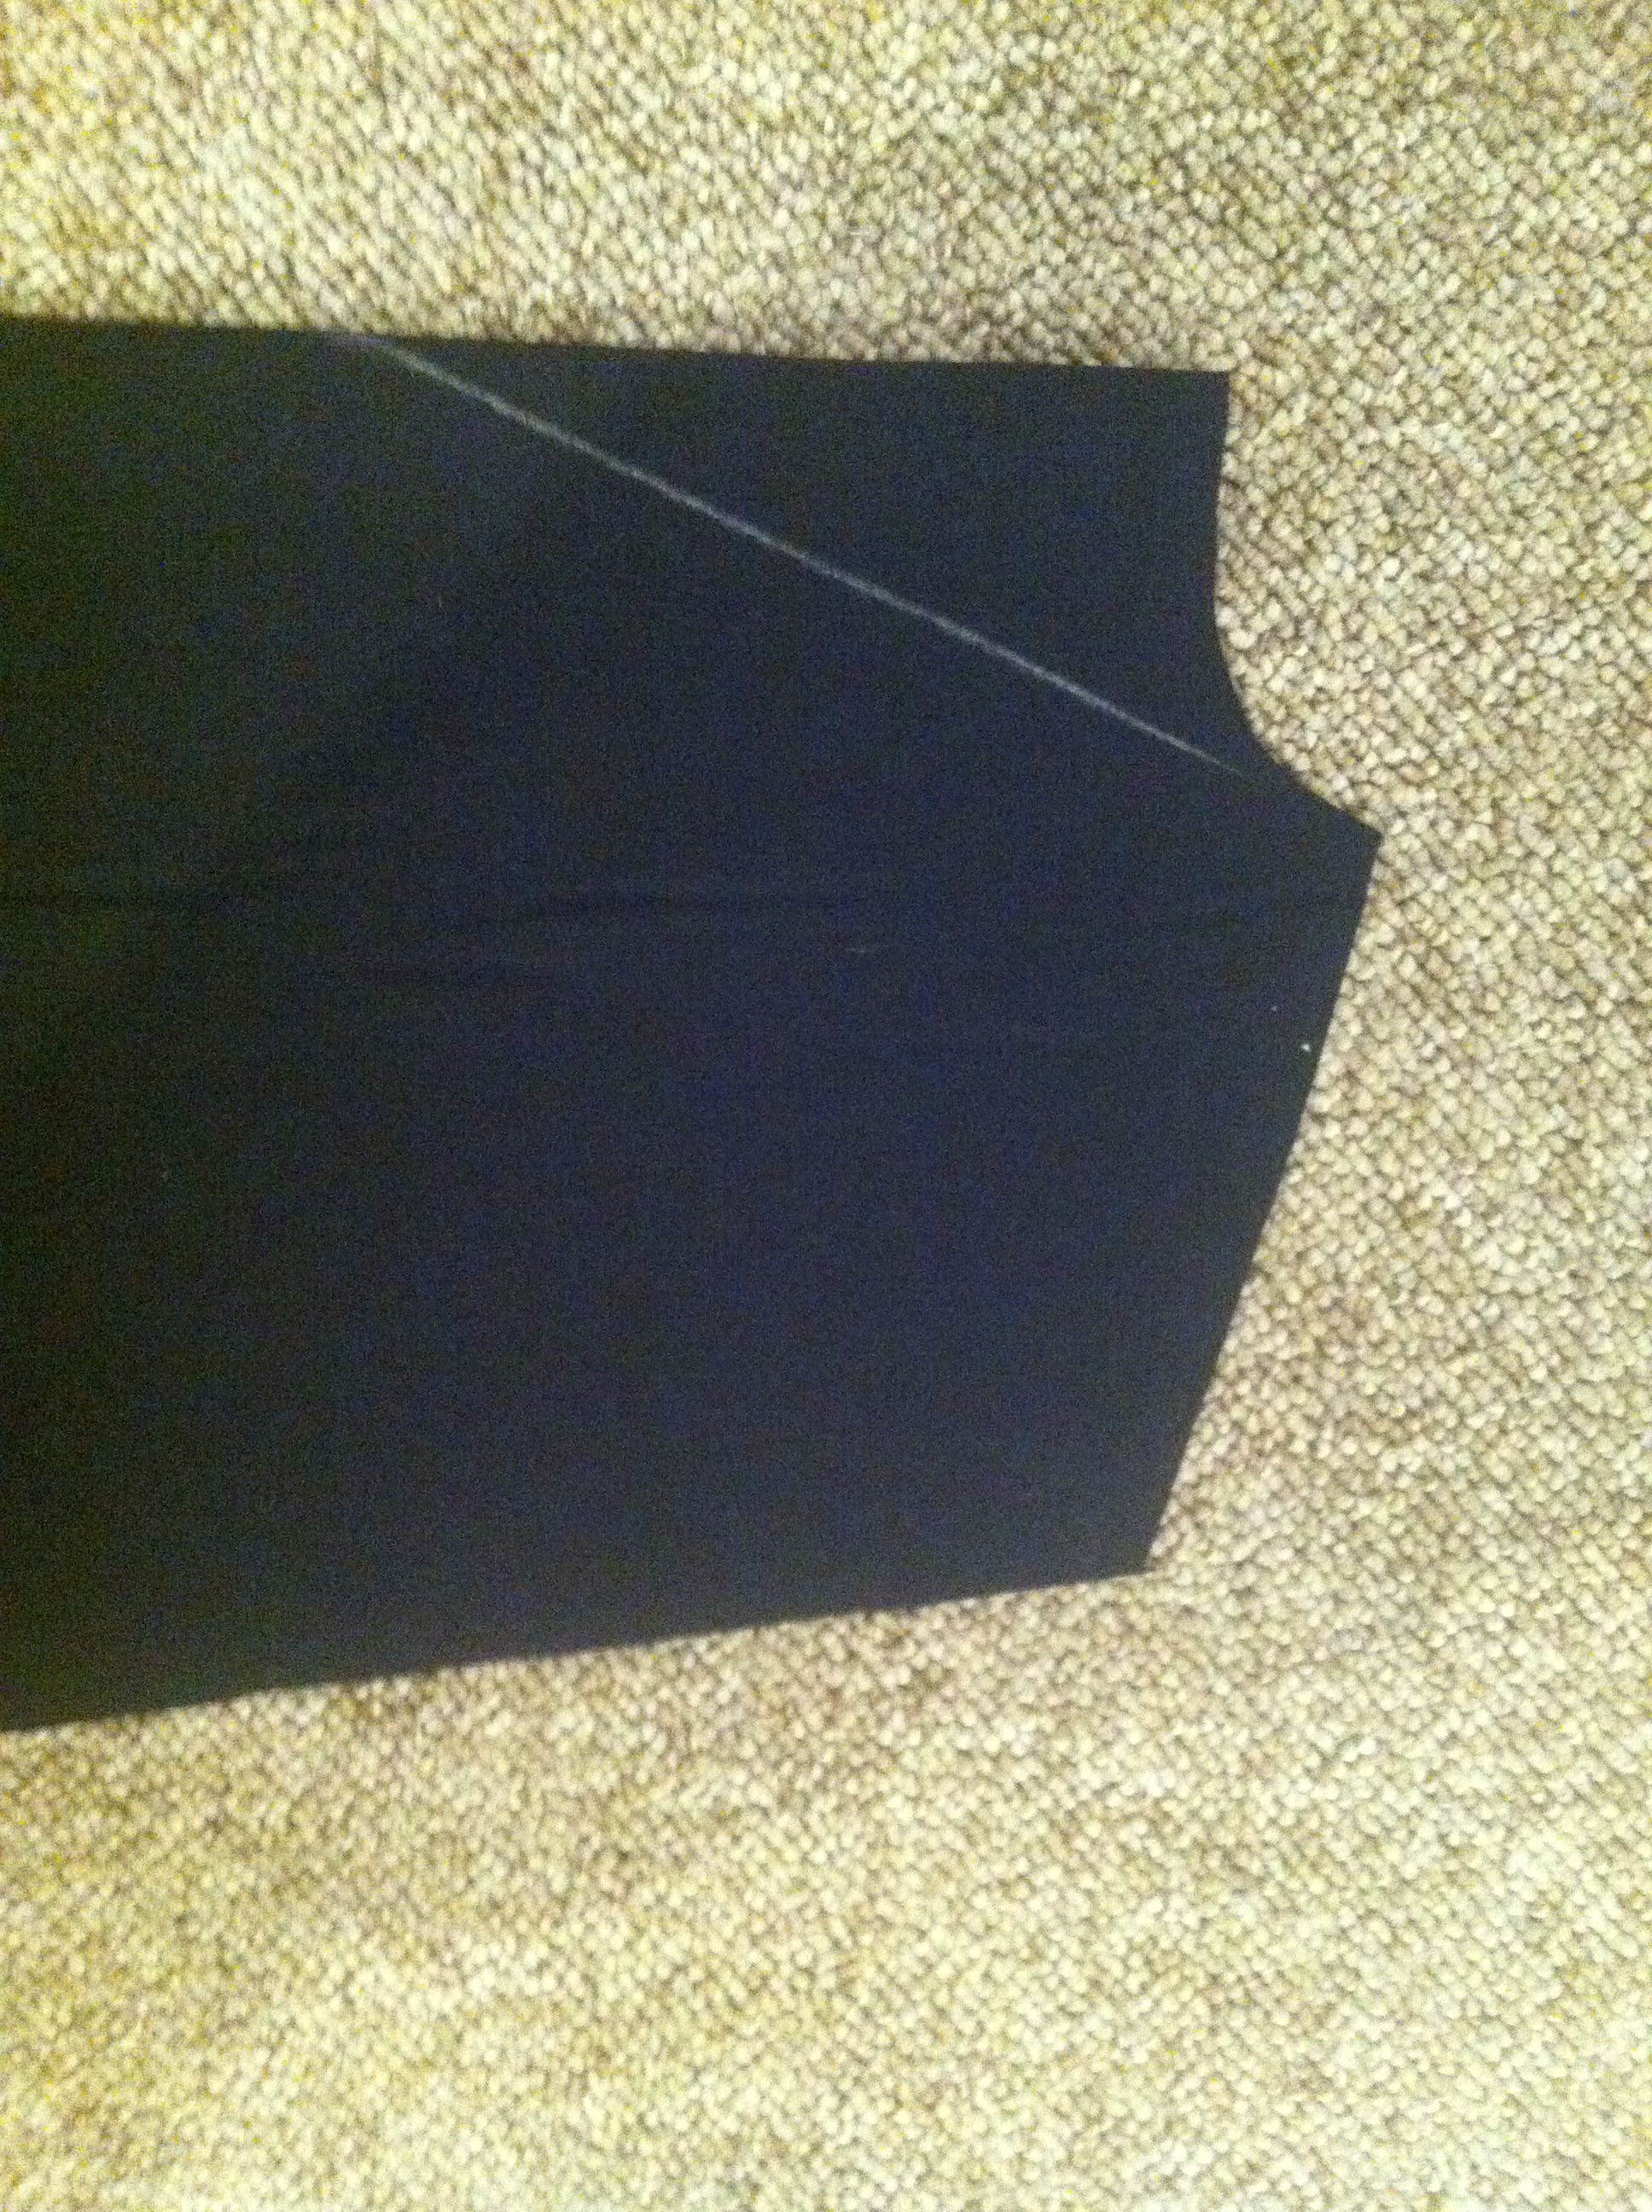
I started out with a pattern I drafted from a book I have called Metric Pattern Cutting for Women’s Wear. I don’t have the book here, but I’ve written on it ‘Easy Fit Kimono’ which I think was the name of the pattern I drafted it from within the book. Here’s the pieces and the top that they made (neckline my own alteration):
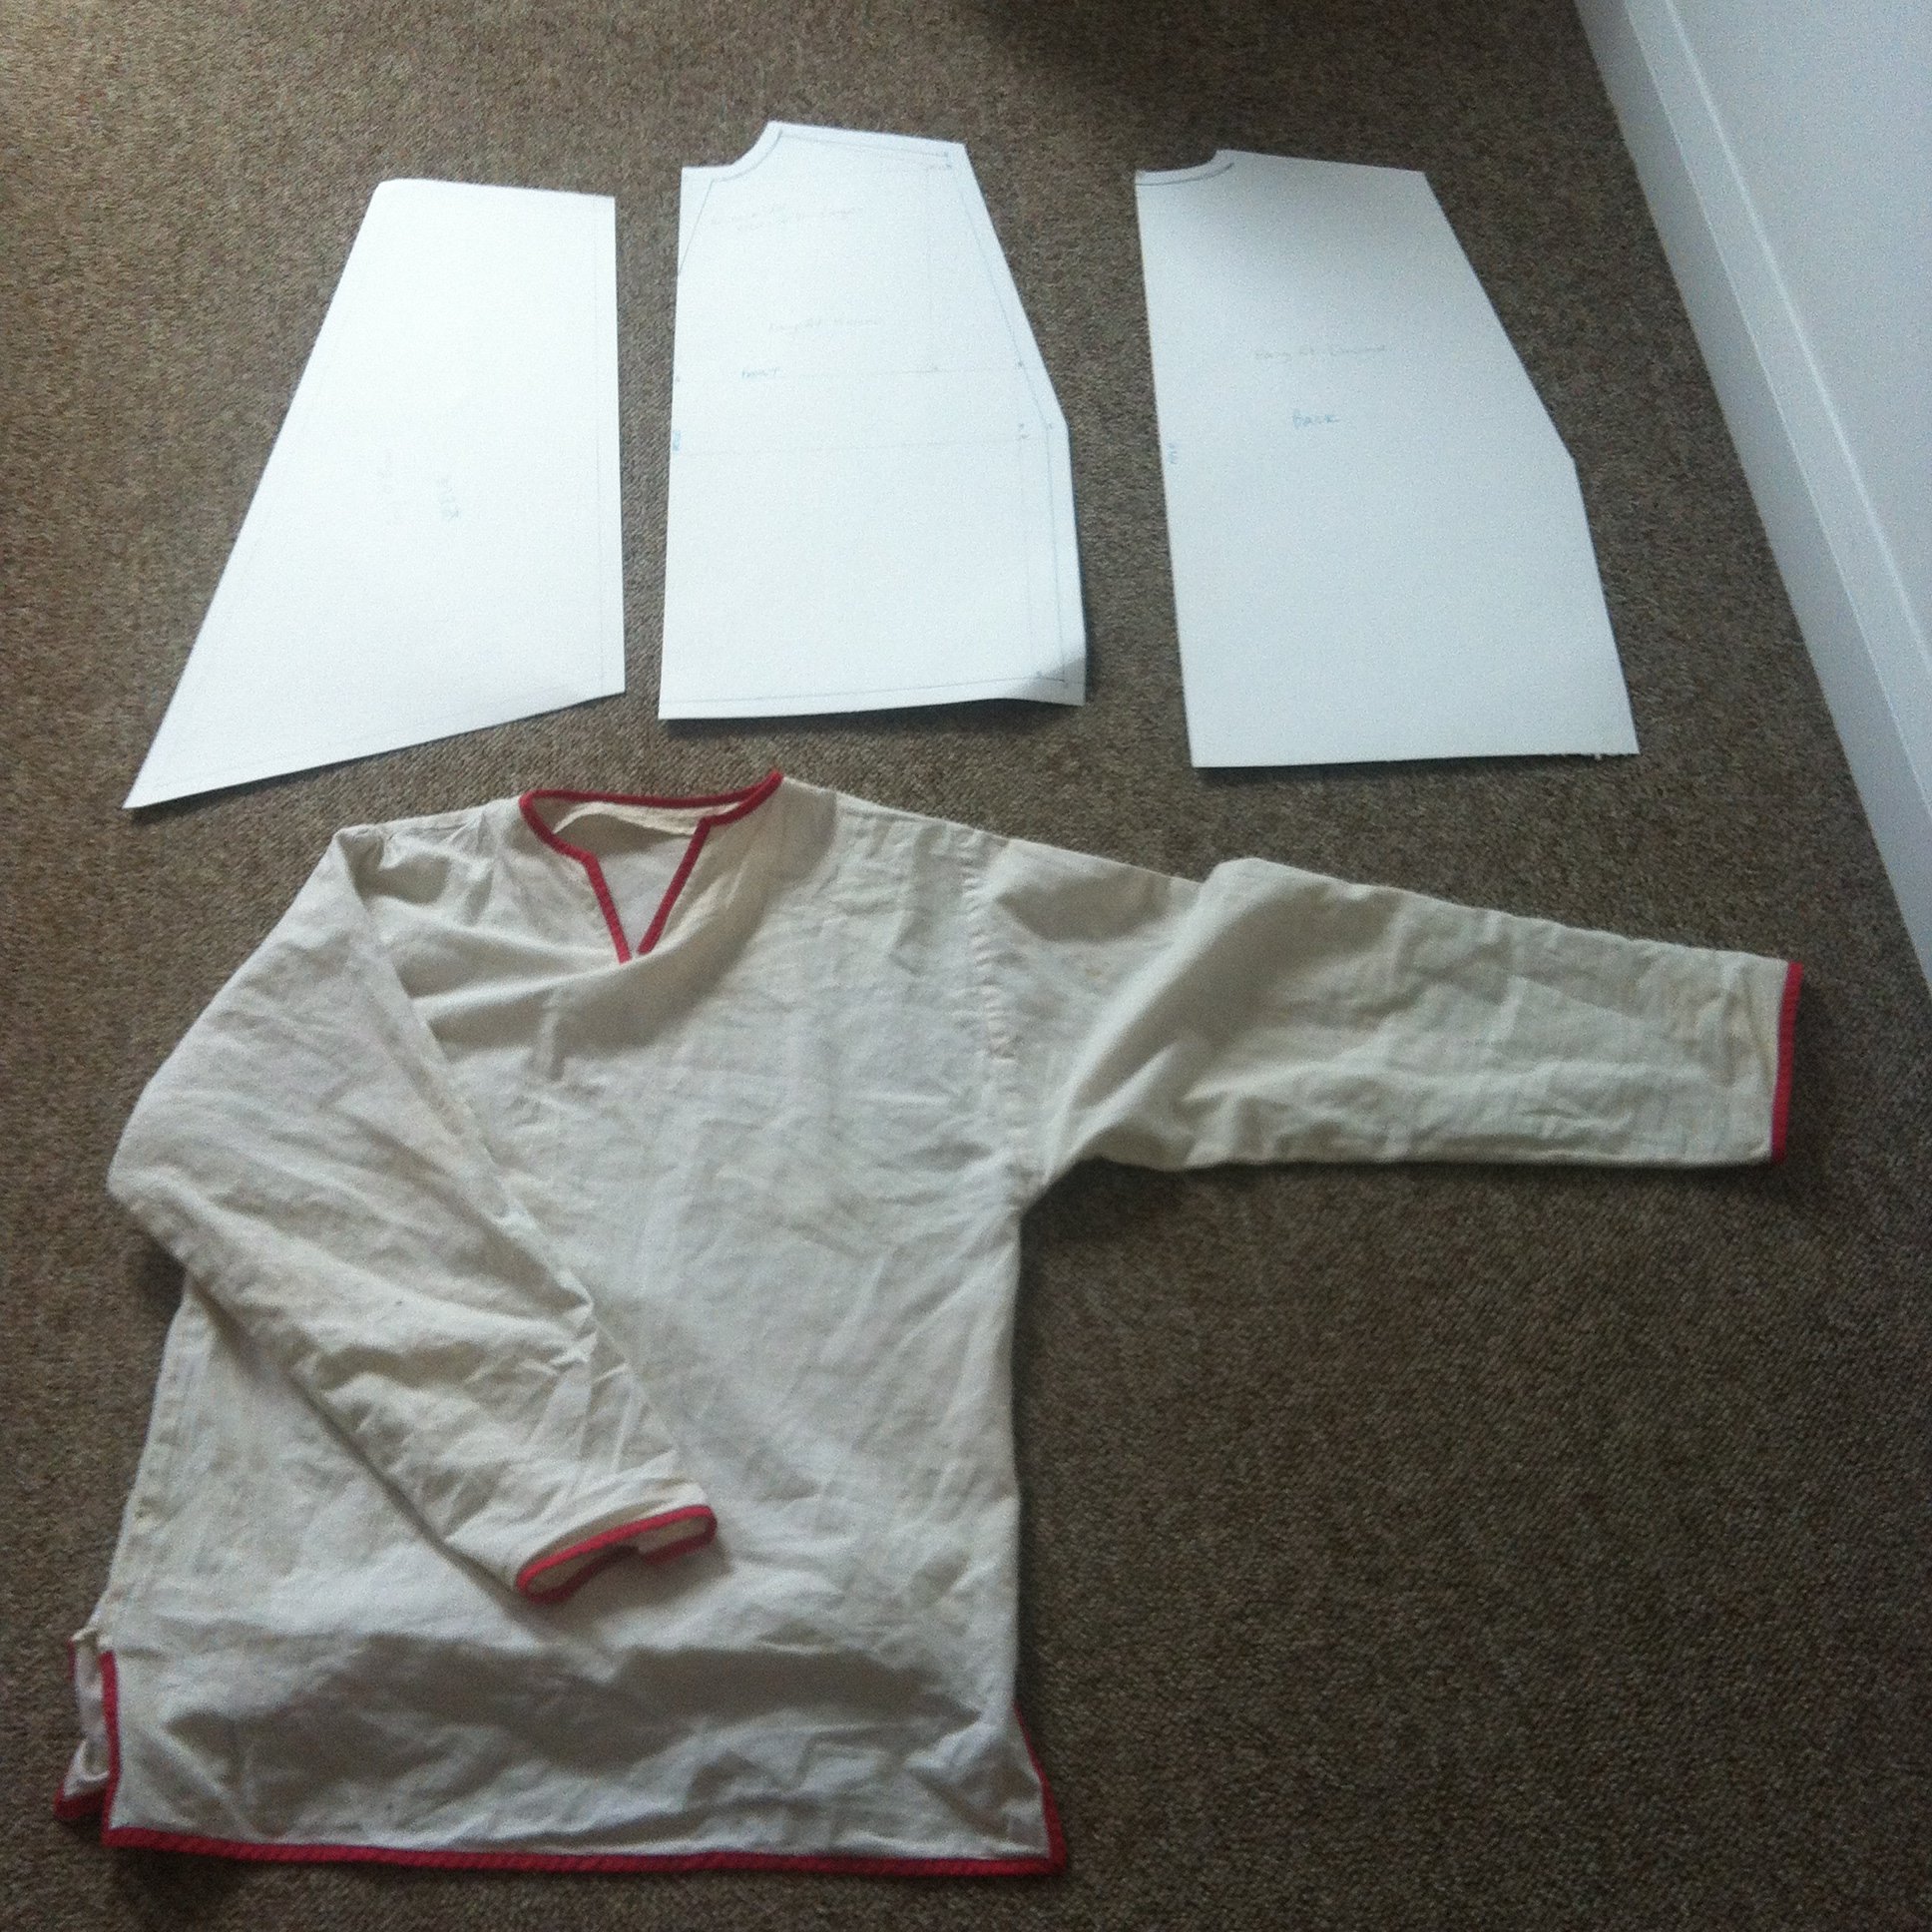
Yeah, it’s not your ‘basic’ T-tunic that is sold as basic LRP kit, but it sure as hell is more comfortable as far as I’m concerned. The very gently sloped shoulder and sleeve, imo, makes it more comfortable if you have slightly sloping shoulders like most women (and lots of men too). I guess if you’re really broad then the basic T-tunic would be more comfortable.
Here’s a closer look at the pattern pieces, you might be able to distinguish some of my workings if you’re interested, there’s not really any rocket science going on:
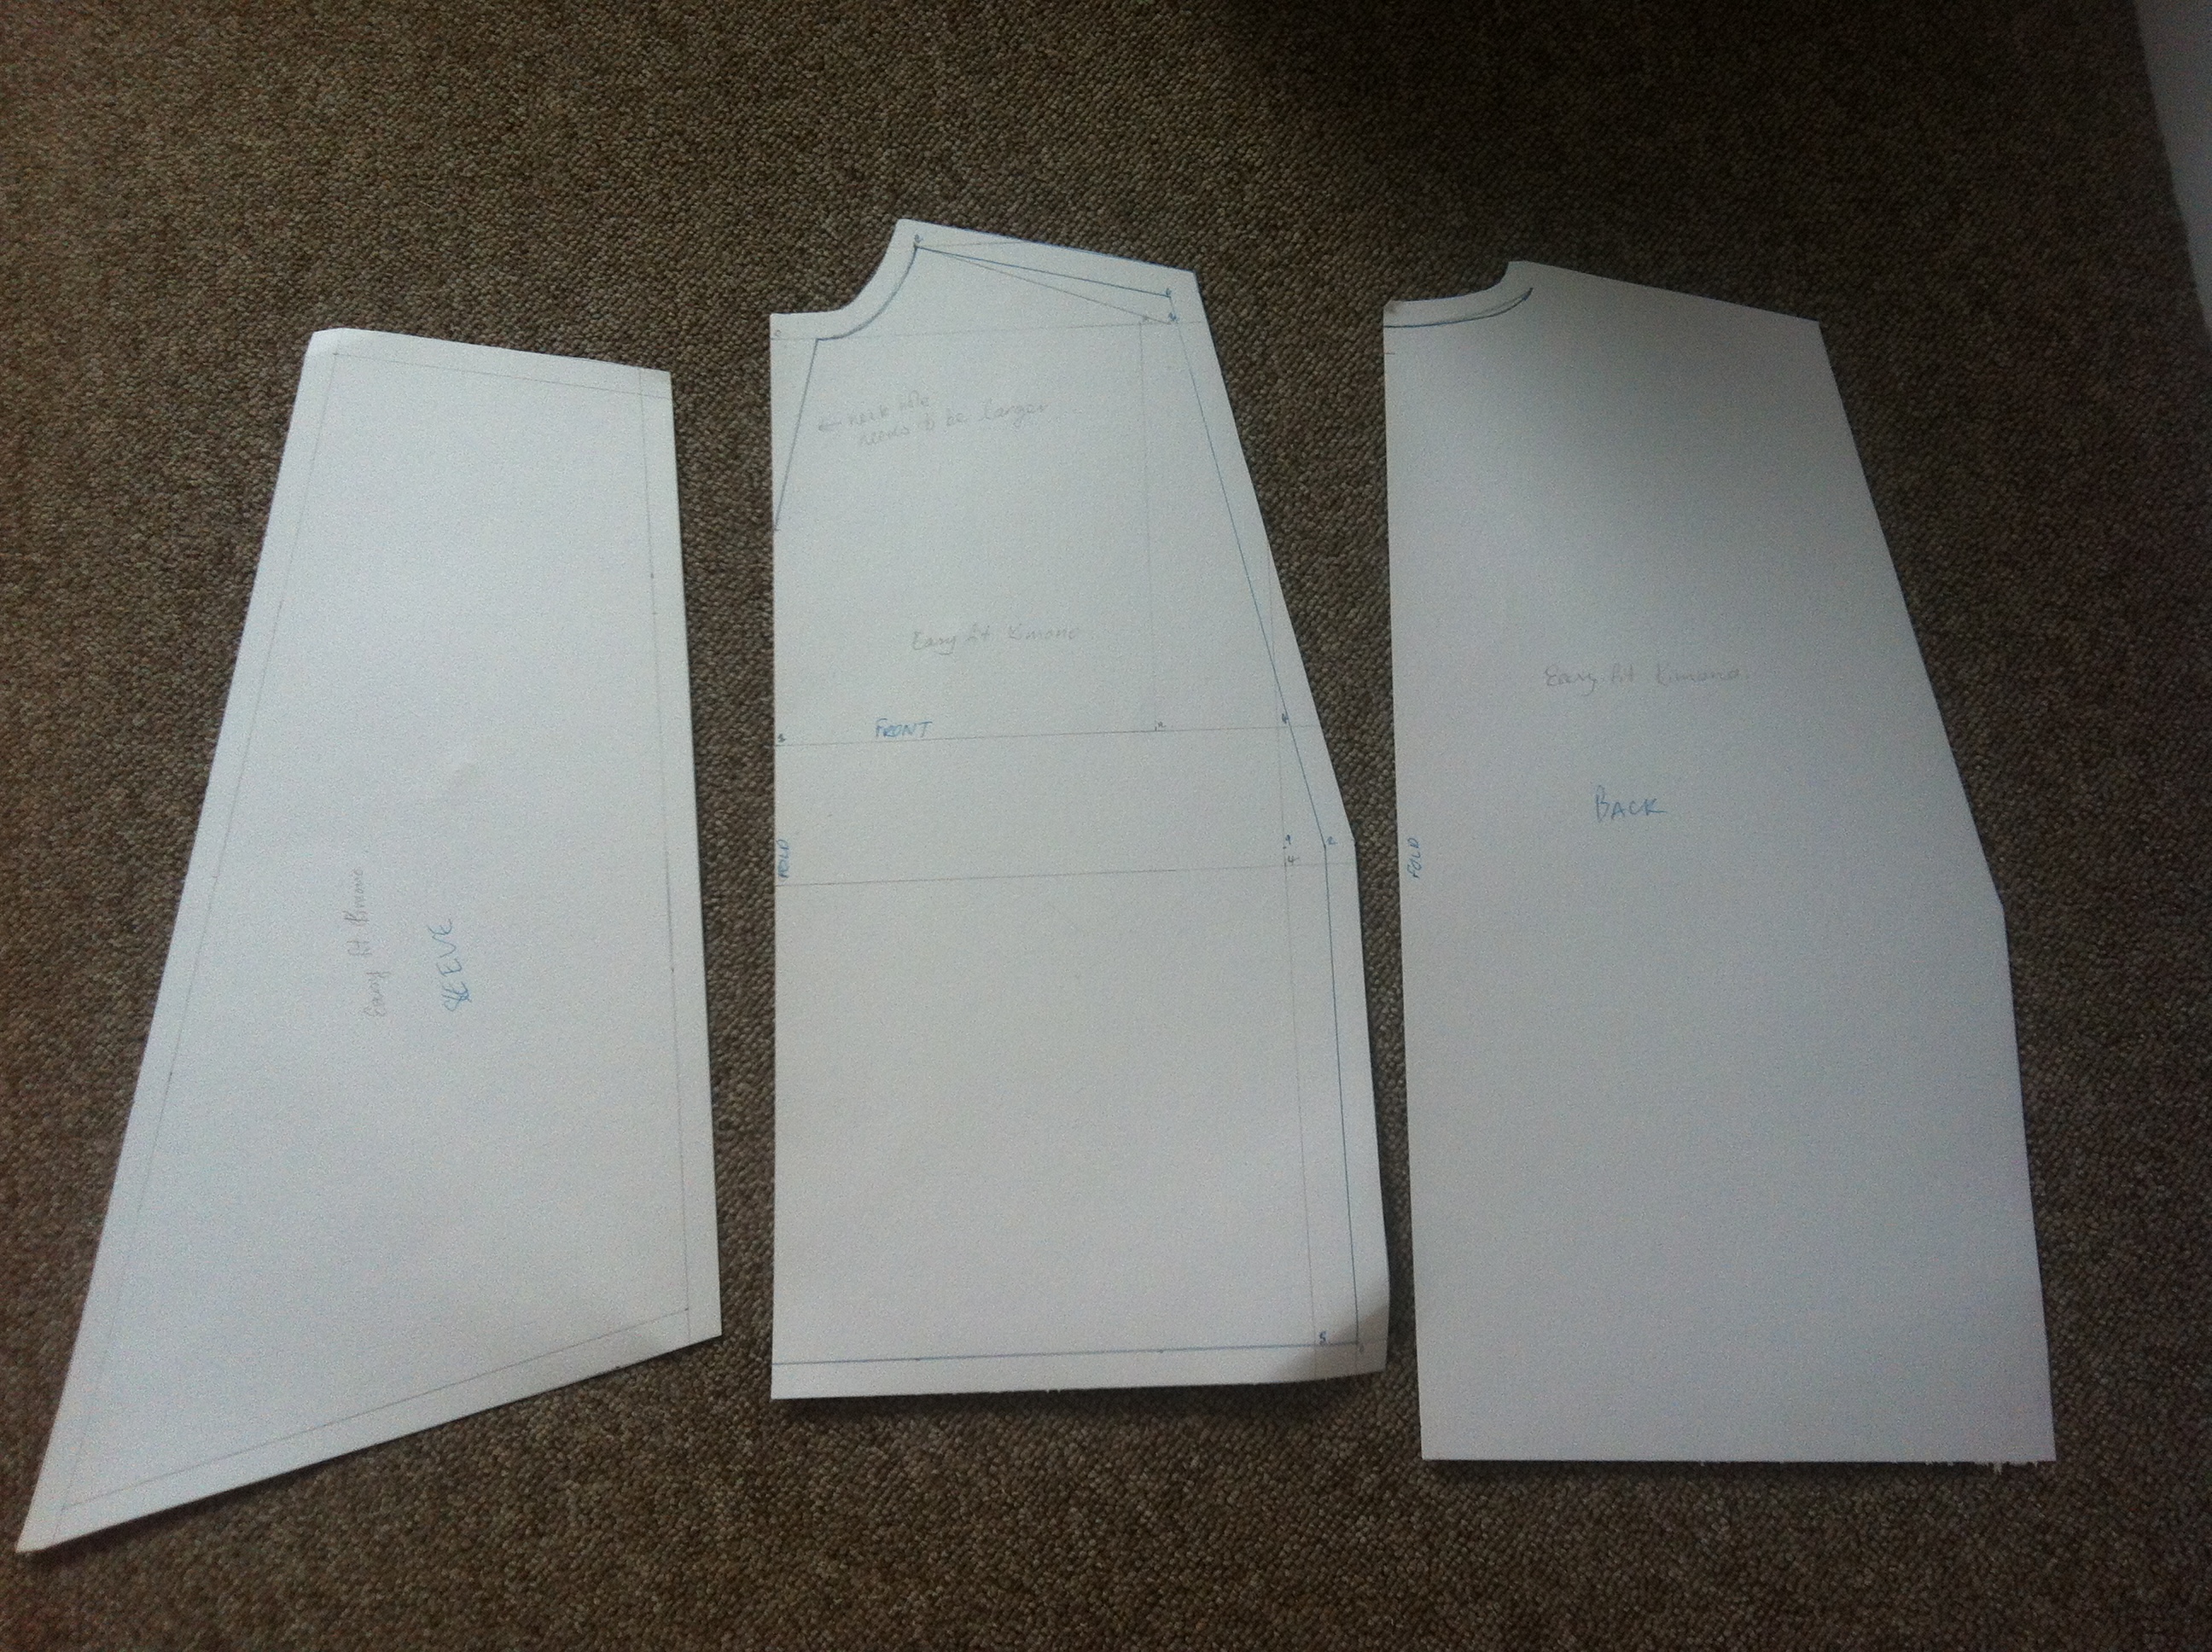 I took those blocks, laid them onto pattern paper and traced round them. The tunic is quite snug round the hips on me but that isn’t a problem for the shirt because obviously I’ve slit the sides as you can see in the first picture. A floor length tunic would be less forgiving so it had to flare from the waist. I decided to double the hem in size from the waist to allow good movement, and also because I want it to foof out behind me when I walk… yeah… foof is totally a technical word.
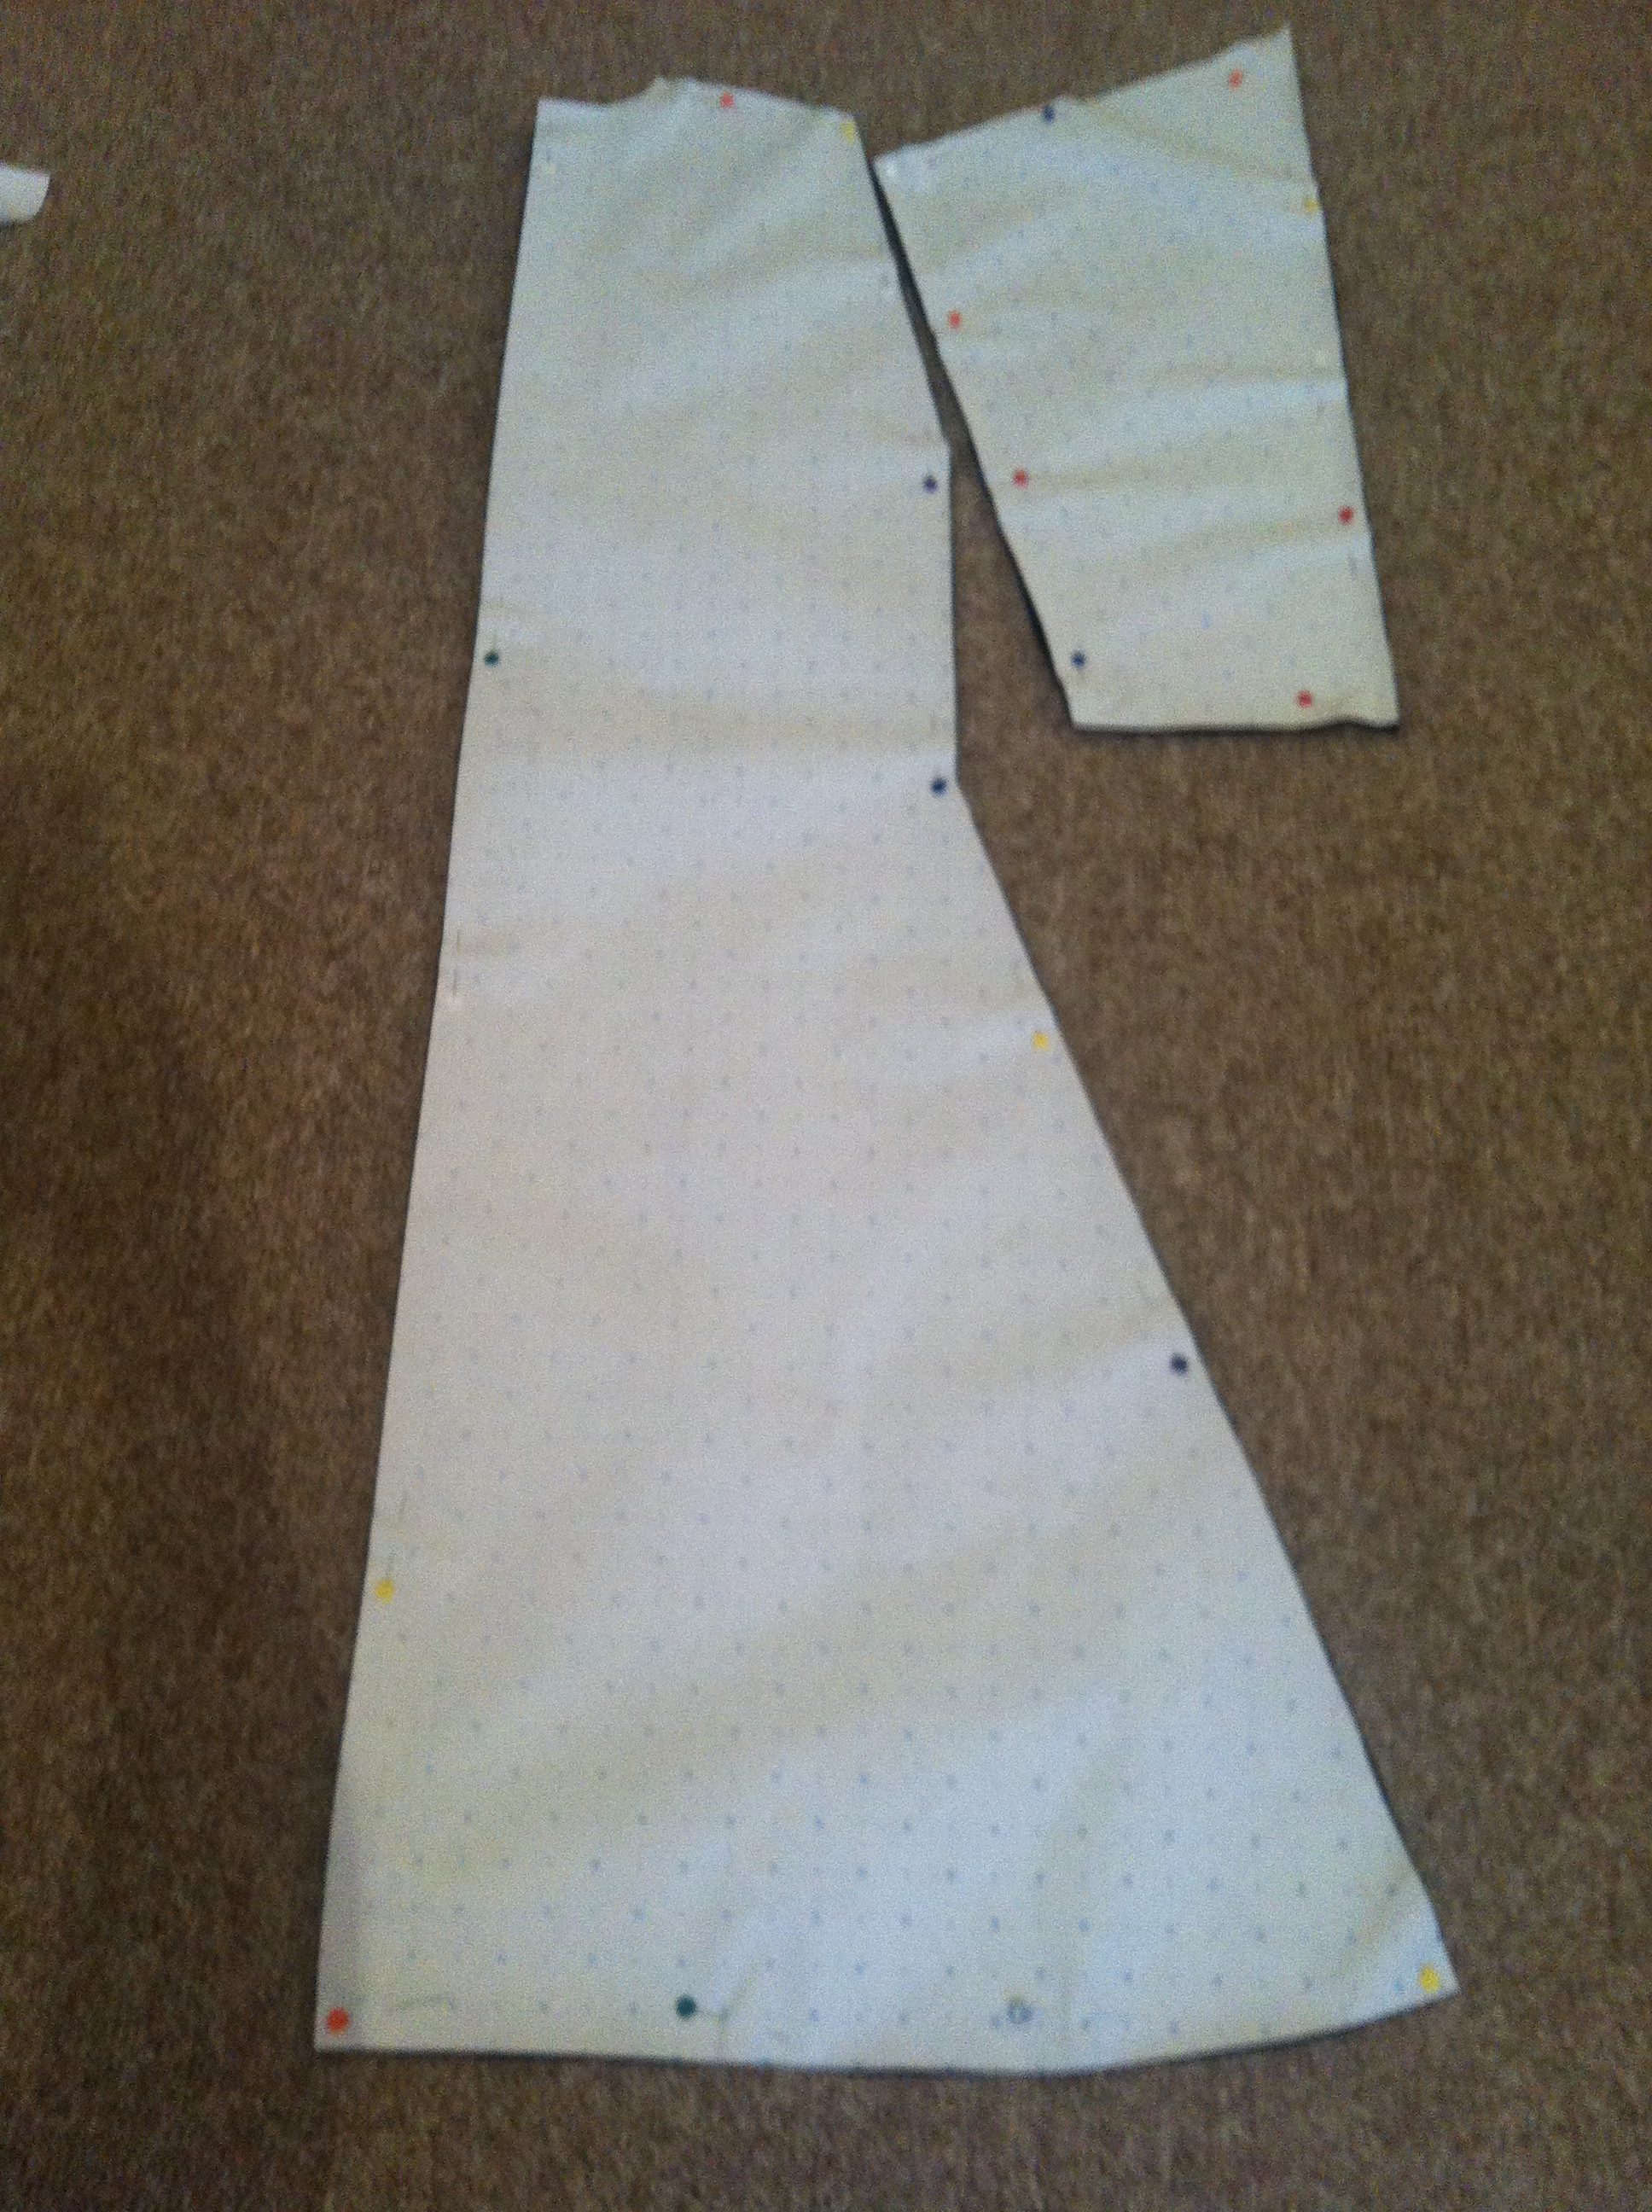
Here’s the drafted pattern, pinned to fabric and cut out. Since it’s almost identical front and back, I’m actually cutting four layers here – both on the fold for the front and back pieces. And four sleeve pieces. Efficiency ftw! (Sorry, totally out of focus. Took the picture at about 10pm.)
You can see the slight curve I added to the bottom of the tunic so that I don’t have to trim the hem later.
 Then I separated the pieces and cut a V out of one of them to make the front.
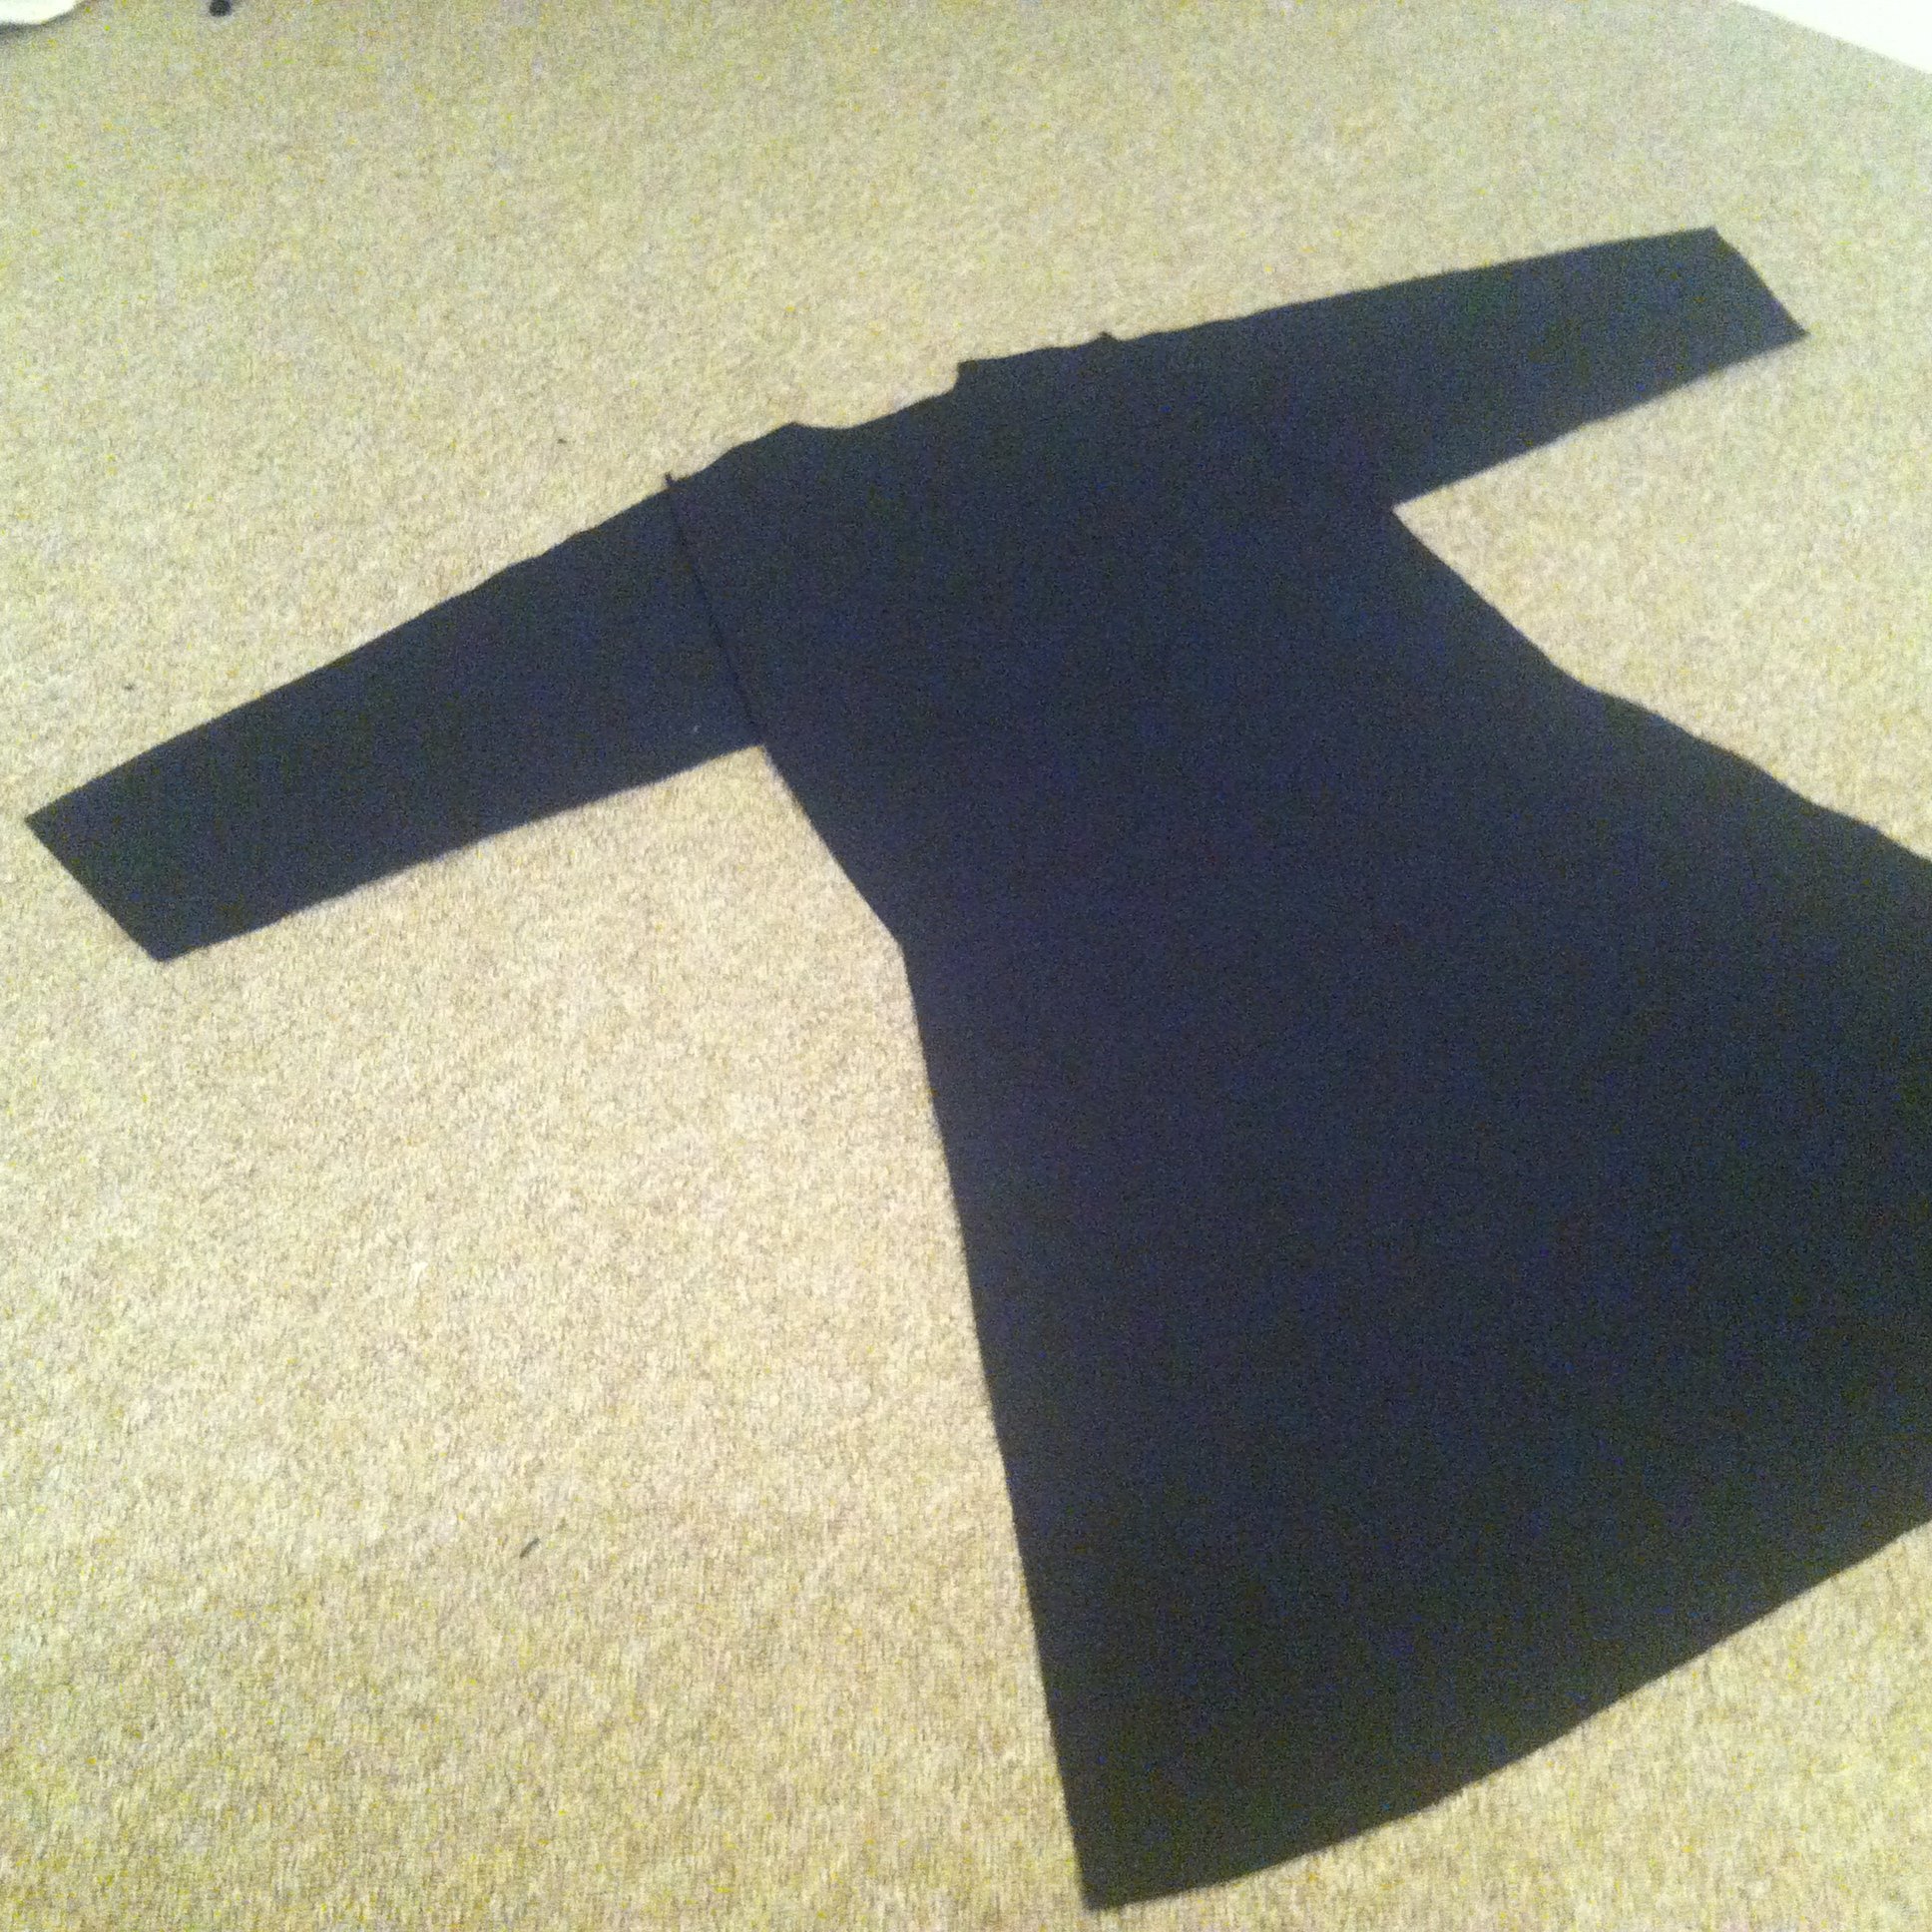
 After that the sleeves get french seamed to the body pieces and you end up with something that looks like this:
And then I went to bed. So from now on the pictures will be better.
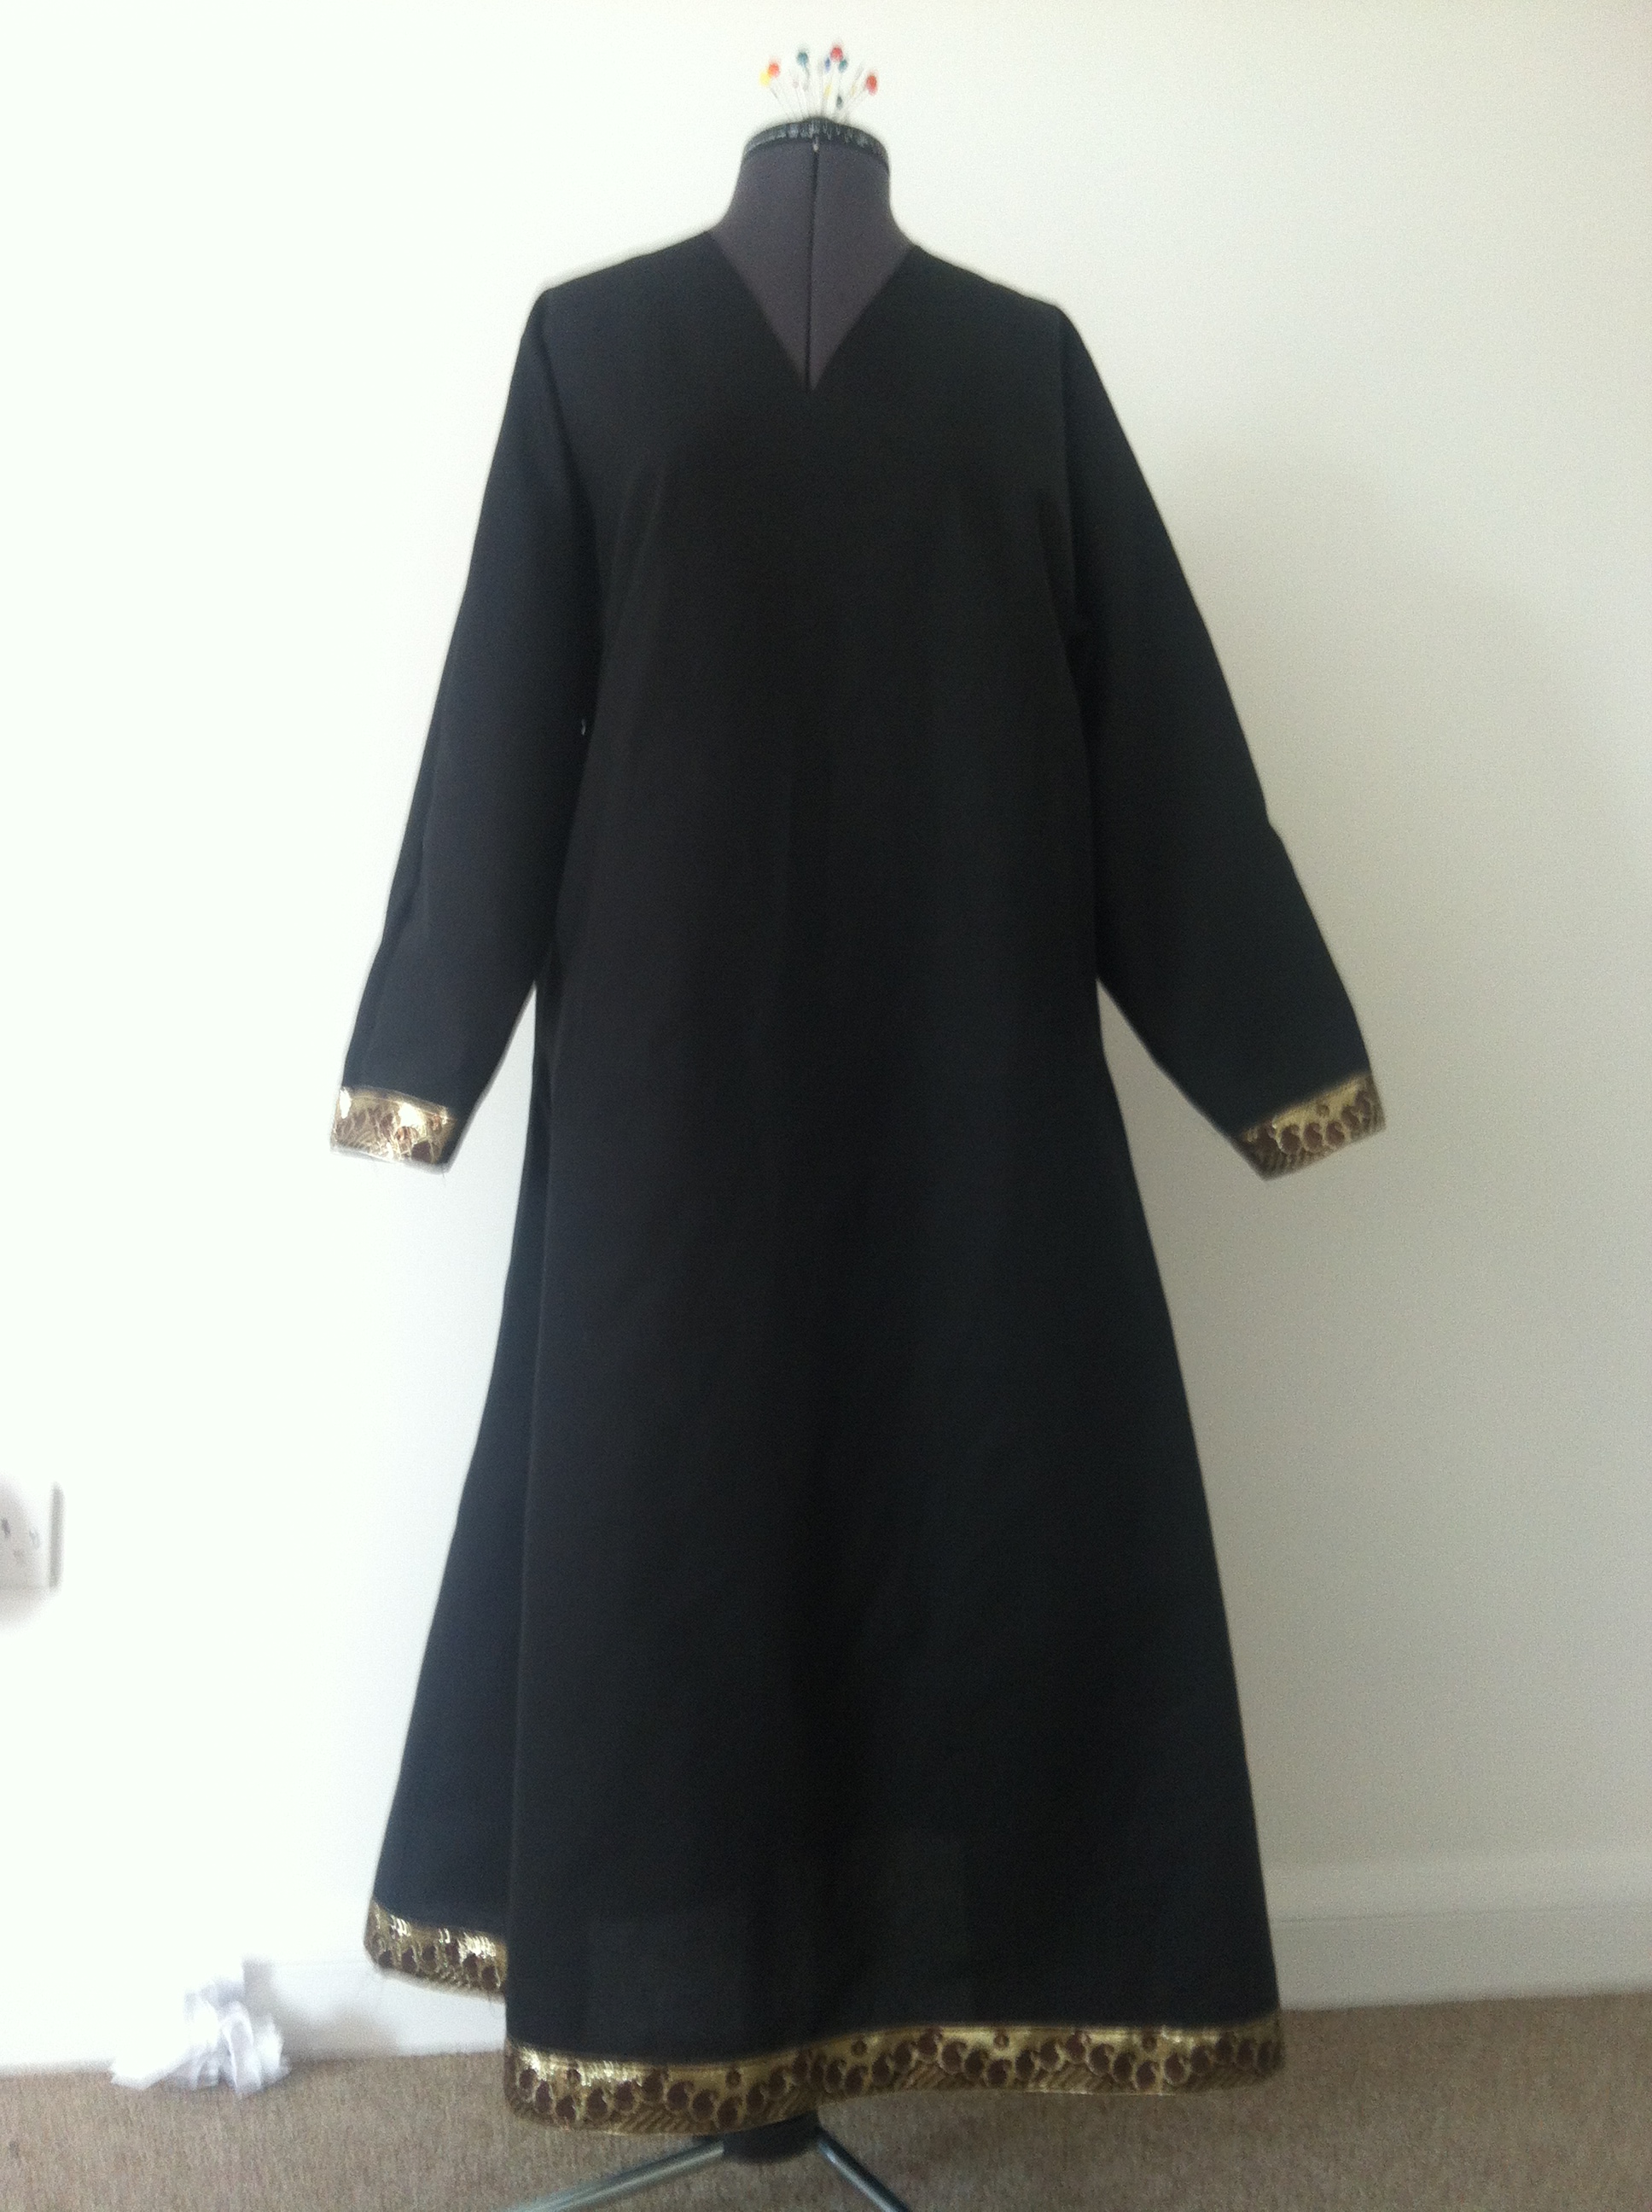
I really hate turning over hems. I’m just not very good at it. They’re always a bit wonky and they never quite look right. Since I was planning to trim this tunic extensively (Minoan bling ftw) I decided to use the trim as a kind of reverse seam binding. There is a couture finish that you can use on hem’s where you basically sew a ribbon or similar piece of fabric over the join where you’d normally just turn the hem up and sew it down. Obviously that happens on the inside usually, but I’m basically going to do it on the outside leaving a beautifully clean finish on the inside too.
Now, because I hate hemming when a garment is made up too, I thought I would do it when it’s still flat. If you’re going to do this, your pattern pieces must have been cut immaculately so that they’re identical lengths. And you’re probably going to have to ease the seams together to make them fit as well. Here’s what I did.
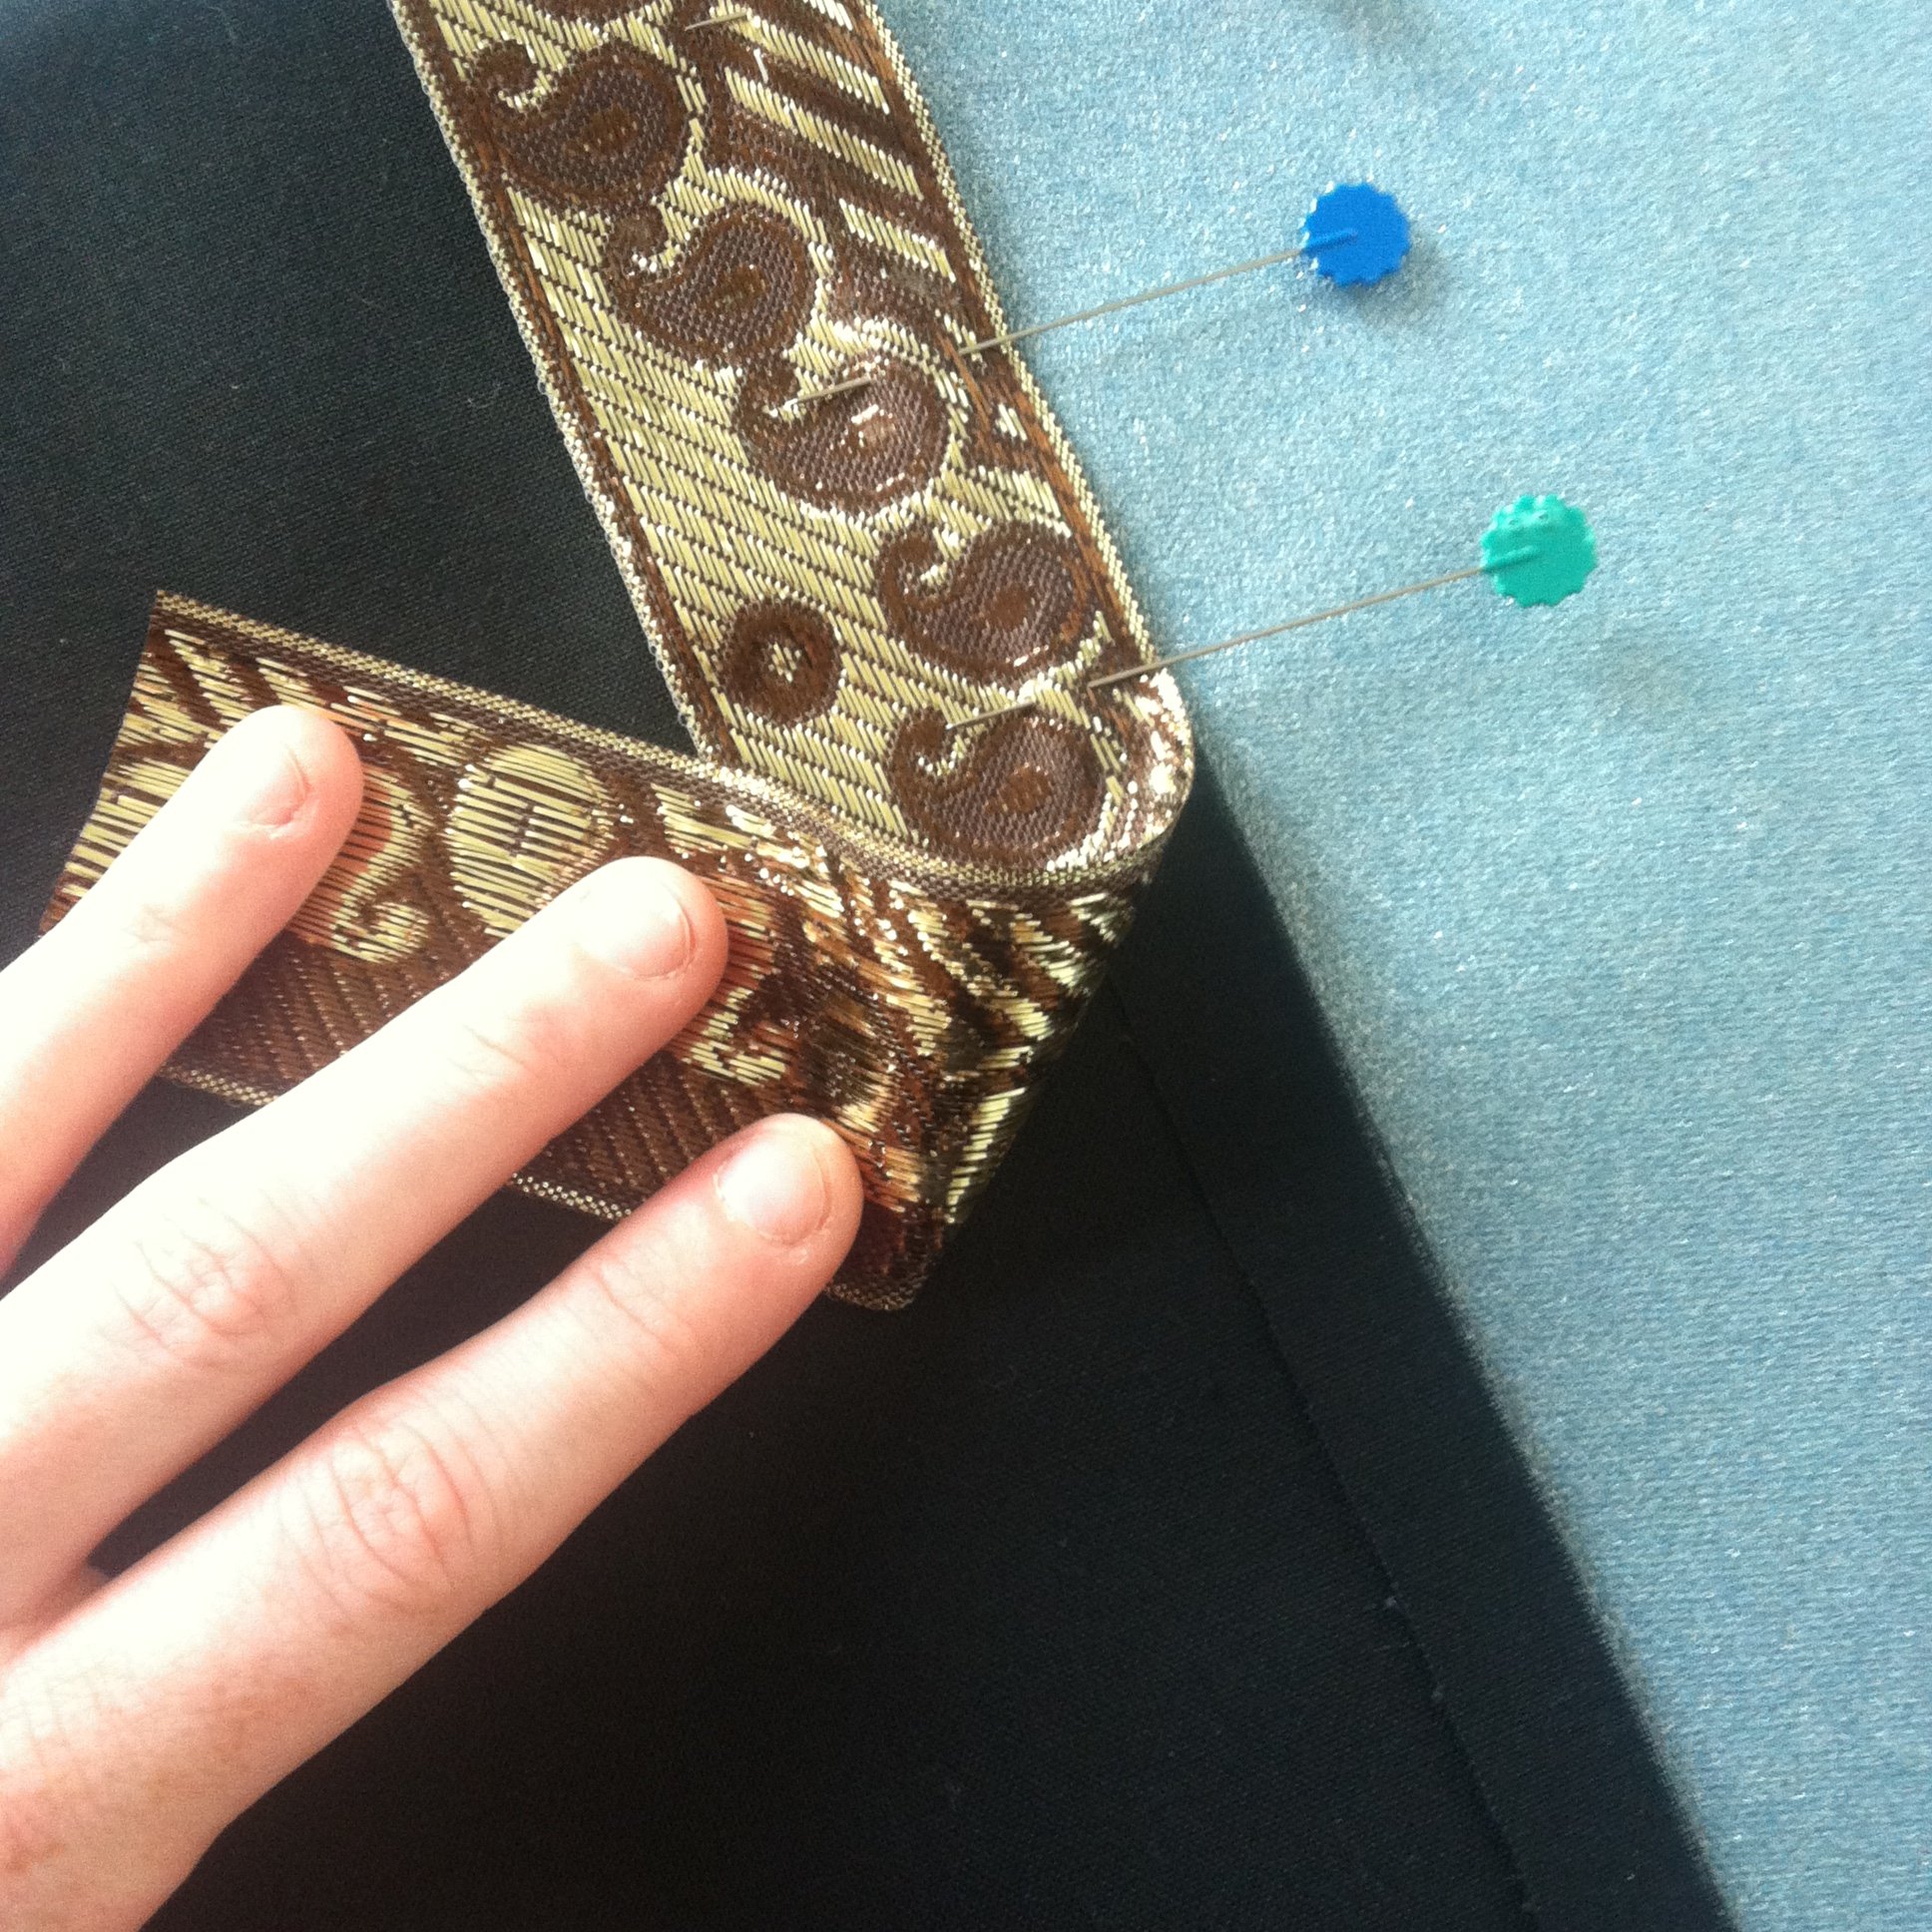
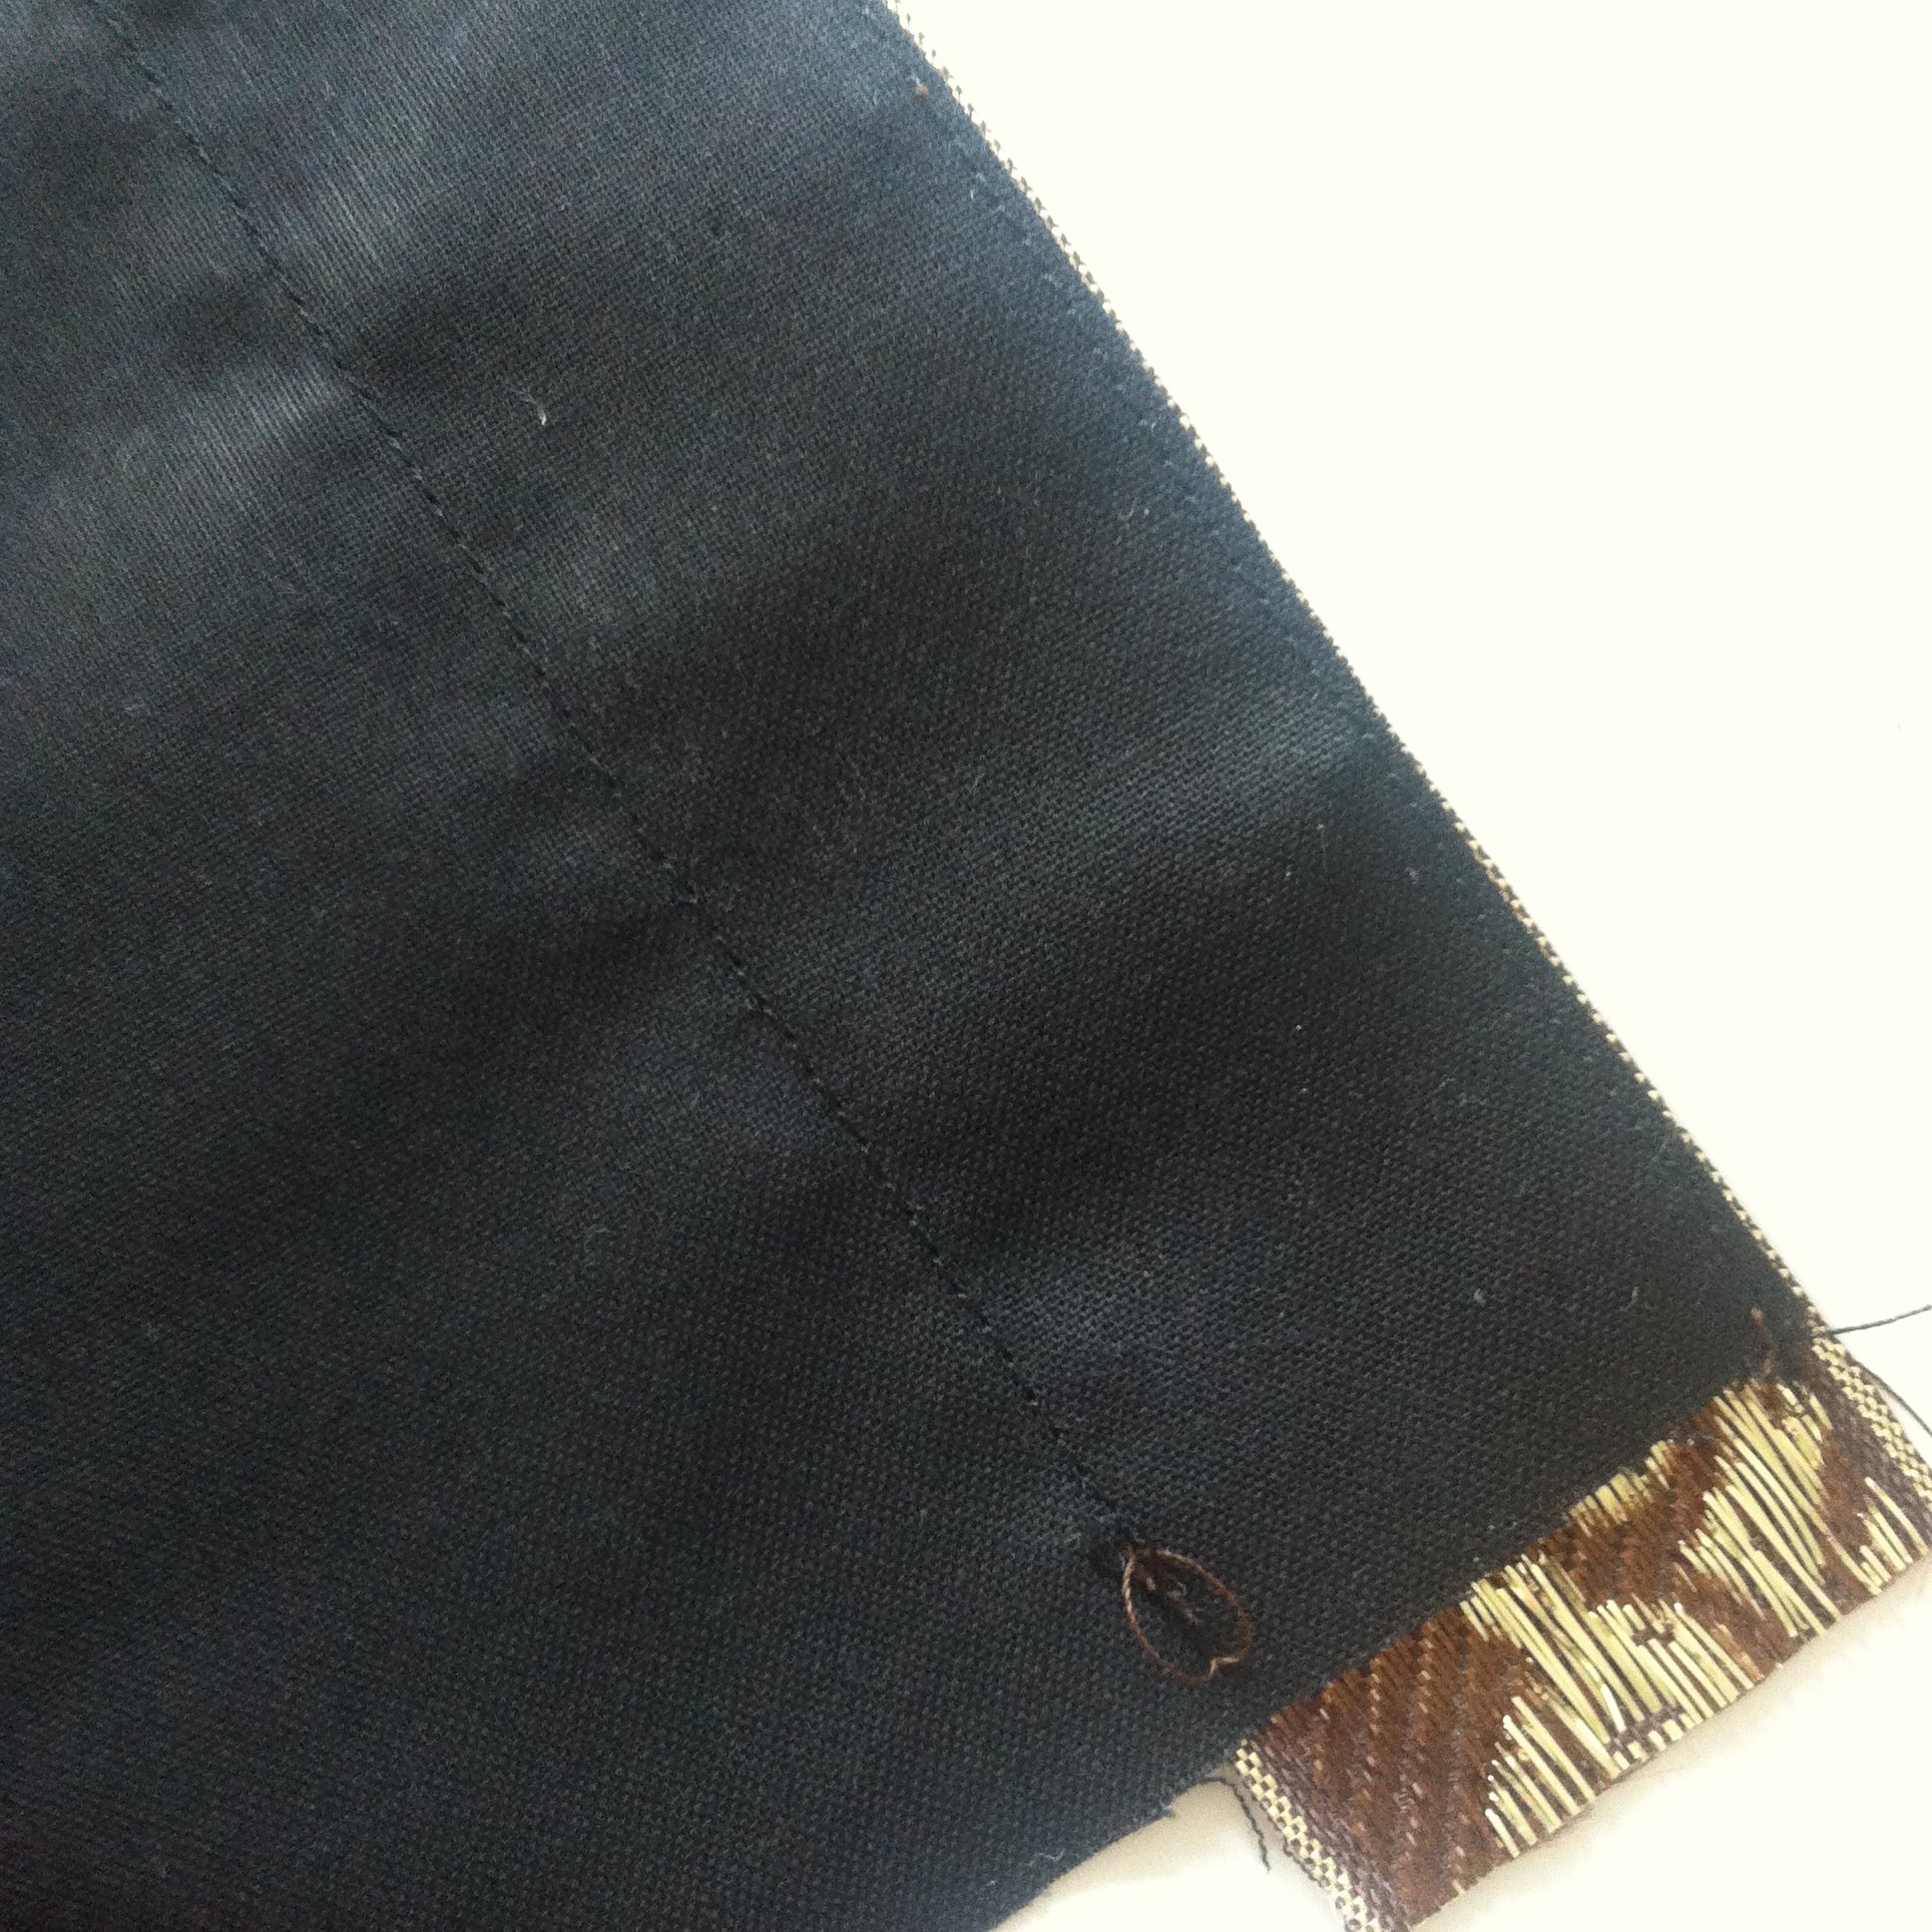
Turn over the hem of the sleeve or the bottom by ½ inch on the right side of the fabric and iron a sharp crease. Then pin your trim over the top, concealing this raw edge. Then sew the trim carefully to the garment.
When you sew the trim to the curved hem you must pin the outside bit first and sew it (i.e. the widest circumference, the bit that will hit the floor) and then pin the inner edge (the top edge). This is because the top edge will be a smaller circumference and you’ll have to ease the trim to fit the fabric, by bunching it up slightly. If you go very slowly you should be able to ease it to fit without any creases. Then you can steam iron it later (with a pressing cloth to protect the trim) in order to shape the fabric and the trim to each other.
The picture is kind of dark, but you can see just about how I’m enclosing the raw edge of where I turned the hem up. Remember, this is the right side of the fabric.
 This isn’t the normal foot I’d use on my sewing machine, but I thought I’d also add in a picture of how to sew trim. Trim often has a border of plain colour around it. You want to match your top thread to this colour as accurately as possible (get an assistant in a sewing shop to help you match thread – there’s a trick to do it where you undo some of it and lay it across the fabric – when the thread ‘disappears’ you have the right colour). As much as possible sew only within the this band of colour, like this:
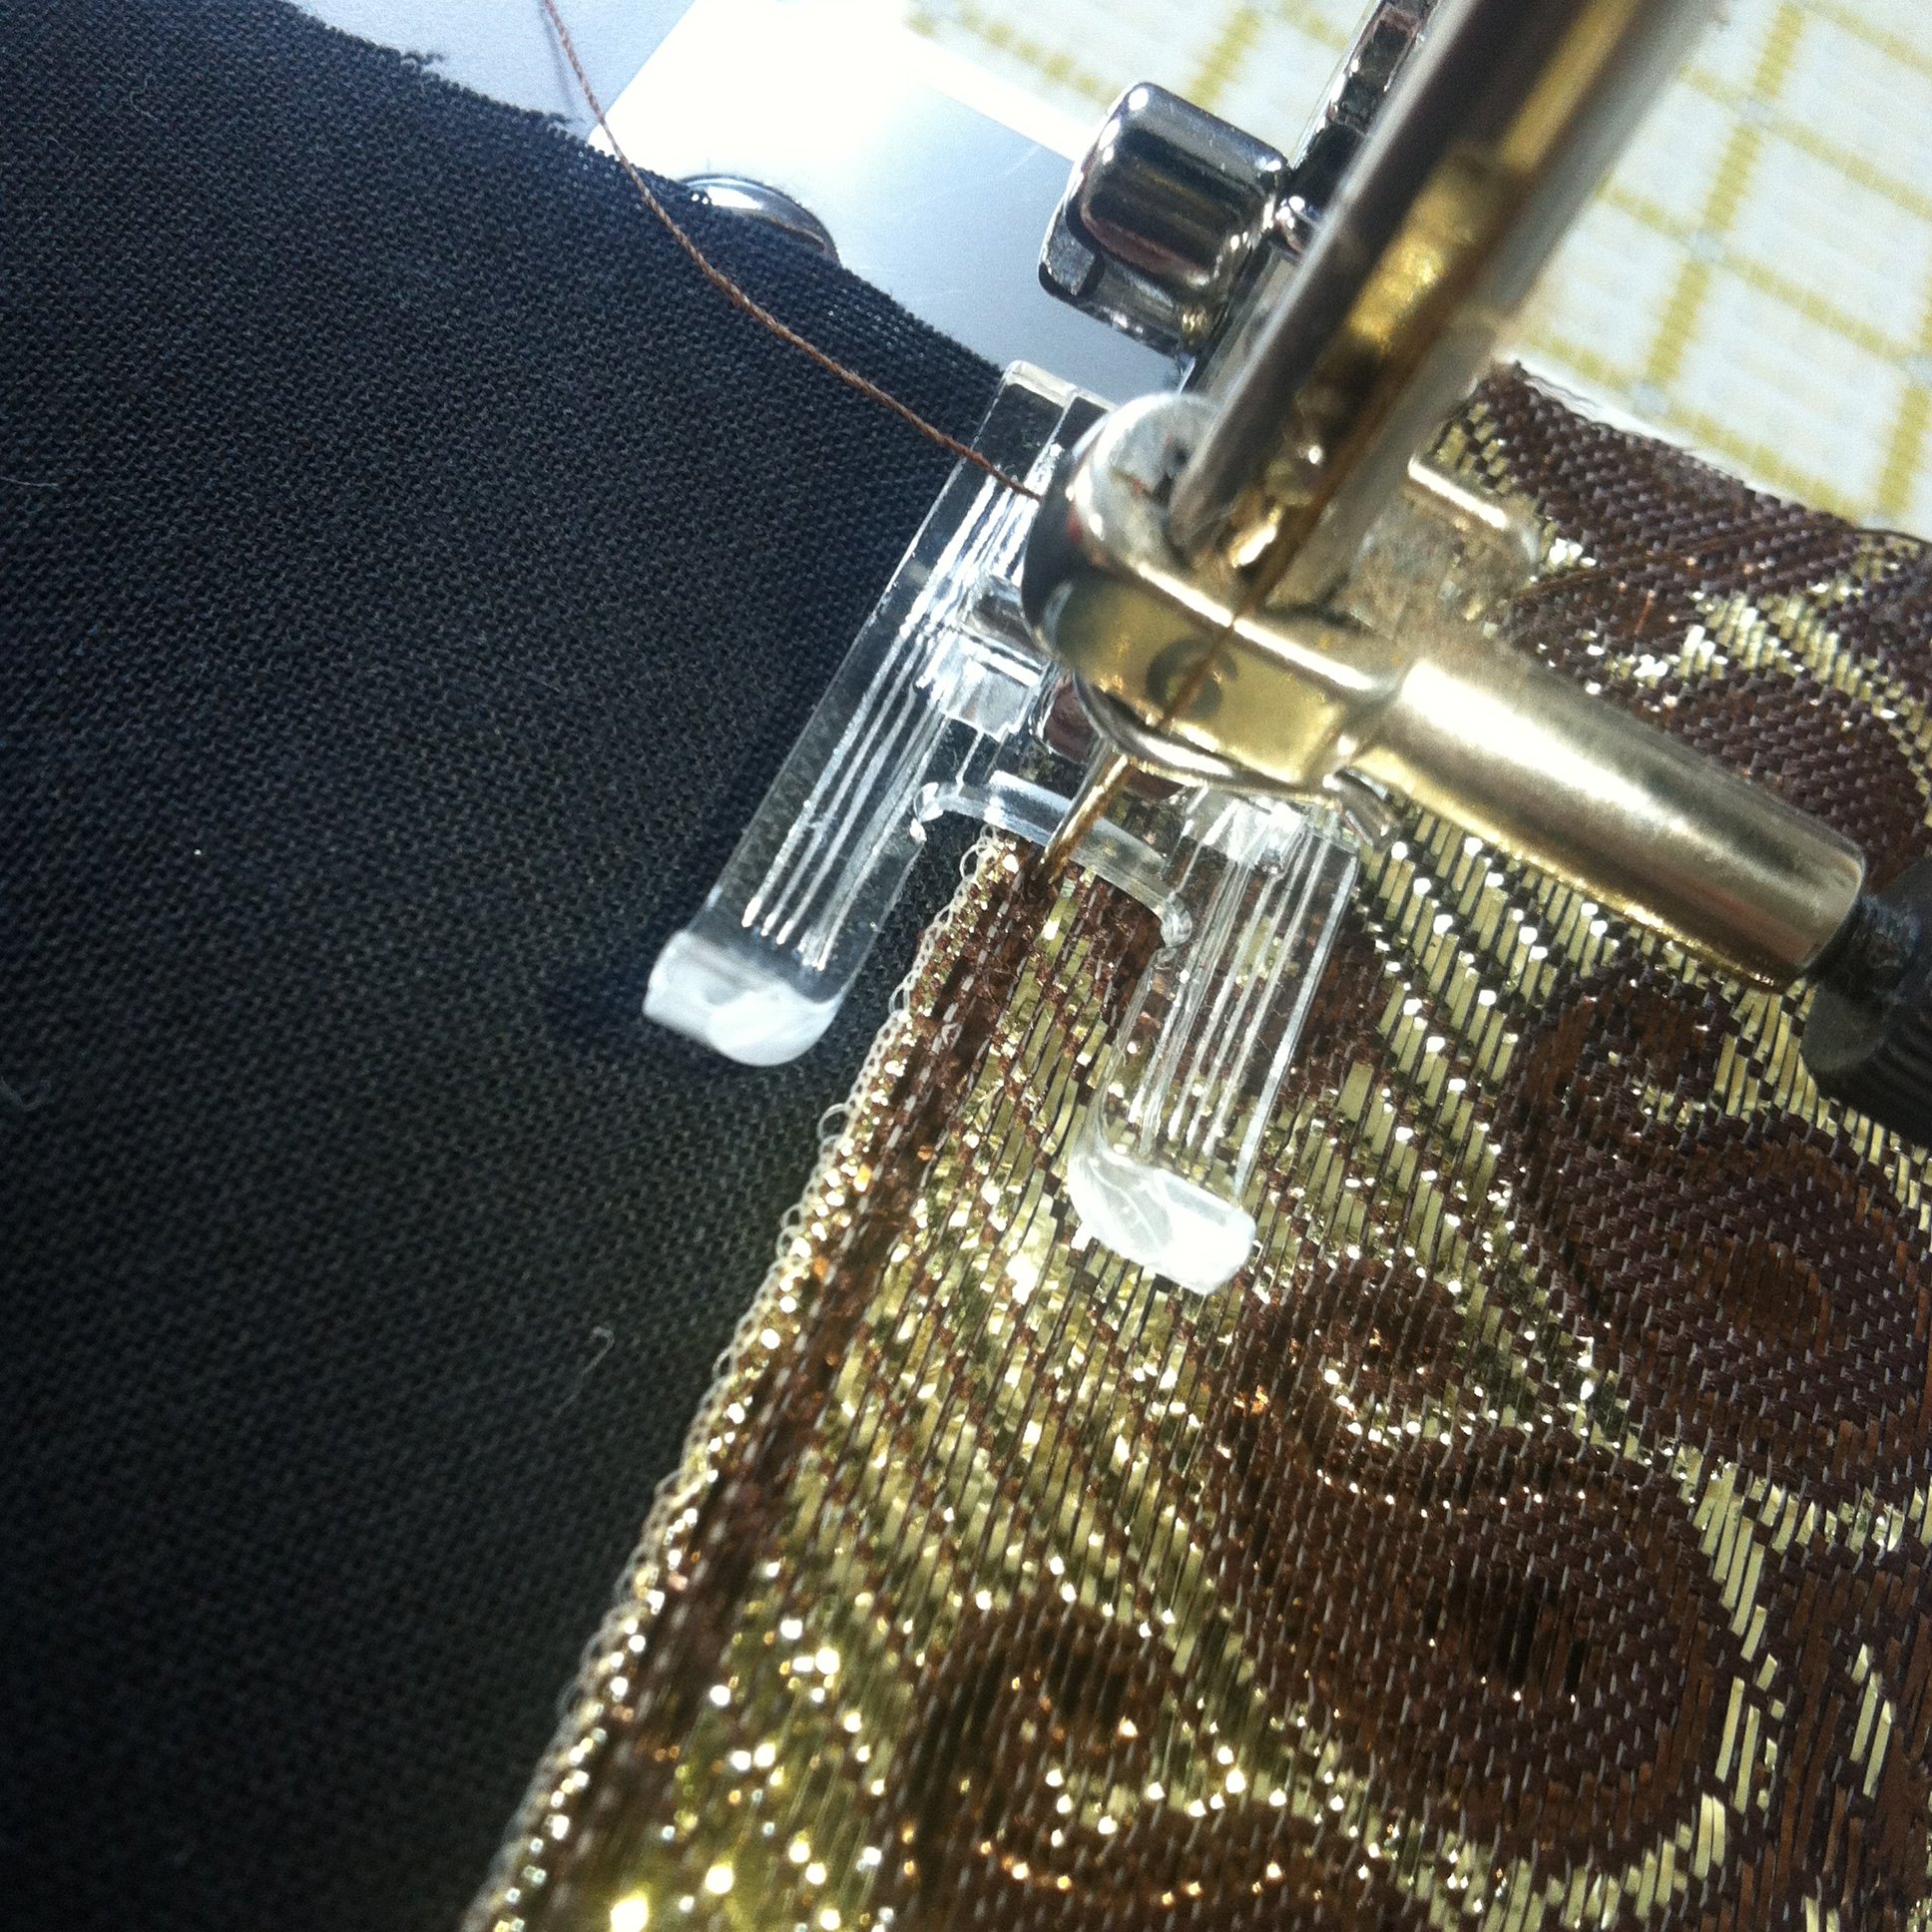
By doing this I have an almost invisible finish on the trim itself – the brown thread is hidden in the brown foil of the trim. I used black thread in the bobbin so that the back very neatly looks like this:
And then when you take it off the machine and lay it out, this is what you have:
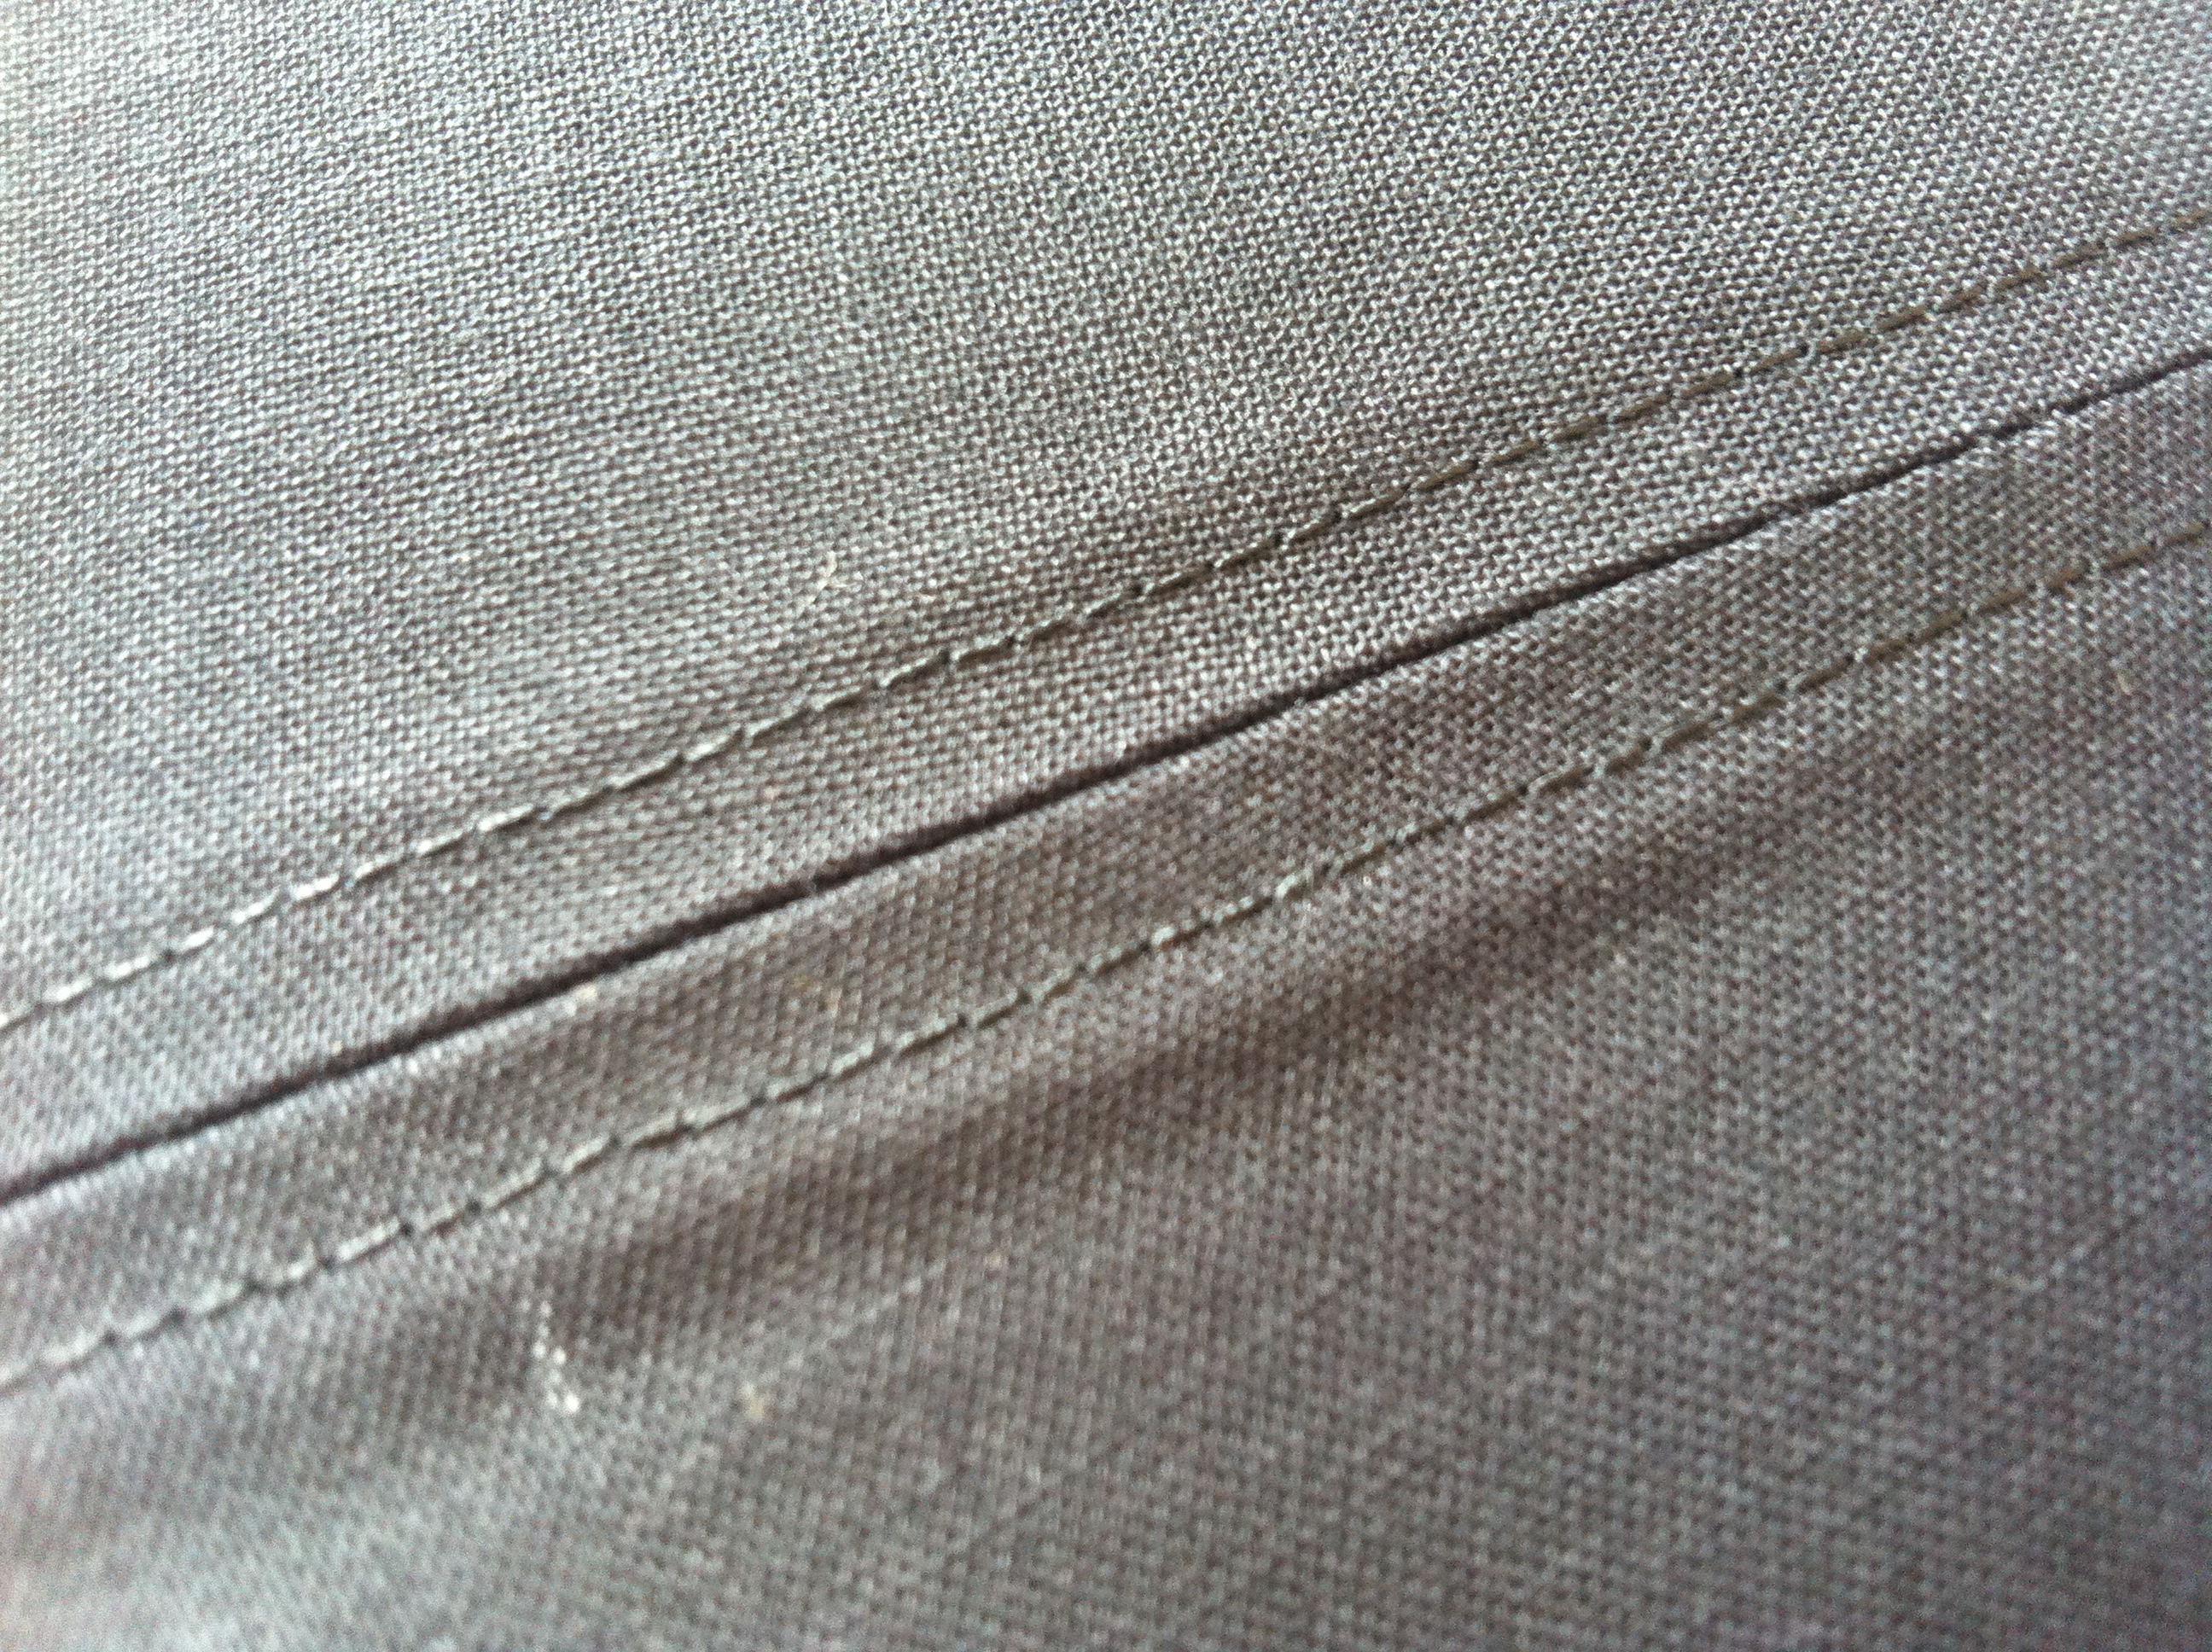
Next step was to sew up the two sides and under the arms in order to make it a whole tunic rather than two halves. I don’t like raw edges, as I’ve already said, so I used a kind of modified felled seam. Basically what I did was I sewed the seam as normal and then folded under each side of the seam allowance and sewed that fold to the garment each side of the original seam. See here:
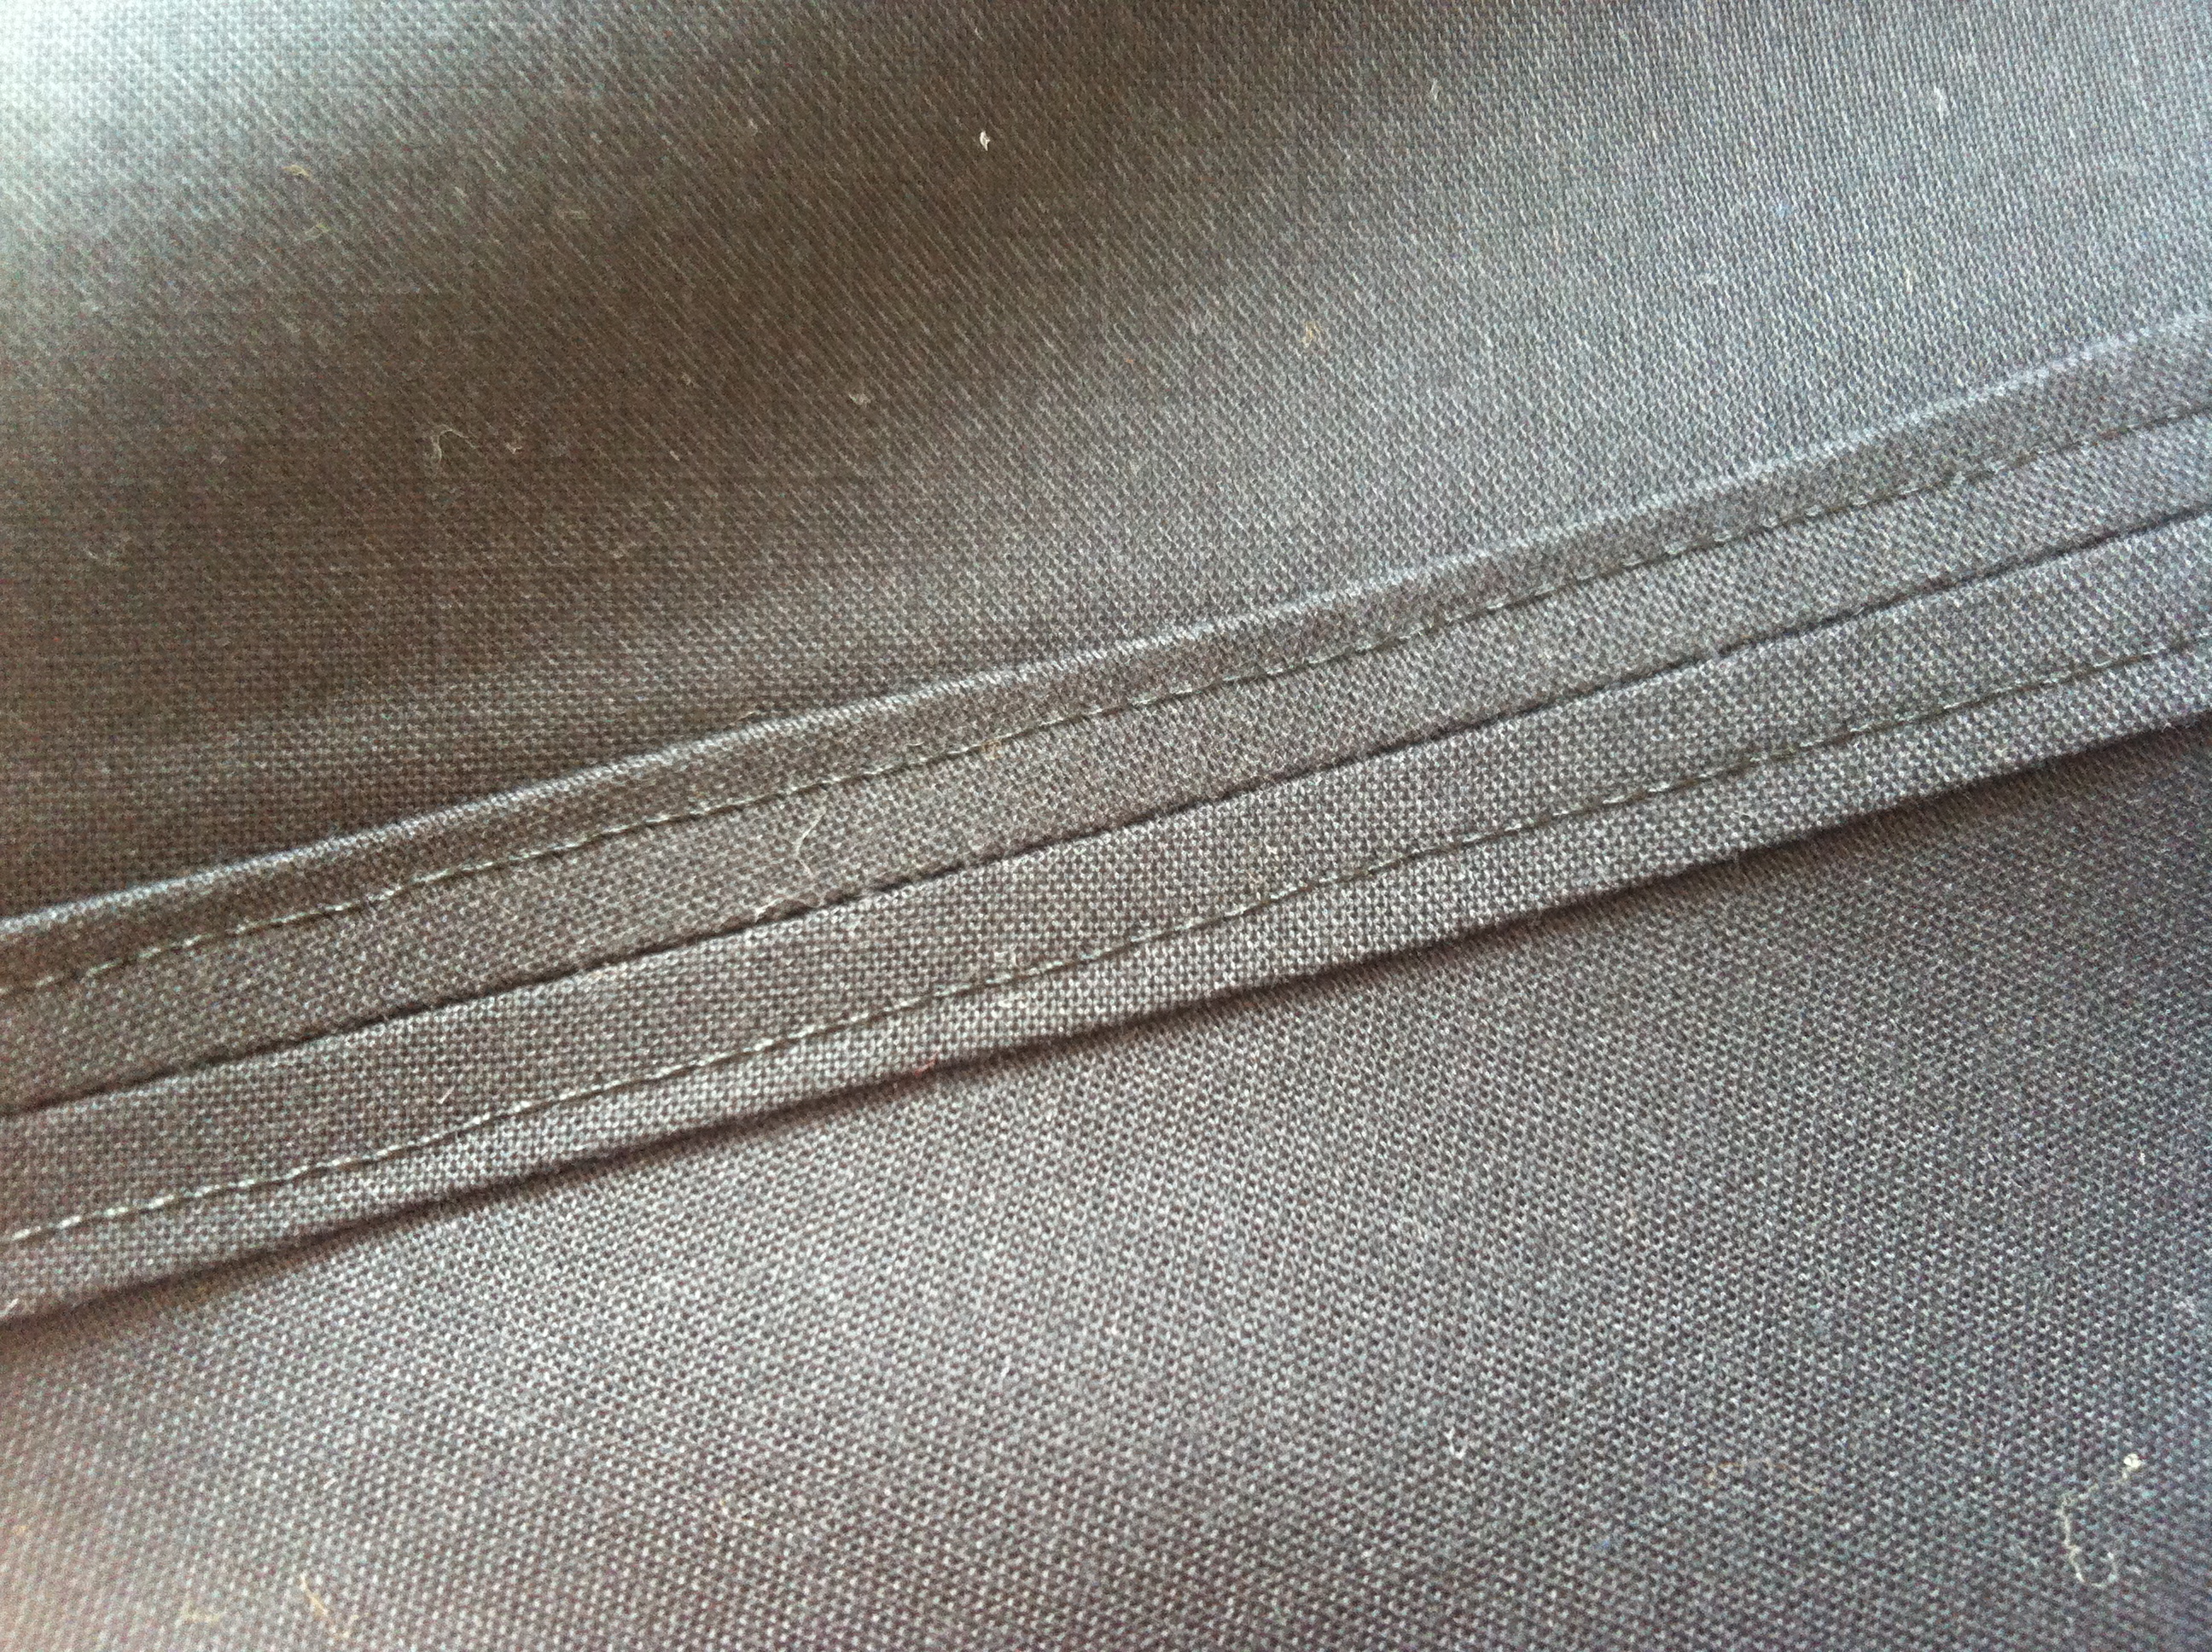
From the outside that looks like this:
Just don’t look too hard under the armpits – as usually I have completely cocked them up. I don’t know why I struggle with armpits so much. I just do.
But anyway, after that all that you need to do is french seam the shoulders and tops of the arms, turn it back the right way and you’re virtually done! There is one last thing that I need to do which is to bias bind the neckline, but that requires me making some bias binding (or buying some if I’m feeling lazy) and I’ve not got round to that yet.
Gosh, that’s a terribly out of focus photo. I’m almost ashamed to call myself a photographer.
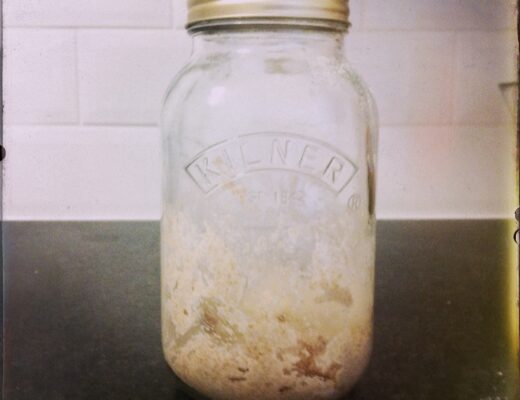
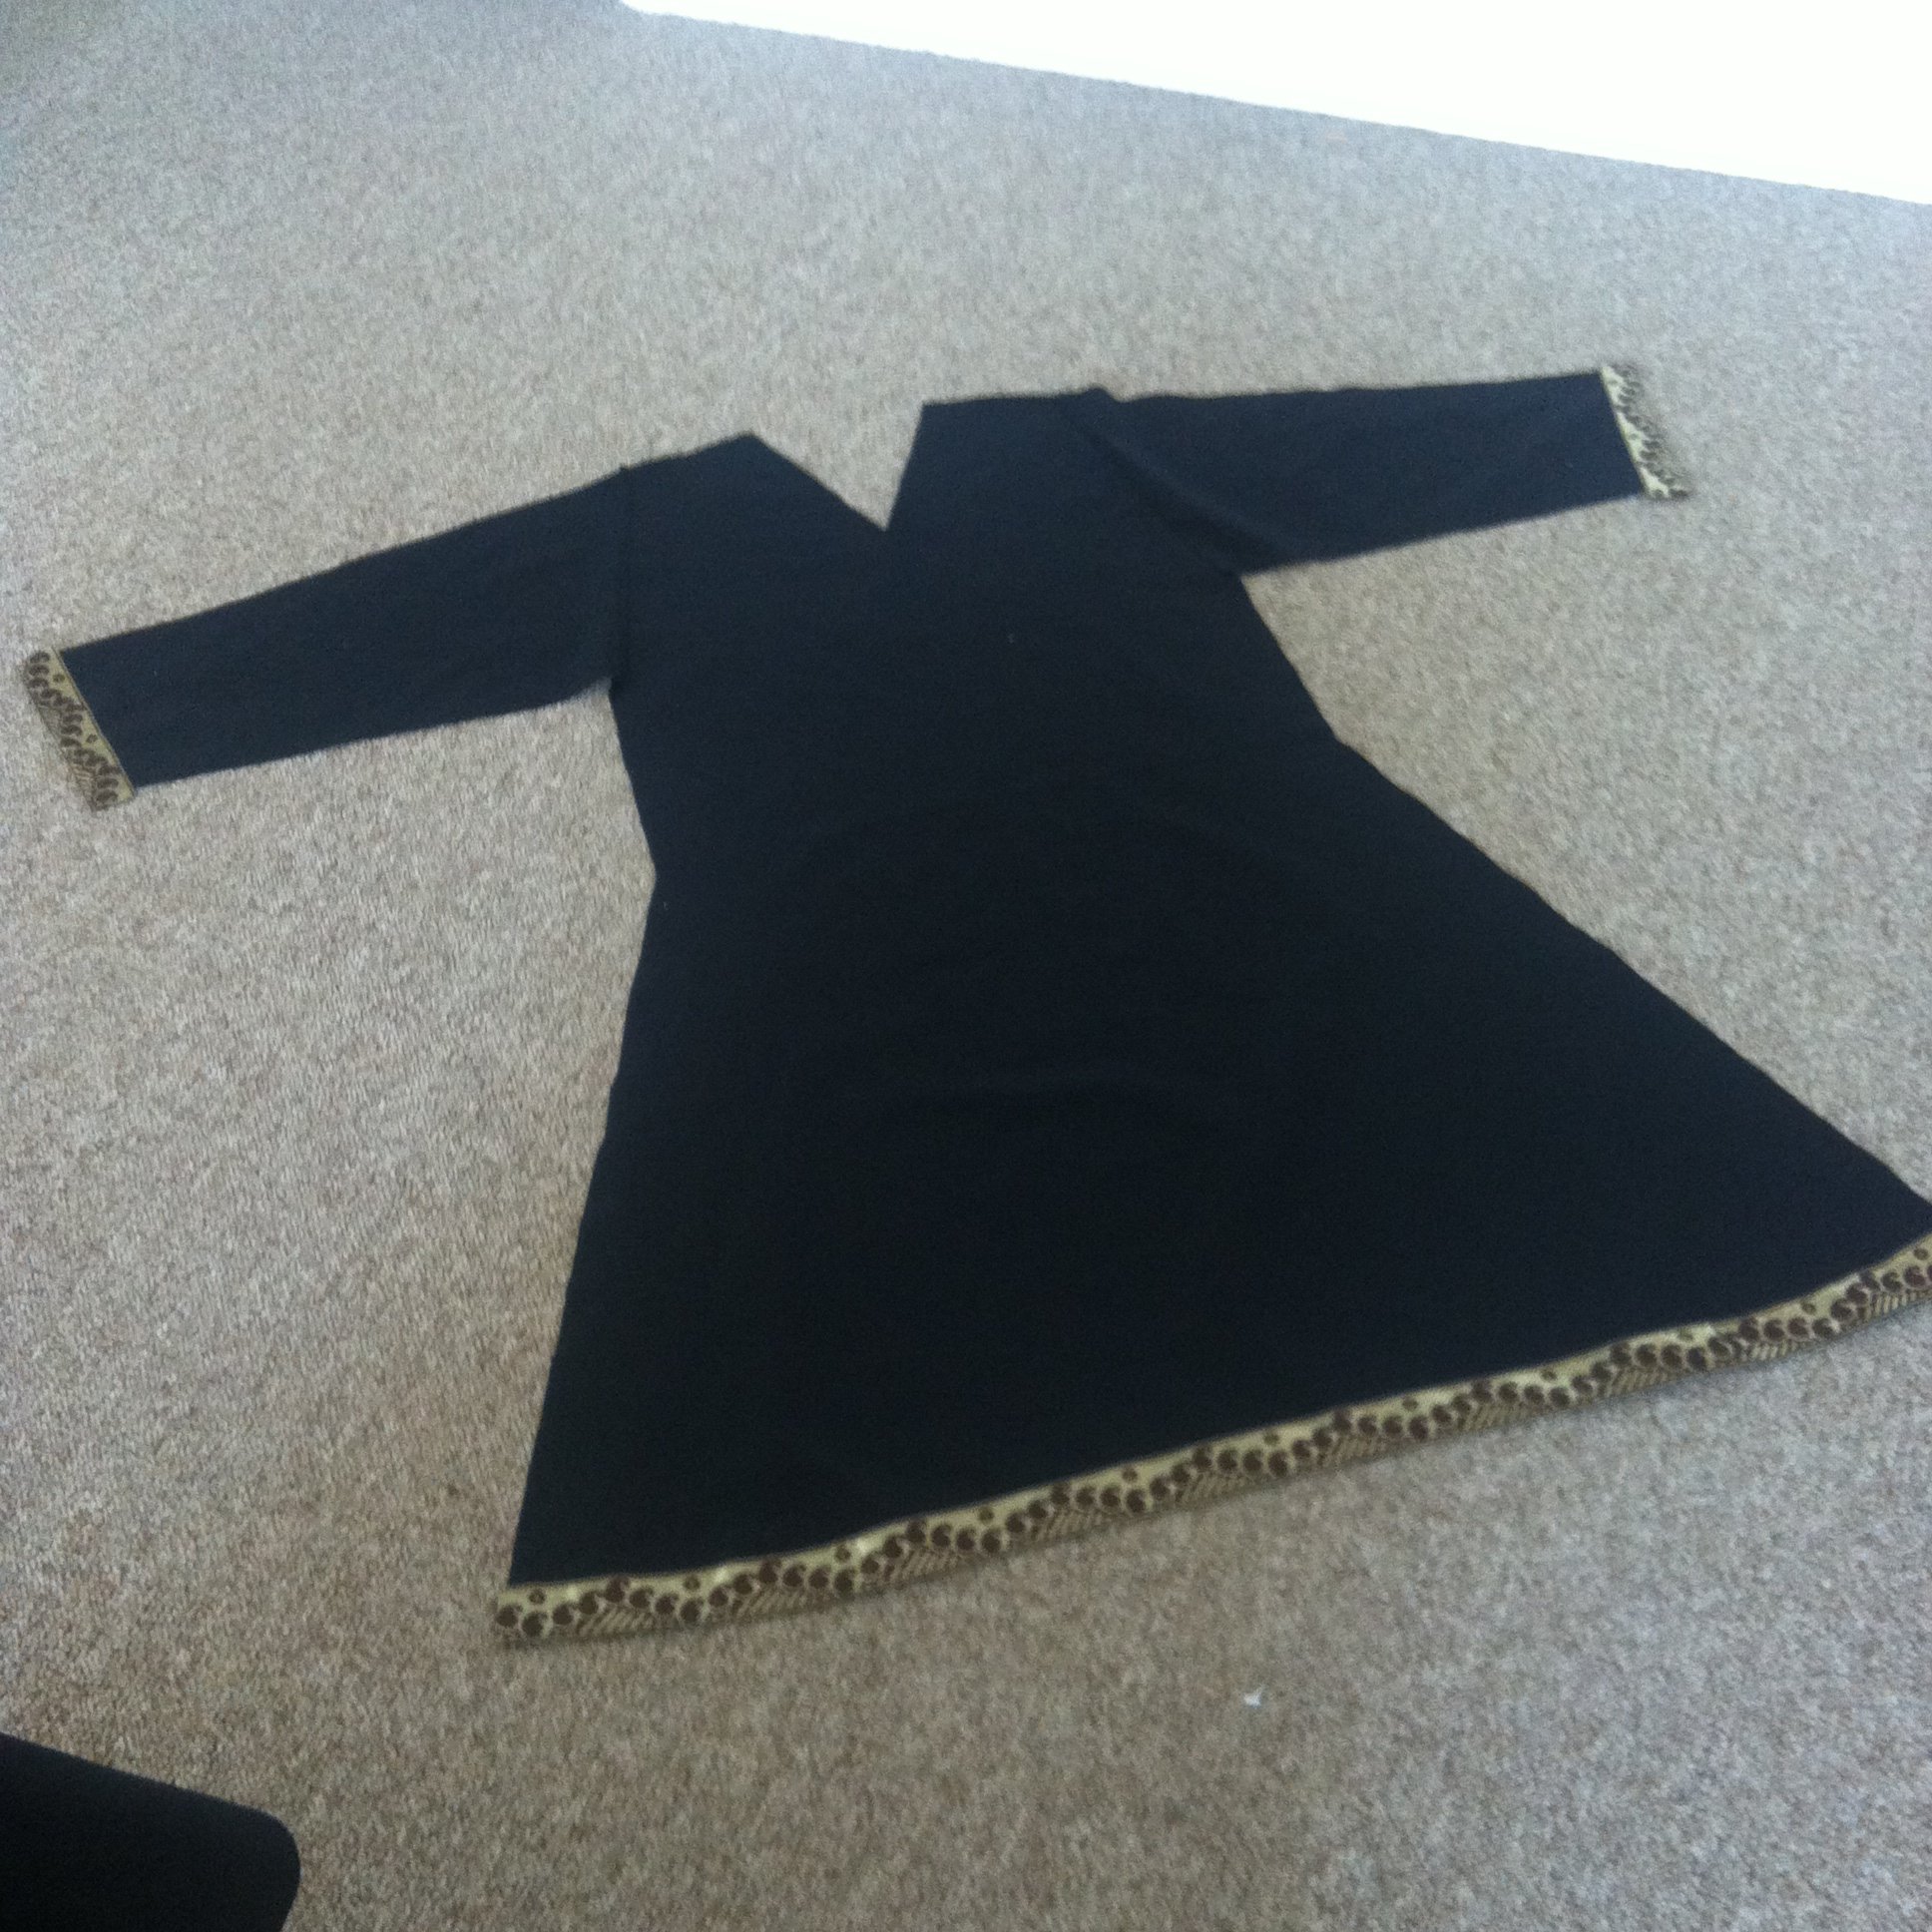
It looks like this when it’s assembled with the linen outer tunic:
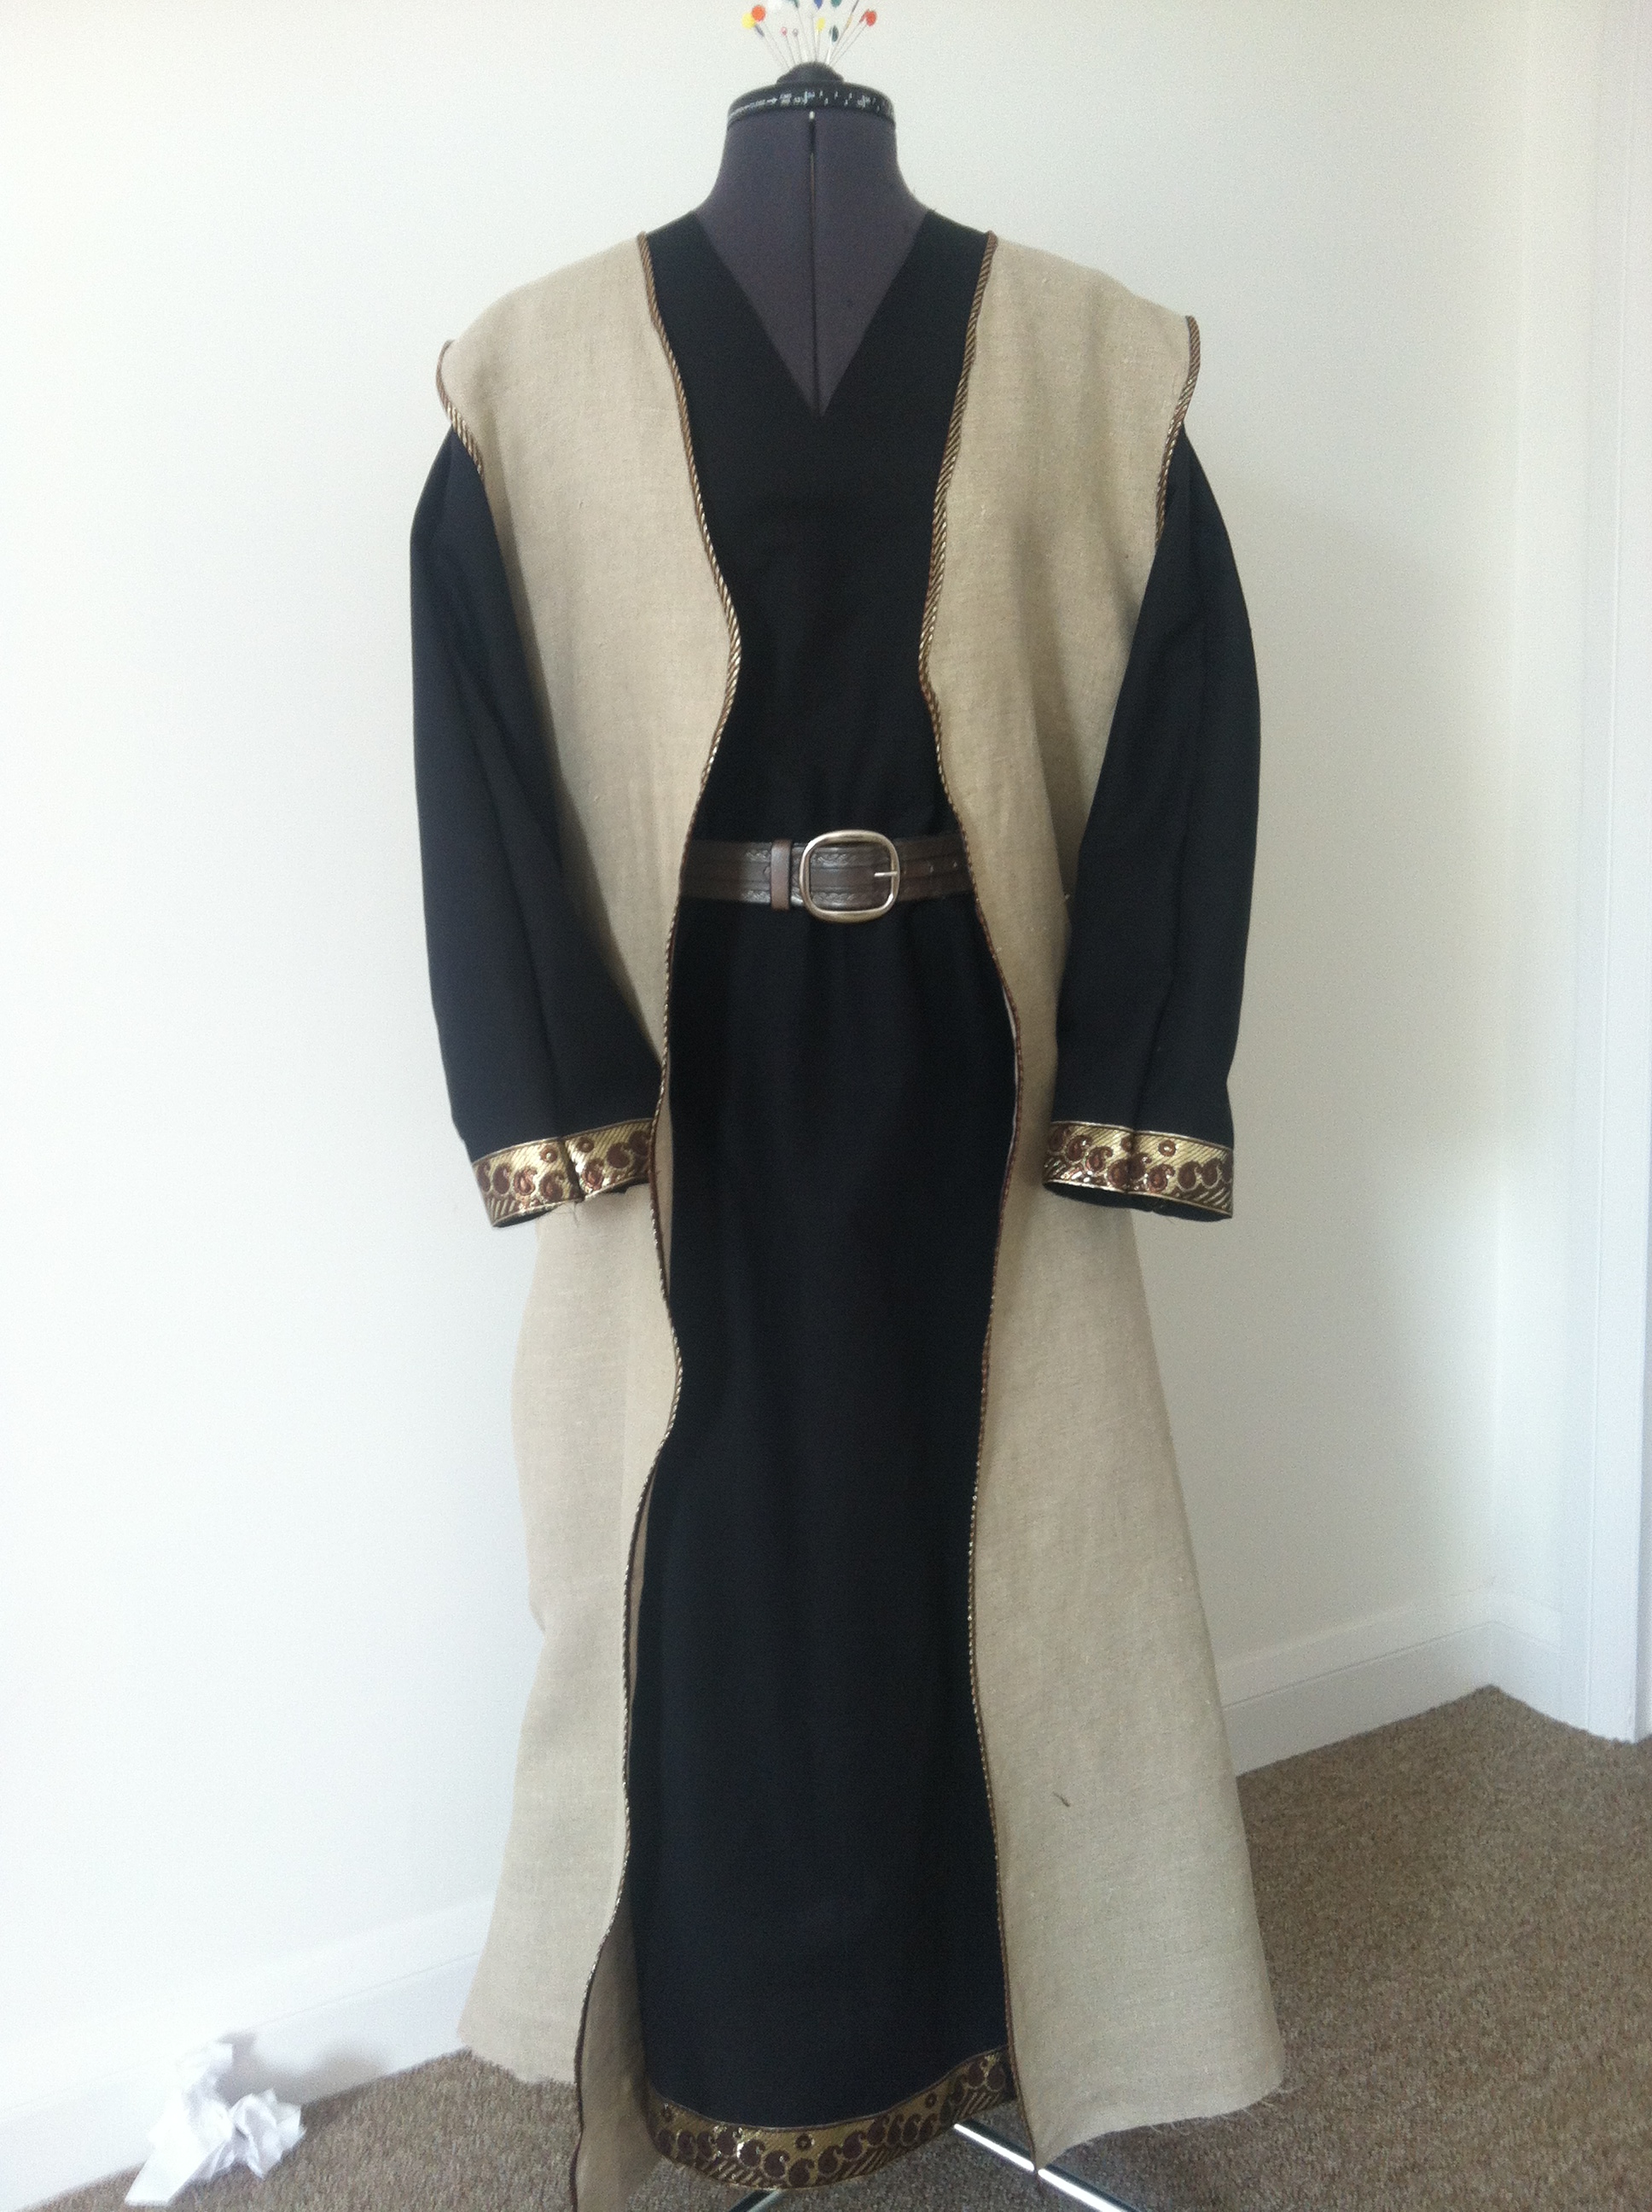 All I need to do now is make the sash/belt/thing and some pouches to keep my junk inside. Awesome. And get Rich from Evenlode to make me a fancy camera strap, but I might need to wait for some money before that happens.