

Dodging and burning, the selective brightening and darkening of areas of an image, is one of the oldest forms of image manipulation. While analogue photographers would have to carefully spend hours printing and reprinting each photograph to get the effect they desired, Adobe Photoshop allows us to use the same effect quickly and easily. In this tutorial, I’ll show you three ways to dodge and burn in Photoshop.
Why Dodge and Burn?
Dodging and burning allows you to control where a viewer first looks when they see your photographs. People’s eyes are drawn to areas of contrast and to bright areas. Often when you shoot, you don’t have total control of the lighting and so it can be hard to control things perfectly in-camera. With dodging and burning, you regain that control.


If you want to make a viewer look at your model, brighten their face and darken the background. If you shoot landscapes and want viewers to see the small farmhouse, brighten it with respect to the background so that it pops out more. If you shoot sports and the crowd is a distraction in the background, burn it to make it darker!
Watch the Full Tutorial
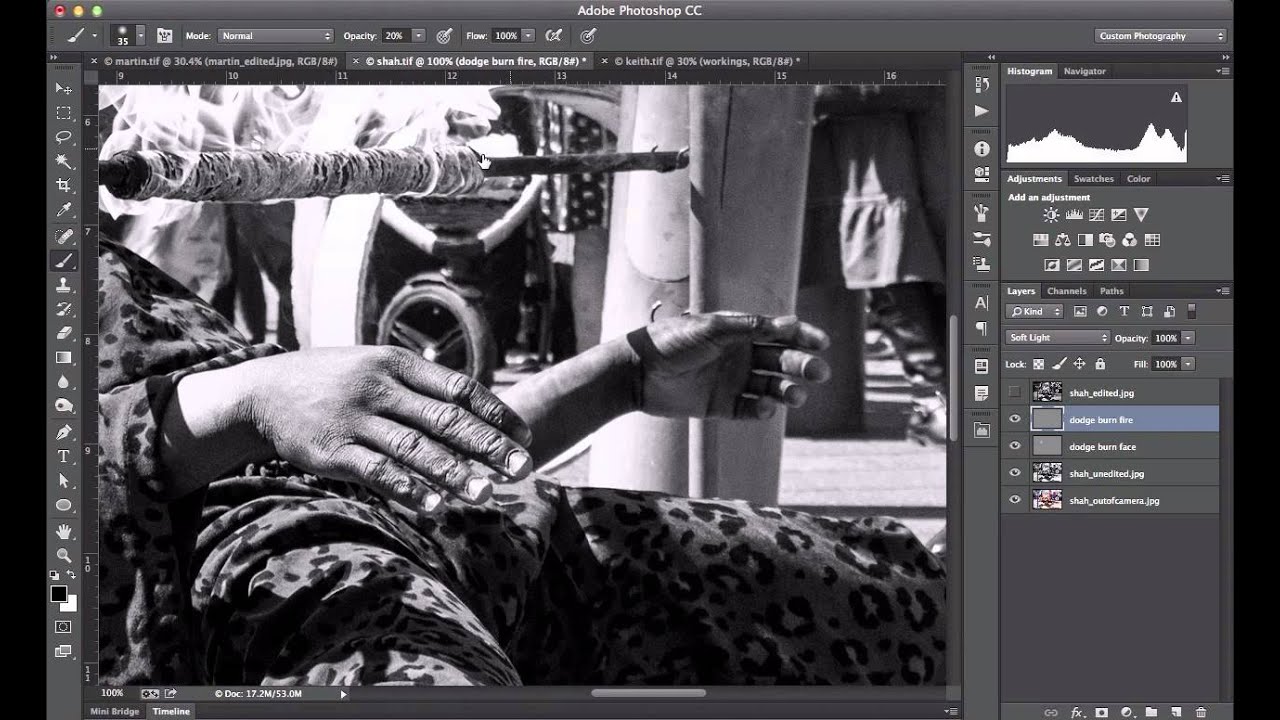
In this tutorial, I’ve shown you three ways to dodge and burn in Photoshop: using the dodge and burn tools, soft light layers and curves layers. Every method has advantages and disadvantages and there is always more than one way to do things in Photoshop. Have I missed your favourite method of dodging and burning? Think I’m wrong to dismiss the dodge and burn tools because they’re destructive? Let me know in the comments.


