

Introduction: Multispectral DIY Camera Calibration


This instructable will show you my proposed method to calibrate a DIY multispectral camera using reflectance of materials.
It will go through the materials, setup of hardware and experiments. Have fun!
For more information:
Near Infrared Camera - http://publiclab.org/wiki/near-infrared-camera
Multispectral imaging and projects - www.southmade.org
Step 1: Explanation on the Method

The calibration equation was obtained by comparing the reflectance of materials with the pixels intensity of the same materials.
Step 2: Obtain Your Materials


You will need to get:
- DIY Multispectral Camera or a DIY Near Infrared Camera
- Spectrometer (I'm using OceanOptics USB4000)
- Reflection probes
- Light source
- Spectroscopy app (I'm using OceanView 1.5)
- Image processing software (I recommend ImageJ)
- A sort of materials of different colors and textures.
Recommended: metals, soil, wood, leaves, flowers, color papers, cardboard, stones, tape. Make sure that one color should predominate in each material.
Links:
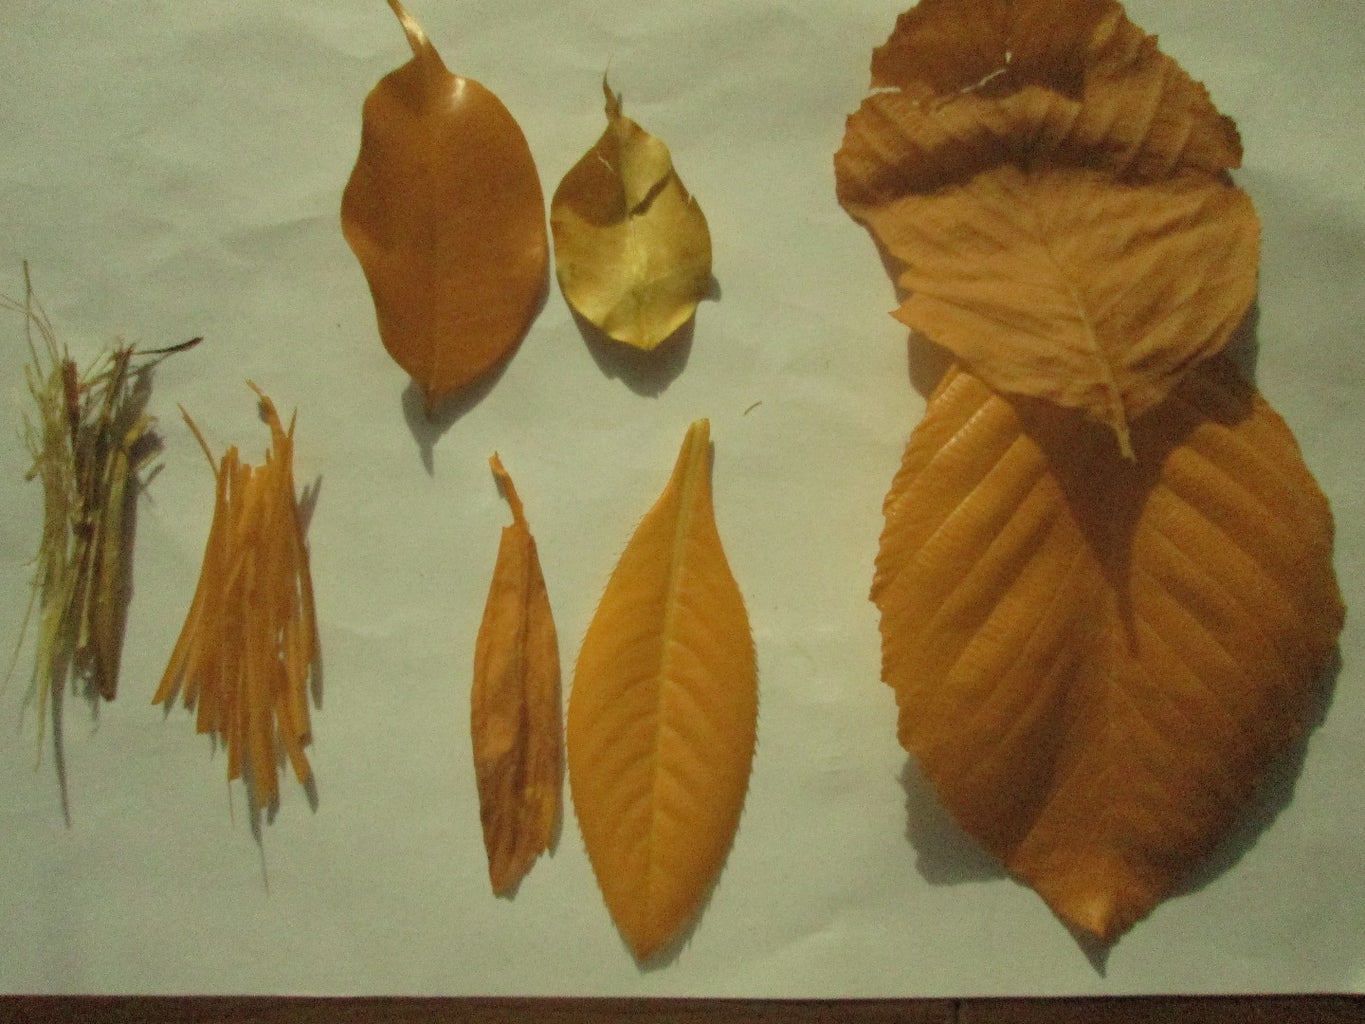
Step 3: Organize the Sample Materials

For the calibration you need to collect and label a variety of material like metals, soil, wood, leaves, flowers, color papers, cardboard, stones, tape and more.
A good idea it's to stick each material in a cardboard and label it with numbers.
Step 4: Measuring the Reflectance

First, follow this instructable to setup the reflectance measuring dataflow in OceanView App: https://www.instructables.com/id/Measuring-reflecta...
Don't forget to setup your application wavelength range. For this instructable I used one range: 700-900 nm NIR(Near Infrared).
Then, use the probe in each material to take a sample. The samples should be taken in a dark room.
Finally, write each reflectance sample in an spreadsheet.
Step 5: White Balance Evaluation


The same white balance should be used in every photo. To ensure that you could use white balance evaluation over a colored cardboard. (Recommended blue color).
Step 6: Measuring Pixel Intensity

At first, it's necessary to have taken a photo of each material in the same light conditions.
Then, open the image in ImageJ, use the rectangle selection tool and select the desired area of one material.
Click in Analyze>>Histogram>>RGB (to choose each channel)
Copy the mean value in an spreadsheet.
Step 7: Put Data Together

Build a table with the values of reflectance vs pixel intensity and label each row with the number of the material.
Your table should look like this:
Material------Reflectance------Pixel Intensity
Step 8: Find the Calibration Equation

It's helpful if you graph your data using the scatter graph tool on your spreadsheet. As expected your data should follow a lineal path.
Add a trendline to your graph, you can use the option (linear, polynomial, exponential, etc.) that better fits your data and finally show the trendline equation.
This equation (reflectance vs pixel intensity) would be helpful to calibrate your photos in order to obtain NDVI or some other vegetation indexes using your DIY multispetral camera.
For validate your data you could use analysis of variance.
To calculate the error in your equation you can feed your equation model with new data (photos) and calculate the error between camera reflectance (using the equation) and the real reflectance (using an spectrometer).
In my case, I found that the typical error using a Canon A2200 with Rosco 2007 filter is 9% in reflectance which is acceptable for DIY vegetation analysis.
Have fun and don't forget to post your results in comments.
For more information please visit:
Thanks for reading.


