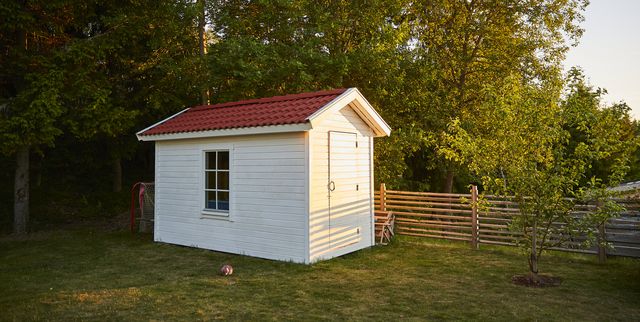
Summer is shed-building season, and not just because the weather is great for working outdoors. Most storage sheds are built in summer for a more practical reason: At the end of the season, no one wants to take all the summer gear and supplies that were brought outside and stuff them back into already crowded garages, basements, and homes.
So, many DIYers wisely decide to build a storage shed before summer ends.
🛠 For more badass DIY projects, join Pop Mech Pro!
These seven tips and techniques will help you get the perfect shed for your home and yard. And many of these suggestions are useful regardless of whether you build the shed from scratch, hire a contractor to build it, or buy a prefabricated outbuilding online or from a local home center or lumberyard.
Step 1: Get Permission to Build
Before building anything on your property, including a shed, you must go to the local building department and apply for a building permit. You’ll likely also need consent from the inland wetlands commission, health department, and zoning board. In fact, in many towns, the building department won’t consider your application until you’ve first received approval from these other agencies.
Once you’ve run the gauntlet and received all the necessary approvals, then apply for the building permit—and to speed the process along, be sure to submit a set of shed plans. You can draw the plans yourself or buy plans from any number of online sources, including Better Barns or Shed King.
The building inspector will review the plans to make sure the shed conforms to all local and national building codes. If there are any code violations, the inspector will point them out and offer code-compliant solutions.
Step 2: Siting the Shed
Siting simply means identifying the exact spot on your property where the shed will be placed, or sited. This may seem like a simple enough task, and depending on your yard, it just might be. But if you pick the wrong spot, you’ll end up with a short-lived, unusable outbuilding.
Keep these three “don’ts” in mind when deciding where to put your shed:
Don’t build a shed at the bottom of a hill or in a low-lying area where water collects. The excessive moisture will rot wood, blister paint, and cause hinges to rust. It’ll also promote mold and mildew growth on items stored in the shed. Plus, the ground near the shed will turn into a soggy, muddy quagmire after every rainstorm.
Don’t tuck the shed deep into the woods where it’ll be completely surrounded by trees and ground cover. The shed will receive very little sunshine or airflow and it’ll remain dark and damp, creating the perfect environment for mold and mildew growth. Plus, woodland sheds are under constant assault from falling branches, acorns, leaves, pine needles, and other types of canopy debris. Furry forest creatures are much more likely to move into or under a shed built in the woods. And there’s always the potential for damage caused by a fallen tree.
Don’t violate code-required setback distances. The building inspector will establish how far away your shed must be from such things as, side, front, and rear property lines; streets, driveways, and sidewalks; houses, garages, and decks; septic tanks and leach fields; wetland areas and easements. Setback distances vary widely from town to town, but typically range from about 10 ft. (from rear lot line) to 100 ft. or more (from wetlands). Check with the local zoning board or building department for specific information, and be sure to adhere to the letter of the law. If you violate setbacks, the town can legally make you move the shed into compliance.
Step 3: Get Tooled Up
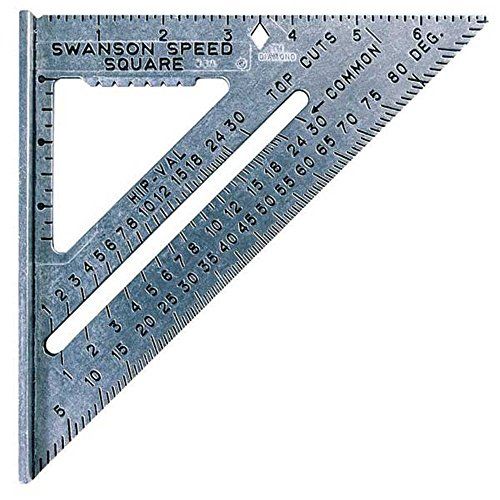
To build a shed, regardless of its size, will require a full complement of carpentry hand tools and power tools. And if you assemble the tools ahead of time, you won’t have to stop working to run out to buy a tool. For hand tools, you’ll need all the obvious carpentry tools, including a hammer, tape measure, framing square, combination square, 2-ft. and 4-ft. level, chalk reel, handsaw, and flat pry bar.
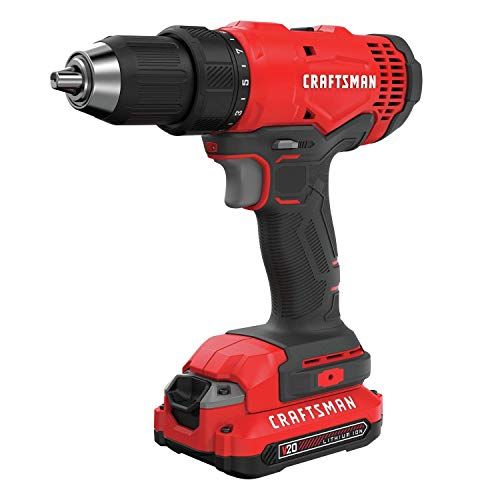
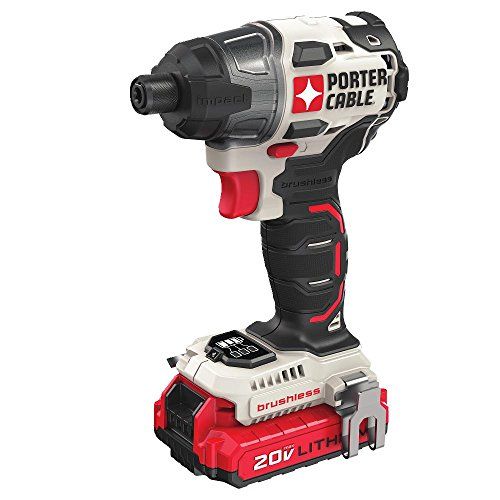
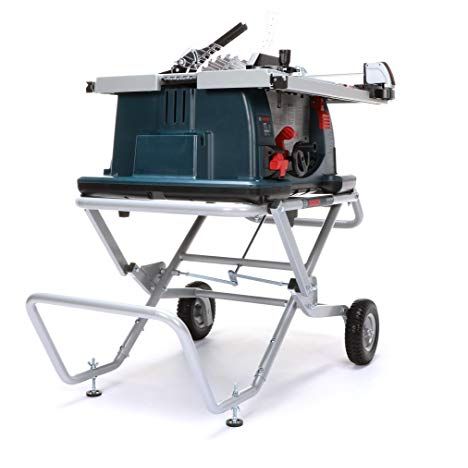
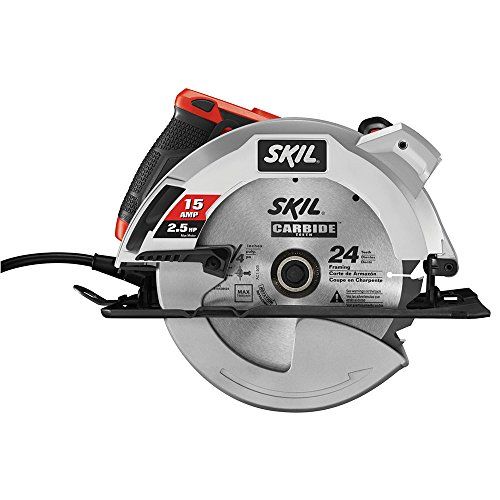
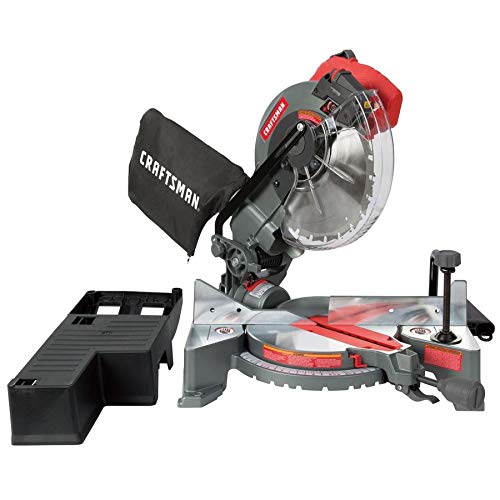
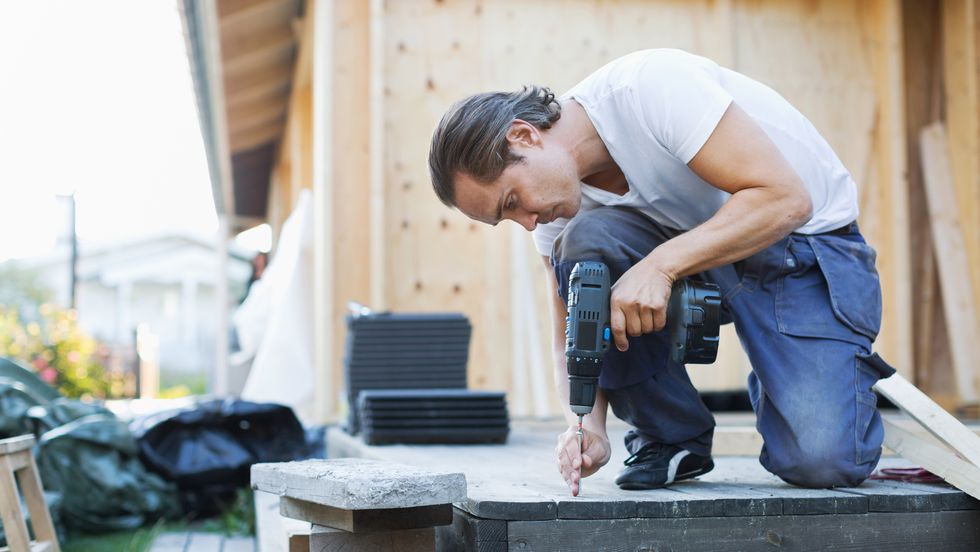
For power tools, you’ll absolutely need a cordless drill and impact driver for drilling holes and driving screws. (Be sure to have at least one extra battery so you won’t have to stop when a battery is recharging.) A jobsite table saw is very helpful, but it’s not absolutely necessary; you can make long rips cuts with a portable circular saw. And if you don’t own a compound miter saw (shown below), definitely consider getting one. While you can make crosscuts with a circular saw, the miter saw is much quicker and more accurate.
Tools You’ll Probably Need 🛠
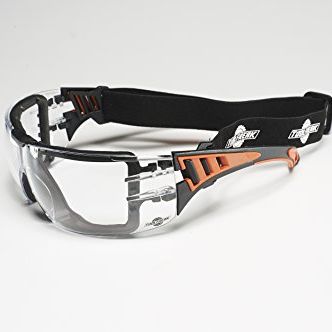
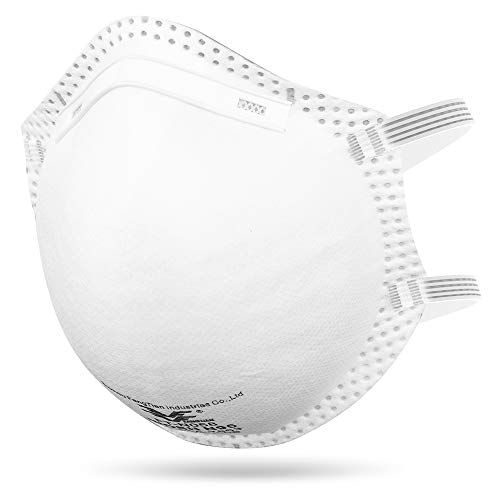
Also, get yourself a tool belt with plenty of pouches to keep tools and fasteners close at hand. (A tool belt that has attached suspenders is particularly comfortable.) And don’t forget the safety gear, including eye goggles, hearing protection, dust mask, hard hat, and work gloves.
Step 4: Start With a Strong Foundation
No shed will last very long if it’s set on a weak base. Most sheds can be supported by an on-grade foundation, which consists of solid concrete blocks or pressure-treated wood timbers set directly on the ground. The concrete blocks or timbers (a.k.a.: skids) must be perfect level and placed close enough to support the shed’s floor frame. And to protect the foundation blocks or skids from soil erosion, set them on a 4-in.-deep bed of compacted gravel. If the foundation is relatively small, compact the gravel with a hand tamper. But for any shed larger than about 8x10 ft., save yourself a ton of time and sweat by renting a plate compactor, which is a large gas-powered, ground-pounding machine.
If you plan to build a shed that’s larger than 200 sq. ft., the building inspector will likely require you to install a permanent foundation that extends down to the frost line. This type of foundation is usually constructed of poured-concrete piers or buried pressure-treated wood posts. Check with the building department for specific code requirements and frost-line depth in your area.
And be aware that if you’re buying a prefabricated shed, it doesn’t come with the foundation, which you must build prior to delivery.
Step 5: Build a Weather-Resistant Floor Frame
The floor frame of a shed includes the mudsill, floor joists and perimeter band joists. Since the frame is relatively close to the ground, it’s most susceptible to rot and wood-boring bugs. That’s why it’s very important to build the floor frame out of pressure-treated lumber. And don’t even consider any prefab shed that has a floor frame made with untreated construction-grade lumber.
For the shed’s floor deck, use ¾-in. exterior-grade plywood; anything thinner will flex between joists. (A double layer of ½-in. exterior plywood is okay, too.) If you plan to store heavy items, such as a lawn tractor or woodworking machines, consider using ¾-in. tongue-and-groove plywood. It costs slightly more and is trickier to install, but its edges lock tightly together, creating a rock-solid floor. If you live in an area with excessively high humidity, use pressure-treated plywood for the floor deck; it’s particularly resistant to moisture and insects.
Step 6: Simplify Roof Framing
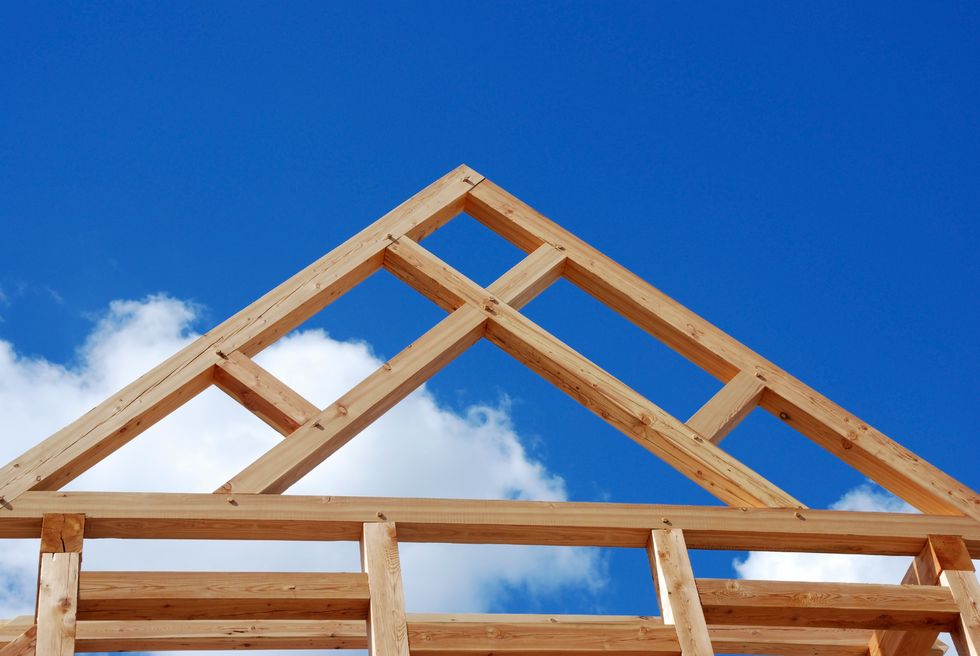
For most DIYers, the trickiest part of building a shed is framing the roof, which requires accurately executing lots of repetitive, angled cuts. To simplify this task, it’s much easier to assemble the rafters and ceiling joists into roof trusses, which can then be raised and set on top of the walls. This process is much faster and safer than building the roof frame one board at a time. And once the plywood floor deck has been fastened down to the floor frame, you can use it as a giant workbench for assembling the roof trusses.
Step 7: Knowing the Importance of Door Type and Placement
The two types of doors most commonly used on storage sheds are hinged and sliding, and both work well on all styles of sheds. Hinged doors take up less space and close more tightly and securely. Sliding doors are easier to install and glide completely out of the way. However, keep in mind that sliding doors require additional wall space on either side of the opening in order to slide open.
Door placement is also important. You often see doors placed on the gable end of the building, which looks nice, but makes it difficult to reach items stored at the rear of the shed. A better alternative is to put the door on the long sidewall, so that you'll be able to access items to the right, left and back. Another option is to install doors on both gable-end walls, so that you'll be able to easily reach items from either end of the shed.
Joe is a former carpenter and cabinetmaker who writes extensively about remodeling, woodworking, and tool techniques. He has written eight books and is a contributing editor to Popular Mechanics. He also appears on the Today’s Homeowner TV show, and co-hosts the weekly Today’s Homeowner Radio Show. Joe writes from his home in Roxbury, Connecticut.
