

Introduction: Cheap Automatic Arduino De-Humidifier DIY

6 months update: I've now been using the automated de-humidifier for 6 straight months. It's been working perfectly to the design. I can keep an eye on room temperature vs humidity level on the LCD and set various humidity targets for summer/autumn/winter. One thing I've specifically learnt is that opening a door/window in the room to the outside rapidly brings down the room humidity in a few minutes and the device turns off automatically. So when in the room you have the chance to actually actively help bringing your room humidity manually down rapidly and save on electricity!! The most practical electronic DIY I've designed so far! Very happy :)
--------------------------------------------------
Basically, just over a year into living in my almost new and efficient rented flat in the UK, I came across this unknown bizarre 'humidity' problem! And that was the trigger that led to creation of this project. It's relatively cheap to buy (about £25) a small non-compressor type manual on/off di-humidifer which consumes about 60W. However going into automatic or settable dehumidifier business is a > £100 and >100W affair that I wasn't happy with. So I thought of creating my own cheap low power one!
Total cost of DIY (excluding the dehumidifier): £22.5
Total cost of final product with the de-humidifier: sub £50 for an automated programmable de-humidifier!! Not bad!! DIY time needed: 3-10 hours (based on Arduino coding experience/Arduino IDE installation etc). ------------------------------ Needed parts:
Step 1: Things You Need
1- An affordable low power on/off dehumidifier (from £25). Or free if you've already got one!
http://www.ebay.co.uk/itm/Compact-Portable-Mini-Ai...
(if above link is dead just search "dehumidifier" in www.ebay.co.uk or your local appliances shop)
2- Arduino Nano, Uno, Mega or higher (I used a £13 Mega for this project). A fake Arduino Nano for £3.2 will be ample for this project.
http://www.ebay.co.uk/itm/Arduino-Nano-v3-0-compat...
(if the link above is dead just search "arduino nano" in www.ebay.co.uk)
Note: All this project needs is the input/outputs of the board, the processing power demand is minimal.
3-10A Arduino compatible 1 channel (or more) relay (£2.3) (I used a two channel one to connect/disconnect both positive and negative power supply wires, but one is really enough)
http://www.ebay.co.uk/itm/5V-1-Channel-Relay-Board...
(If above link is dead just search "arduino relay" in www.ebay.c.o.uk)
4- Small breadboard (£1.4)
http://www.ebay.co.uk/itm/170point-Mini-Solderless...
(if above link is dead just search "small breadboard" in www.ebay.co.uk)
5- 2x16 Arduino compatible LCD (£3.5)
http://www.ebay.co.uk/itm/LCD-Display-Module-Blue-...
(if above link is dead just search "2x16 ardiono LCD" in www.ebay.co.uk)
6- 20x Small male/female to male jumper wires (£2)
The male/female type is based on your board. For Uno/Duem/Mega male male is right. For Nano you might need female to male.
http://www.ebay.co.uk/itm/40pcs-Dupont-Cables-20cm...
(if above link is dead just search "arduino jumper cable" in www.ebay.co.uk)
7- 3x4 Arduino compatible keypad (£5)
http://www.ebay.co.uk/itm/3x4-Membrane-Matrix-Keyp...
(if above link is dead just search "3x4 arduino keypad" in www.ebay.co.uk)
8- DHT11 sensor (temperature corrected humidity sensor) (£5)
http://www.ebay.co.uk/itm/DHT11-Digital-Humidity-T...
(if above link is dead just search "DHT11 sensor" in www.ebay.co.uk)
Step 2: Arduino Code
You will need a number of libraries for this project in addition to the main code. The libraries are there to help you use the extra hardware with ease (like plug and play). There is one for the humidity sensor, one for the LCD display, and one for the keypad. Hopefully they are all already done so you just need to copy and paste them in the "library" folder of your Adruino installtion address. For example: C:\Program files\Arduino-1.0.4\libraries.
I've zipped and attached the libraries, make sure you download them, then unzip them then put the unzipped folder inside the libraries folder.
1- Keypad library (attached). This is for the keypad.
2- Liquid crystal library (attached). This is for LCD display.
3- DHT library (attached). This is for the DHT11 humidity sensor.
4- Main code: named "DehumidifierAutomatic.ino", attached.

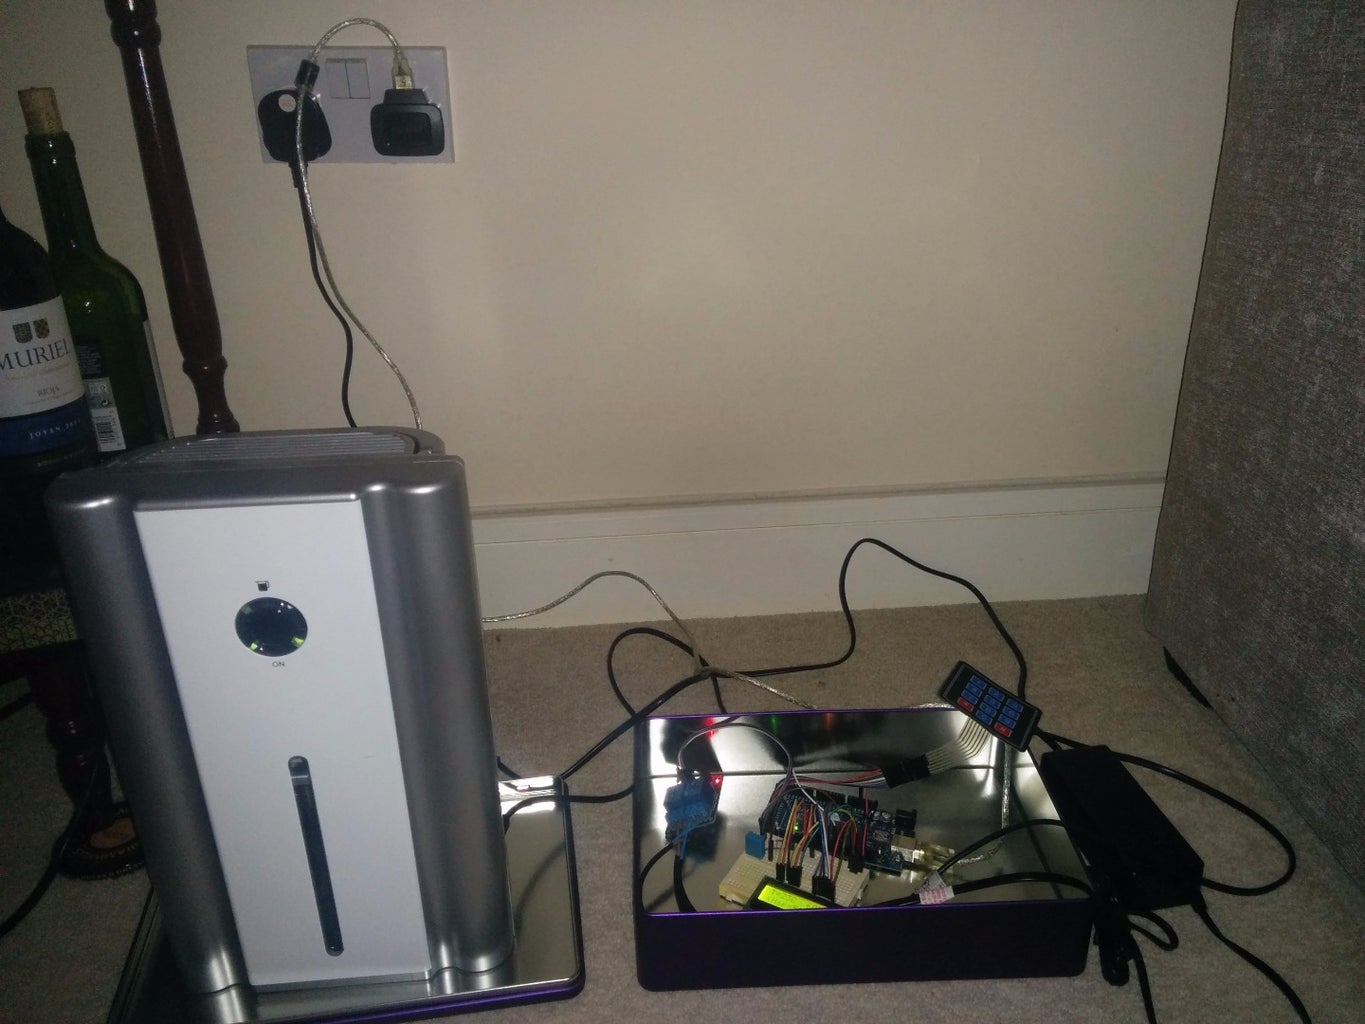
Step 3: Wiring
Keypad: it has 7 wires, they are connected to digital pins 30, 32, 34, 36, 38, 40, 42, 44 of the Mega.
Relay: has 3 wires, two are 5V and ground, third one is signal, connected to digital pin 7.
LCD: See link below for wiring guide (that's what I used).
https://www.instructables.com/id/Connecting-an-LCD-...
Extra information:
https://www.arduino.cc/en/Tutorial/LiquidCrystal
DHT11 sensor: Has 4 pins, 2 are 5V and ground, I didn't connect the NC, and the DATA pin is connected to digital pin 8.
See here for more info:
http://www.adafruit.com/products/386
Step 4:
DOCUMENTATION IN PROGRESS (including the code tidy up) (to be completed)..
Also more photos to come soon.
If you need any more info send me a message.
Thanks


