How to Add Notification for Your Website (Updated)
Notification interface has been an experience of our digital interaction, both on the desktop, mobile devices, and on the Web. Specifically on the web, this is possible with the Notification API in the browser.
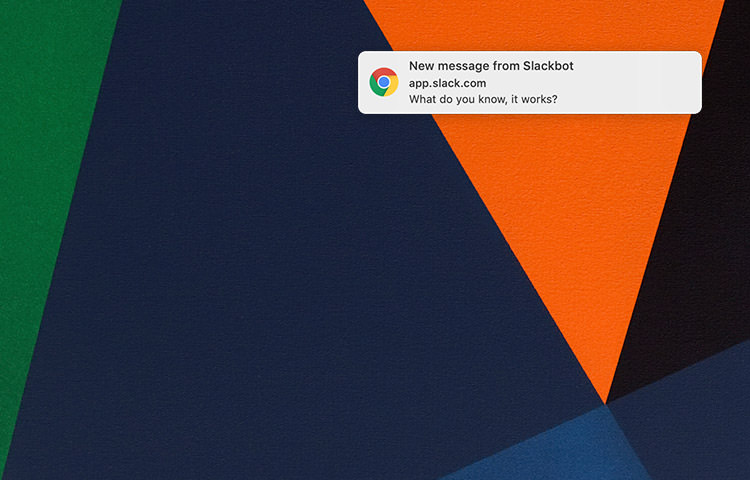
The Notification API was first available in OS X Mountain Lion and now available in all modern browsers including Edge and Opera. The enables regular website and web application such as Slack and Intercom to send out notifications when there’s an incoming message or a mention in your account. This notification, in macOS, will appear at top right of the screen, as shown below (and then disappears after a certain amount of time, stored in the Notification Center).
Let’s see how we can utilise this API in our website.
Recommended Reading: How to Create Hide / Show Notification Bar With CSS3
The Notification Permission
First let’s walk through the permission matter. Before we are able to show the notification, the users should explicitly allow it. There are three permission levels for the Notification: default, granted and denied. To check the permission level, we can write the following code in the browser Console:
window.Notification.permission
In the preceding code, we log the current permission level within the console, which in my case returns granted.

Users can deny the notification through the Preference option later on or from the tab Setting, at any time.

Running the Notification
The notification is specified with the Window Notification object. The following code is borrowed from Mozilla Developer Network code example but slightly modified for demonstration purpose:
function notifyMe( title, options ) {
	// Check if the browser supports notifications
	if ( ! ( 'Notification' in window ) ) {
		$( '.support, .no-permission, .notify-click' ).hide();
		return;
	}

	$( '.no-support' ).hide();

	// Check whether notification permissions have already been granted.
	if (Notification.permission === "granted") {
		$( '.no-permission' ).hide();
		var notification = new Notification( title, options );
	}

	// Otherwise, we need to ask the user for permission.
	else if (Notification.permission !== "denied") {
		Notification.requestPermission().then(function ( permission ) {
			if (permission === "granted") {
				$( '.no-permission' ).hide();
				var notification = new Notification( title, options );
			}
		});
	}
}
In the preceding codes, we created a function named notifyMe to wrap the Notification function which allows us to set two arguments: title and options.
Then, simply replace the arguments with ones that we want to show in the notification. In this example, I would like to set the title to “Hello World” and set the notification content to “Welcome to our website” within the option, like so.
notifyMe( 'Hi, there! 👋', { body: 'Welcome to our website' });
If the users haven’t set the permission, Safari will first prompt an option to Allow or Don’t Allow the notification to show.

Once it is granted, the notification should appear as shown in the following screenshot.

Event
Furthermore, we can show the notification upon an event. For example, by using the jQuery .on method, we set the notification to show upon a user click.
$('.button').on('click', function() {
	notifyMe( 'Hi, there 👋', { body: 'You\'ve just clicked the button.' });
});
Further Reference
We can see that using Notification API is so easy. Though the codes we’ve shown here are merely basic examples. You’ll need to rewrite the example to suit your need. The browsers support has been really good; it works in all major browsers as well as a number of mobile browsers. You can see how it works from the links below:
And follow these references below to dig into this API further.
- Web Notifications – W3C.org
- Chromium Desktop Notification – Chromium
- Notification Web API